Generate random UUID step
Learn what a random hex is and how you can use this functionality in your applications.
After reading this article you'll know:
-
What a random UUID is
-
Why you'd use a random UUID
-
How to use the random UUID step in your application
Getting started
The random UUID step can be found in the Block Store and is used to generate a random text based on a number of characters. UUID stands for Universally Unique Identifier and can be used for many cases that involve random strings of characters, like for example to set up more secure page identifiers.
To find the step go to the Block Store and search for 'UUID', the Generate UUID step should pop up.
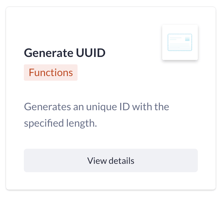
Click on View details followed by Install block to install the block to the appropriate organization and application.
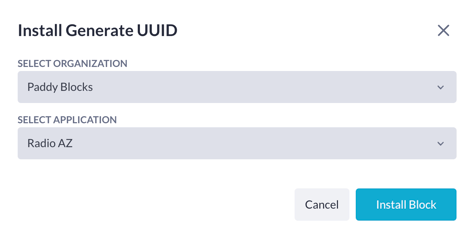
Once installed we can use the step in our application.
Before we continue with our use case you might wonder, this is all fun and dandy but why should we use this step? One example would be to use it instead of an ID, but why? Several reasons, one of the more important ones is the integrity of your data.
When you use UUID values you can use that in your URLs instead of an ID, for example 'yourappname.betty.app/employee/68'. This gives away that this is your 68th employee, not necessarily something that's a big deal but you can probably come up with a few examples where the ID of a certain thing might give away information that you'd rather not share. To combat this we can use UUID values and use that in the same way as we use IDs to keep the integrity of our data intact. The URL 'yourappname.betty.app/employee/d6a093cc787f4a03b3a44b2160abdcfe' doesn't give away which number the employee is, this employee could be the first employee ever hired or the newest intern.
Let's try to recreate this and see how the use case above works within Betty Blocks.
First things first
Let's start by creating a basic employee model, note that the UUID value in this use case has to be unique and is required when creating a new employee.
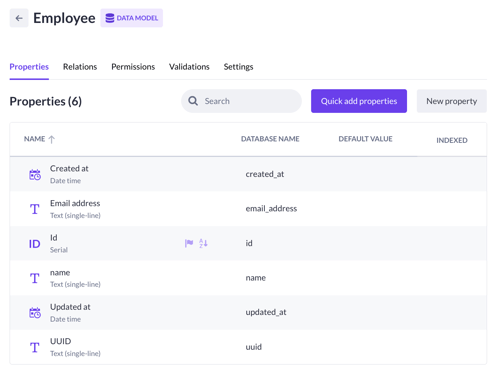
If we now create an action with a 'Create employee' step, besides an email address and a name we'll also need to send over a UUID value whilst we create an employee. Let's do this, start by going to the actions overview and create a new action called 'Create employee'.
We'll need two input variables to create our employee, click on the Start step and add an email variable (text) and a name variable (text as well).

After that, we'll generate our random UUID value. Drag the generate UUID step on the canvas. Configure it by providing a result name:
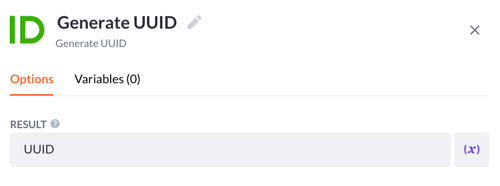
You can define the length of the UUID in the corresponding model validations, allowing for customization based on your use case

We can use the UUID result that's generated in the create step now.
Drag a create step onto the canvas and configure it like so:
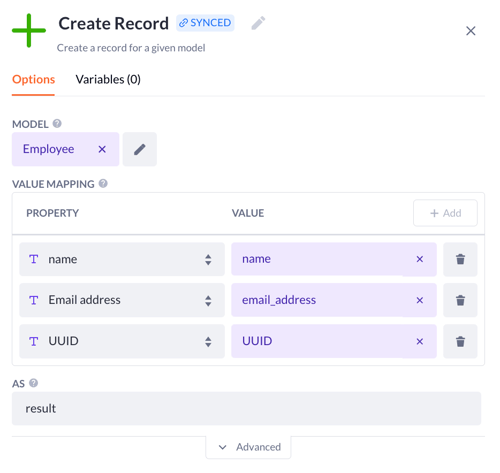
This should now (if the proper input variables are presented) create a new user once executed. Just to be sure, in the Finish step add the created_user there as an output variable so we can see the result in the playground.
Let's test if it works, shall we? Click on Test run in the top-right corner. Copy the code that gets presented into the playground, and make sure to replace 'Text' in the query variables with the name and email address of the user that you want to create. Now once you're done make sure that action is compiled.

And you should see the result of our action:

A new user named Menouer with the email address 'menouer@bettyblocks.com' has been created. His ID is 9, and the UUID value that has been generated is '06706587-8b31-41d0-8522-3bbbda2f804f'.
Okay, so how do we continue from here? Let's now create an employee overview page, but instead of using the ID of the employee to see the details we'll do it based on the employee's UUID value.
Showing data on a page based on a UUID value
Starting off, let's make sure that we can see the data publicly. To do this go to your model, in my case the employee model, and click on the Roles & permissions, now change the read permissions so we can see this data in the front end of our application.

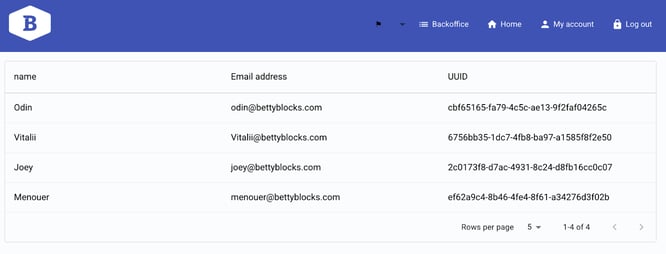
With this in place, we can continue with the overview page. This page will show us all of the employees. Create a new page called 'Employees'. Drag a Data table onto the canvas and configure it like so:
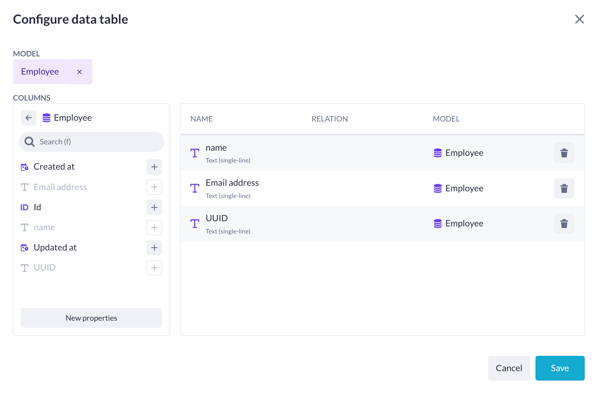
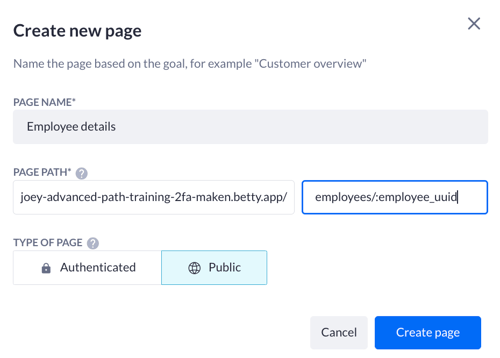
Press Save and create a new page. this new page will show the details of an employee. The URL of this new page will contain an input variable. An input variable is defined by the following syntax ':input' so with that knowledge, the URL for our detail page will be as follows:
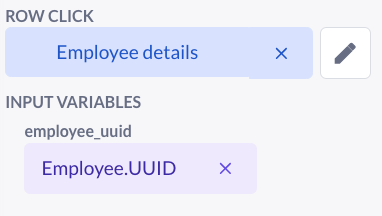
All right, we'll configure this page later; first, we'll head back to the employee overview page. Select the data table we just created and add a row click option. In the option select the employee detail page we just created and since we've added an input variable in the URL you now see that variable appear here. Select the employee's UUID value now as an input variable like this:
If we now click on one of our employees within the data table we'll get redirected to the employee detail page. We're not finished yet though, we need to display the details of the employee on the other page and we also need to filter based on the UUID value, by default it'll filter on the ID. Compile the current page by clicking on Play button in the top-left corner. This should show you one or more employees depending on how many records you've created.
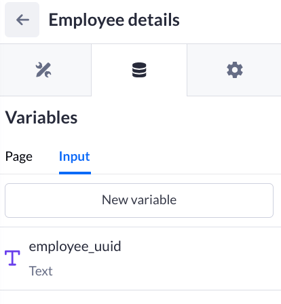
With the page compiled head back to the employee detail page. By default the page will contain a new input variable called employee_id, this is not what we want, we want to use a UUID value. Create a new input variable on the employee detail page, this variable needs to have the same name as the input variable used in the URL, so in our case 'employee_UUID'.
After that, drag a Data container onto the canvas, the data is coming from another page (the employee overview page), select your model.

With the data container on the canvas let's adjust its filter, by default it will filter on the id but we have to change it to filter to the UUID value. So delete the already existing rule and replace it like this:

Don't forget the hit the Apply button before clicking Save. We can now configure the page, let's keep it simple for this use case, add a title component onto the canvas, and add the name and email address of the employee like so:

Compile the page by clicking on the Play button in the top-left corner. Nothing will happen yet since we need a UUID of an employee to show actual data. Let's navigate the the employee overview (/employees). If we click on one of the rows in our data table we should get redirected to our detail page and see the details of the employee.

And there we go, we can see the details based on a UUID value.
You now know how to install and use the Generate UUID step, and why you should use it like in the use cases handles in this article. There are of course many more use cases where UUID values are a nice thing to use. Make sure to keep an eye out for those to maintain your data integrity.