After reading this article, you’ll know the following:
-
What the Delete record step is and its purpose
-
How to use this step in your application
Delete record step is a CRUD step used within workflows to remove a specific record(s) from a data model. By configuring this step, you can ensure that your application’s data remains relevant and accurate.

Options
Delete record step is set up to remove a specific record (or set of records) based on the value that is passed to this step (e.g. record ID). Select this via Record.
The result variable confirms successful deletion, triggers sub-actions, and handles errors.
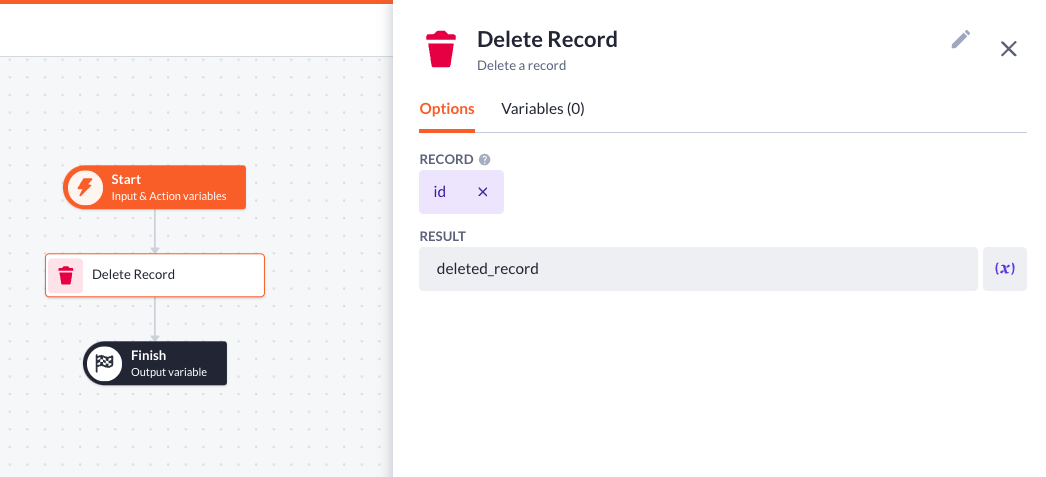
Add more variables inside this step via the Variables tab.

Use case - Delete single records
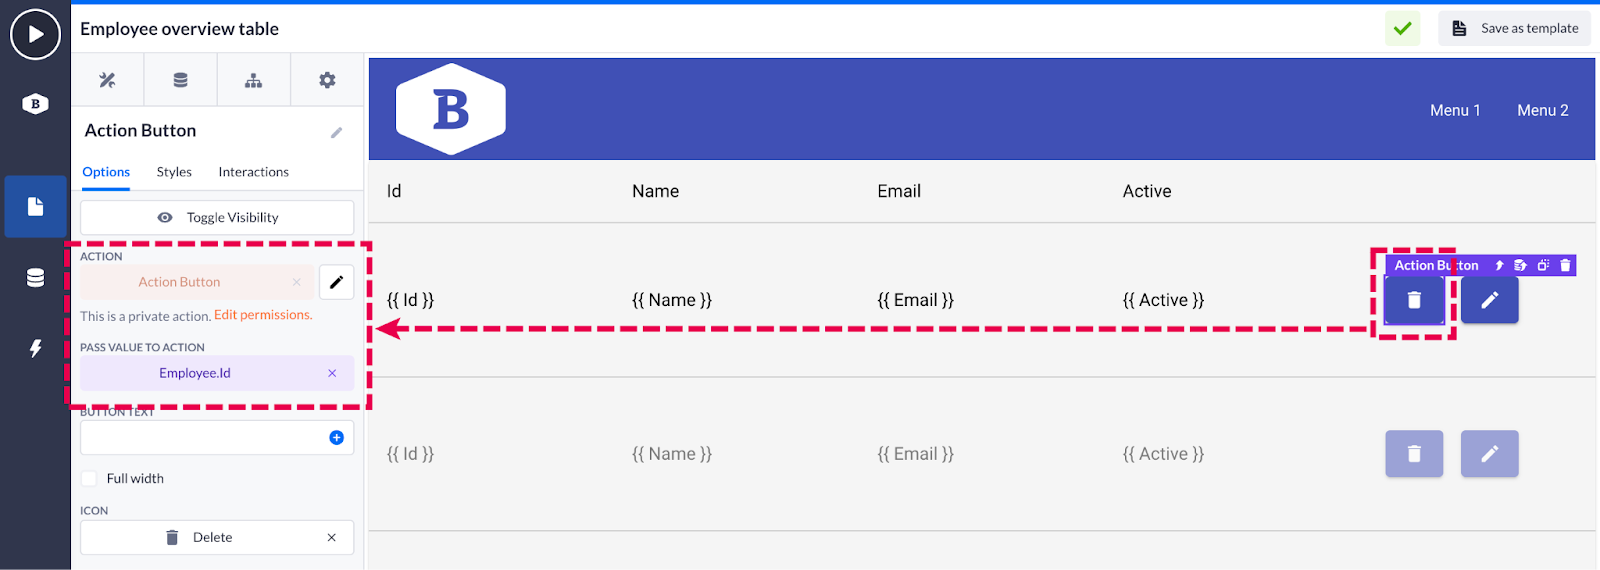
An application allowing admins to manage their employee accounts. Admins should be able to delete their accounts from the employee overview page if they no longer work for a company.
In such a case, one would use the Action button configured to trigger the Delete record action step, specifically targeting the selected employee's account record. The action in this case is created automatically as you add an Action button.
-
Choose the value to pass to our newly created action: Employee.Id in our case.
-
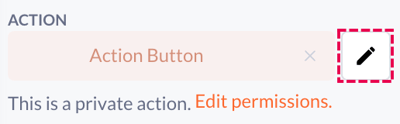
Right from the Action button options, you can be redirected to the action by pressing the pencil icon next to the action
-
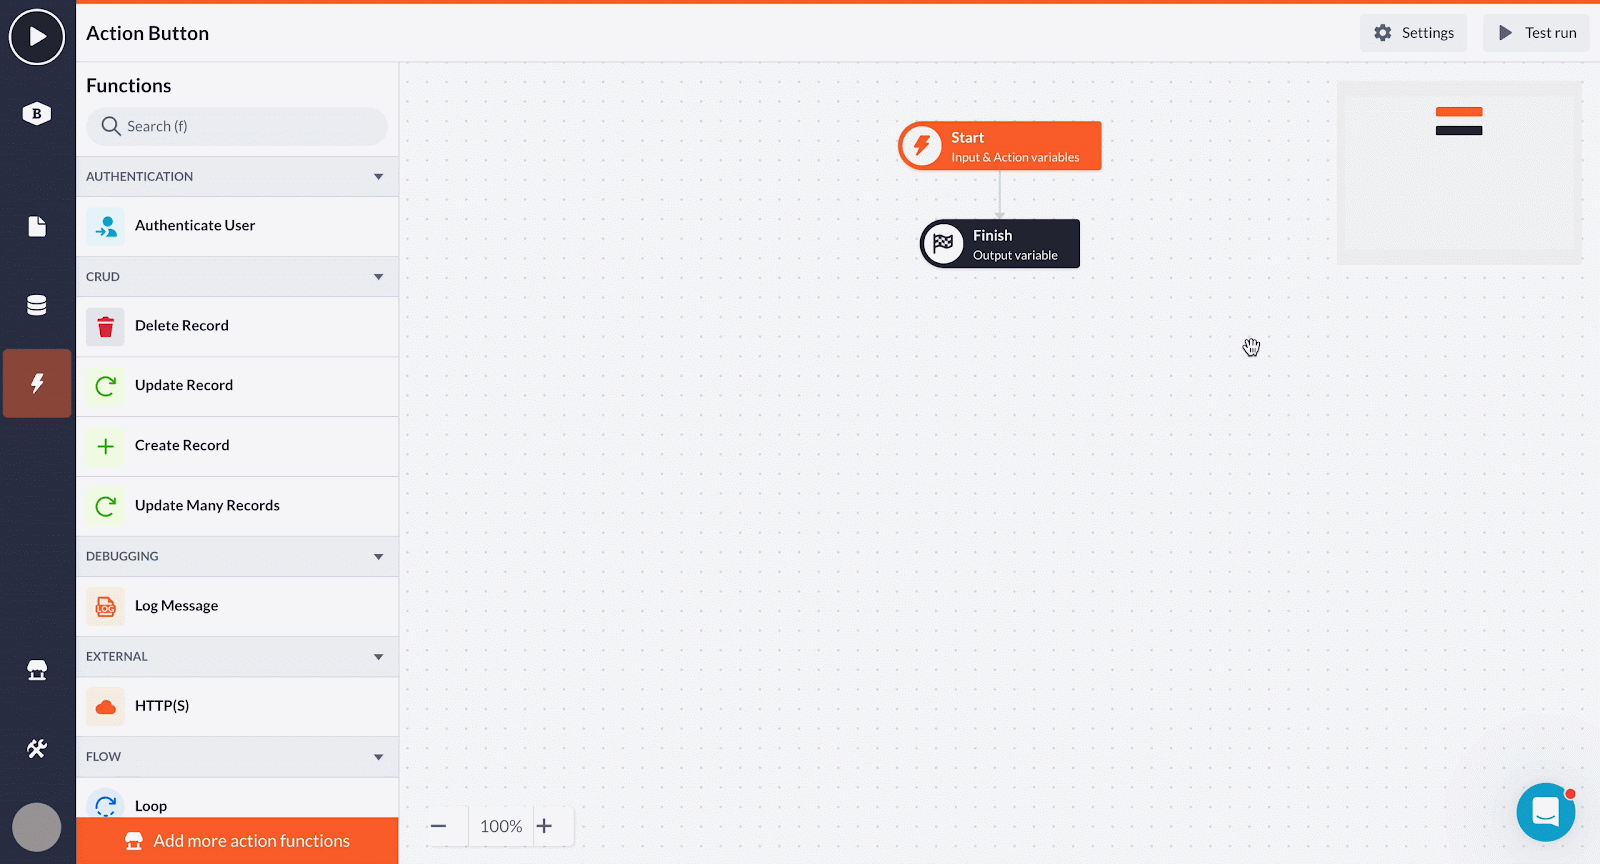
Open the action via the Action button and make some preparations in settings:
-
Change the action’s name
-
Set up the permissions: authentication profile and role permissions. Enable the admin role to use this action
-
-
Open the Start step and add a new input variable: Record, based on the Employee model and called ‘id’

-
Drag and drop the Delete record step and place it in the action flow. Click once on the step to open the options:
-
Select the passed record ID value
-
Optionally fill in the result value (if you need to use it in this or other actions)
-

-
After adding a ‘Refetch’ interaction, we can compile our page and see the result:
Use case - Project and its tasks
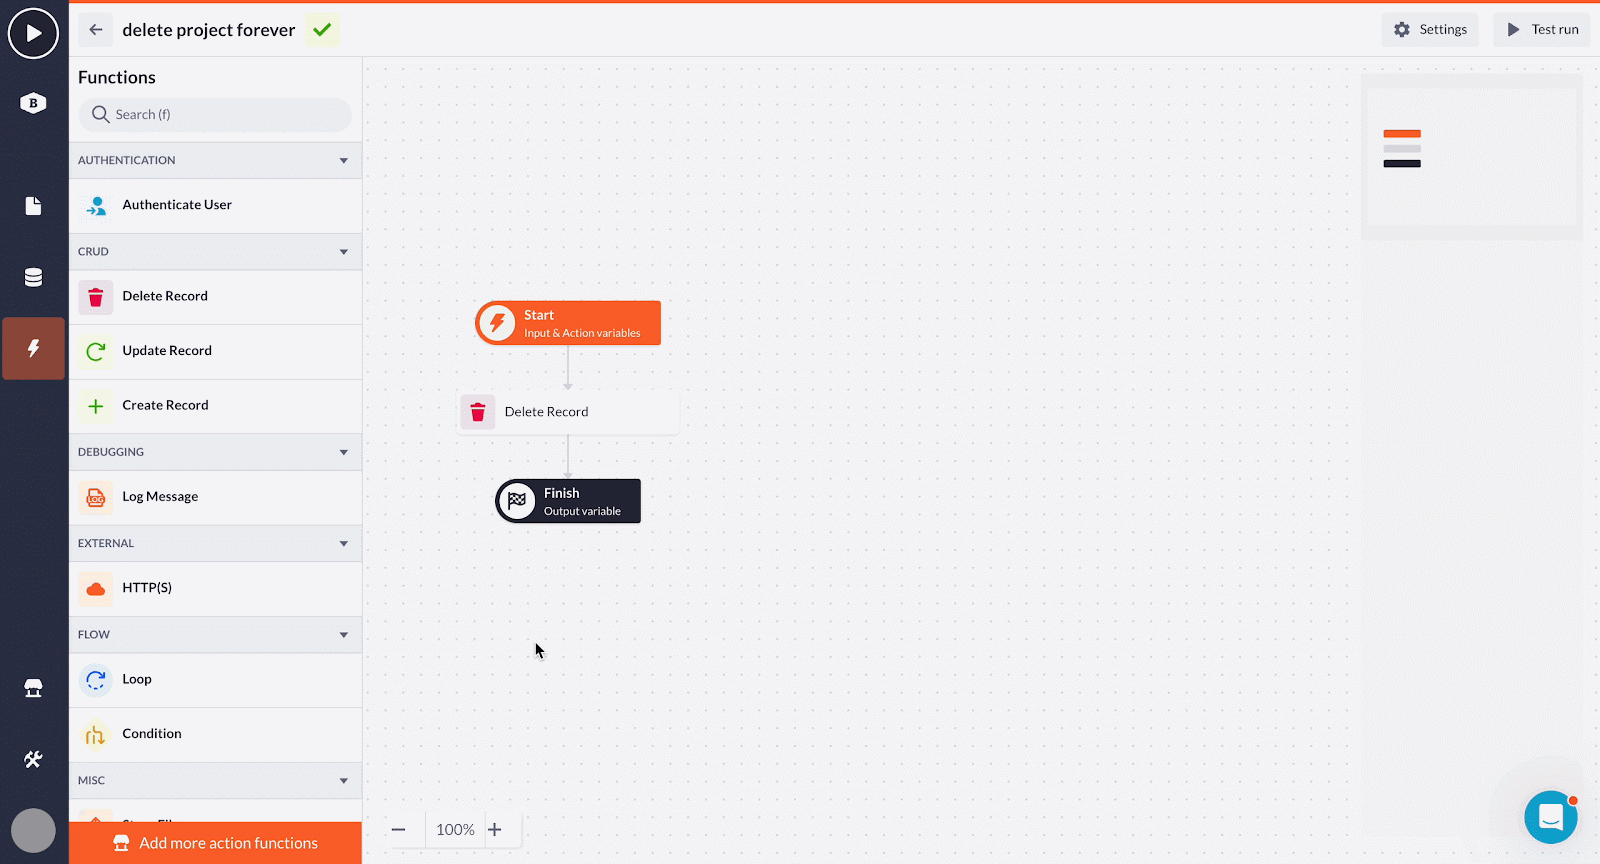
In the Project management application, there is a similar capability of editing and deleting single project data. However, each project can have multiple tasks assigned to it (Project model is connected to the Task model). If you just delete a particular project, the tasks assigned to it will be hanging ‘in the air’.
To tackle this, we’ll use the Loop step to iterate through all tasks linked to the project before actually deleting it.
-
Drop the Loop before your primary Delete record step. Choose the Id.tasks array in the related Task model
-
The iterator represents the current item from the array that is being processed. Define its name as we’ll need it further
-
Drag and drop the Delete record step and select task_item variable from the previous step.
Drag and drop the Delete record step and select task_item variable from the previous step.
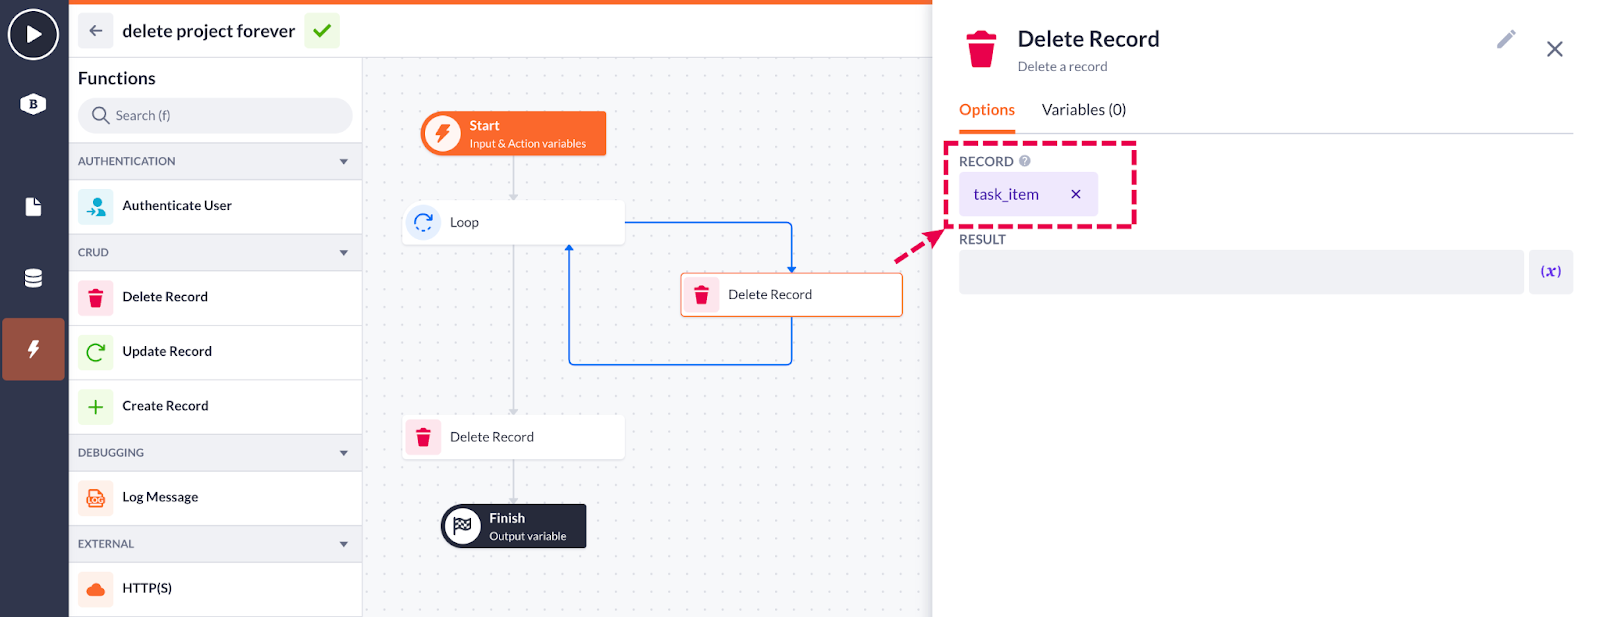
After saving this configuration, all task items that belong to the project will be deleted.
Out of all the CRUD steps, Delete record is the most straightforward yet rather flexible tool that can be applied to many use cases.