Indexed collections
Learn how to optimize creating, updating, or deleting data using the indexed collection functionality.
In this article, you'll learn how:
-
Indexed collections are created
-
What benefits indexed collections have
Why use indexed collections?
Imagine a use case that imports 10,000 tickets in which we are also matching the reporter (end user who is assigned to the ticket).
With a classic action 20,000 database queries will be created for this, that's a lot of queries.
When using the Mass mutate step 10,005 database queries are created, already an improvement.
But if we use mass mutate + indexed collection variables we'll only create 6 database queries, this drastically increases the performance of your actions.
Use case
To understand the power of indexed collections, let's explore a simple use case: assigning tickets to application end users based on their external identifiers.
In the traditional approach, you loop through the data and query the database for each user's external identifier within the loop. This means 1000 database queries for 1000 ticket imports, which is inefficient.
Indexed collections streamline this process. While looping, a batch is created containing all user identifiers. This batch is then used for a single, efficient query after the loop completes. This significantly improves performance.
We'll be using the following CSV files:
Upload these 2 files in your public files (located in the tools section). After this create 2 data models. One model for the end users and one for the tickets, like so:
Upload these 2 files in your public files (located in the tools section). After this create 2 data models. One model for the end users and one for the tickets, like so:
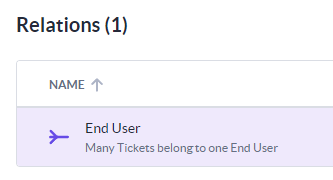
With the models in place, make sure to create a relation between the two of them:
One end user can have multiple tickets, but a ticket will always belong to one end user. Import the data of the end users into the model, don't do this for the tickets yet.
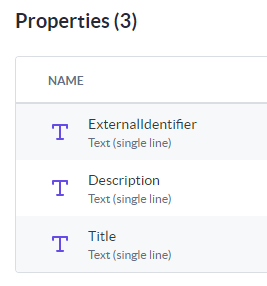
We'll be using the Parse data to array step to import the tickets and loop through all of them later. In order for this action step to work properly besides the 2 models we already created we'll need a schema model for the CSV file with our tickets. Create a new schema model named 'Ticket Row CSV' and add the following properties to the model:
We now want to create an action that assigns all the tickets to our already existing end users.
Creating the action
For our action, we'll need two action steps from the Block Store: 'Mass mutate' and 'Parse data to array'.
After installing these steps, you can create a new action as follows:
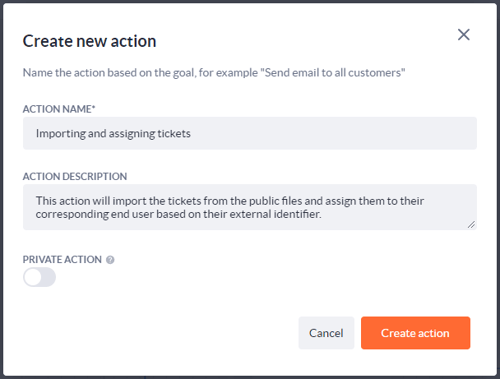
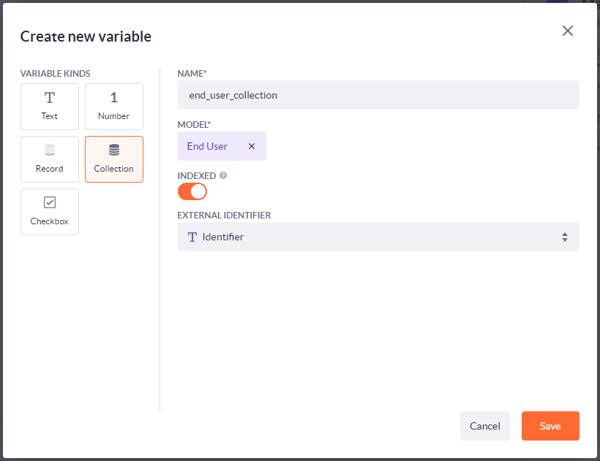
Starting, drag the Mass mutate step on the canvas. Add a new variable in the step and configure it like this:
It is very important to check the 'indexed' checkbox. This will allow us to specify an external identifier, which in our case is the property called 'identifier'.
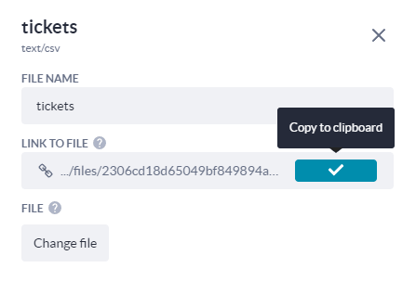
Now add the Parse data to array step to the action. What we need is we need the URL to our tickets CSV. Go to your public files (in the tools section) and copy the URL of the CSV of the tickets.
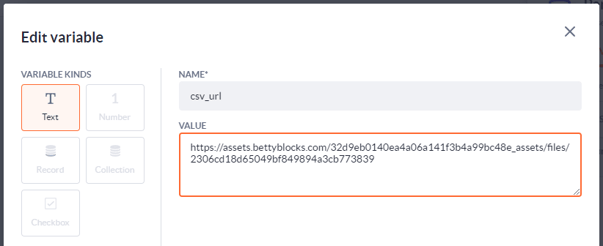
Inside the Parse data to array step create a new text variable and paste the link to the CSV in it.
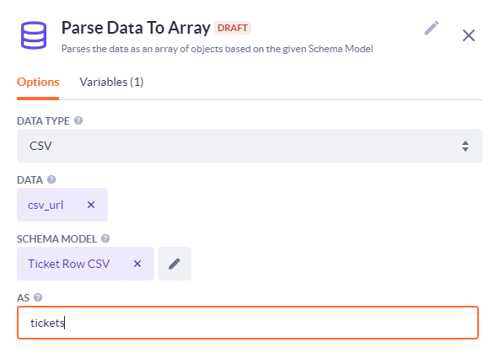
We can now configure the options of the step, select CSV as the type, the variable we just created as the data, and the schema model we created so we can select all the data in the CSV file and assign that in a create action step later. This is how the step should look once we're done with configuring it:
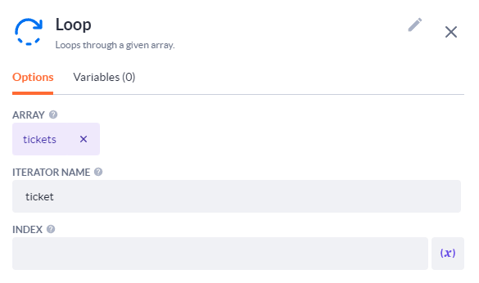
Save the step and add a Loop step under the Parse data to array step we'll be looping through the 'tickets' from this step:
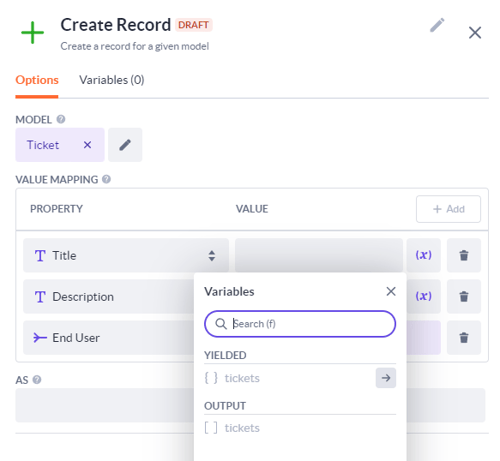
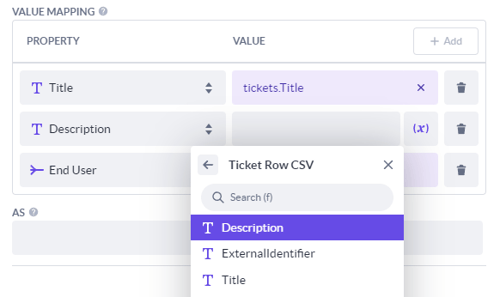
Give the iterator of the Loop step the name 'ticket', now add a Create step inside the loop. Select the ticket model and add 3 properties:
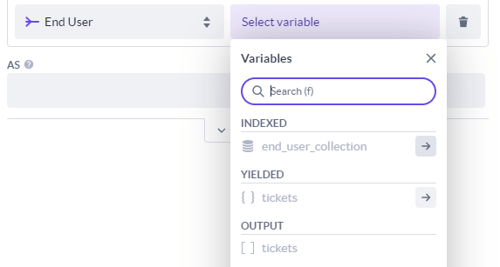
Note that even though tickets in the yielded segment are greyed out we can still click on the right arrow and navigate to the schema model we created to select our properties.
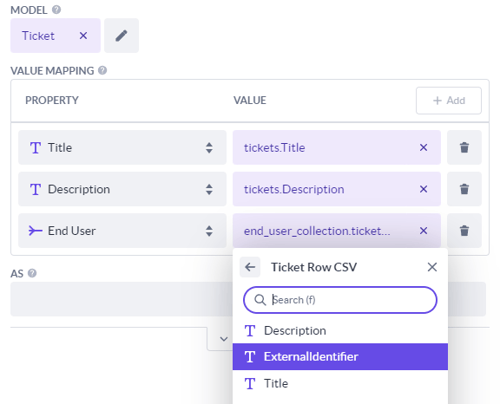
For the 'end user' property, it'll be a bit different. Here we want to use the indexed end-user collection.
Click on the right arrow, then click on the right arrow again for the tickets.
After this double-click on the external identifier property of the schema model and the value end user property will look like this:
In the output of the Create step name it as 'new_ticket'.
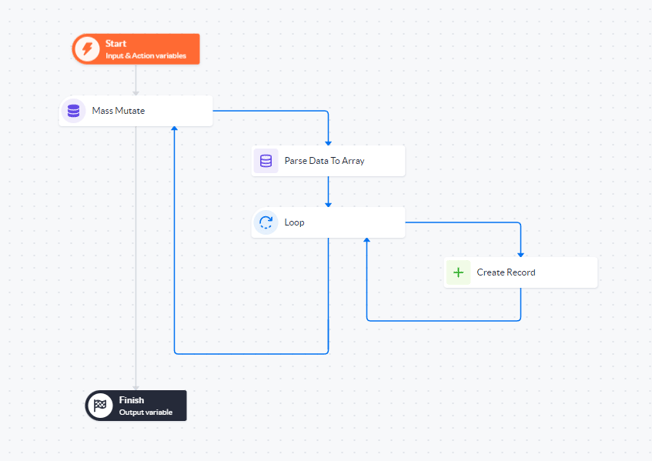
The final action will look like this when we're done:
Time to check if it's working the way we've intended.
Testing out the action
To test the action we can click on the 'test run' button in the action but let's first see the data without triggering it.
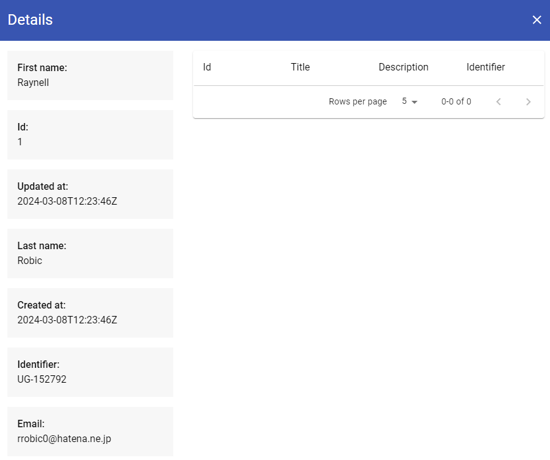
I created a page with an overview of the end-users based on the back office template. In the detail view of the template I changed the size of the column containing the details and I added a data table next to it with a filter:
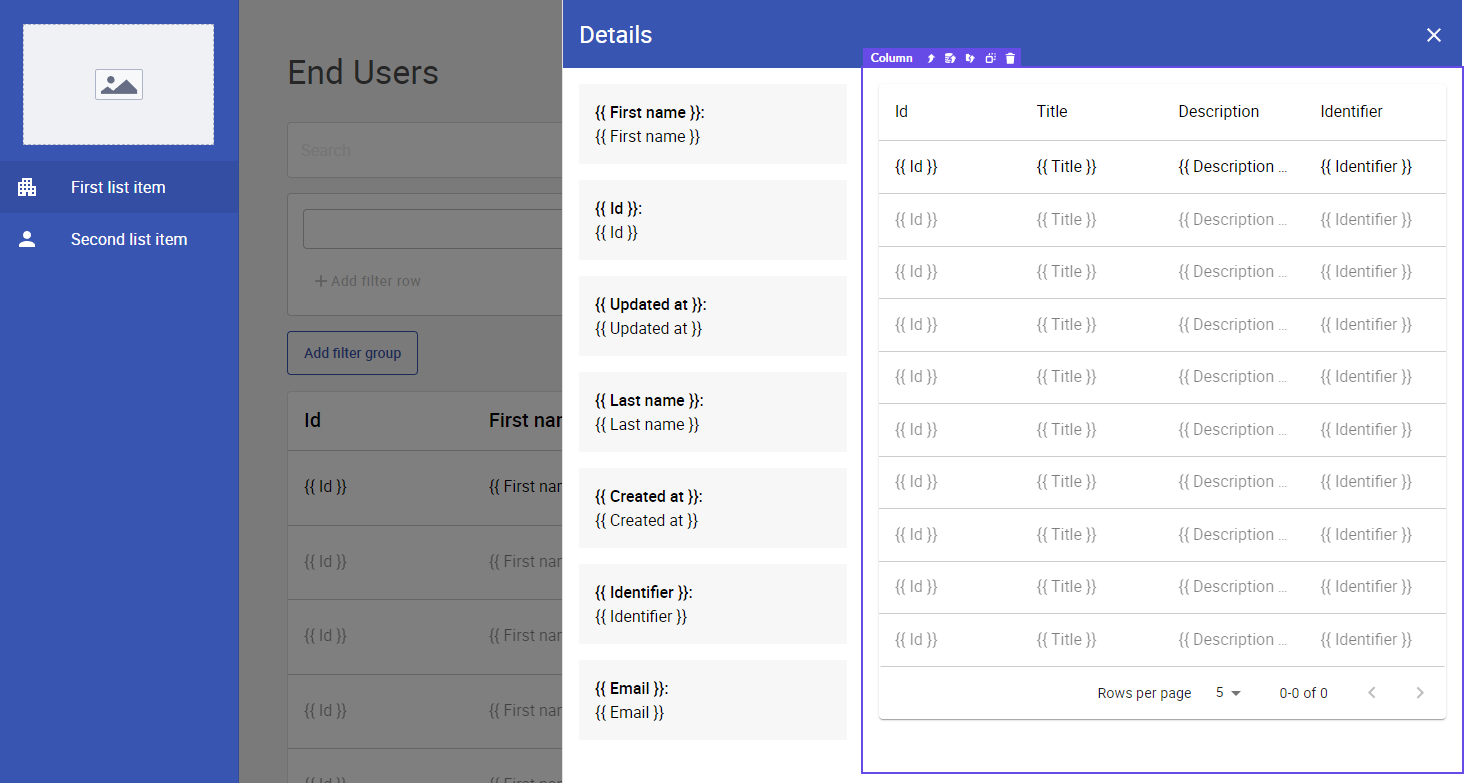
The filter that is used:

If we run the page the data table will be blank because no tickets have been assigned to this user, yet:
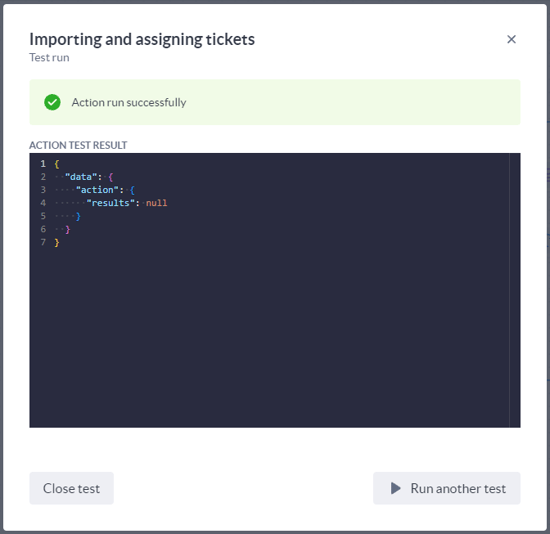
But let's go back to our action and click on the 'test run' button.
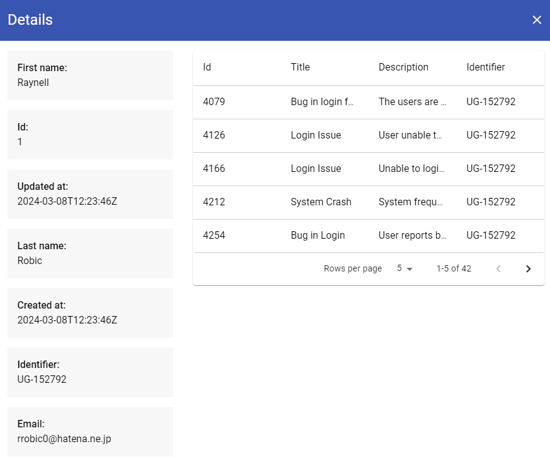
The action ran successfully, if we navigate back to the detail page we can see that this specific end user (Robic, with identifier: UG-152792) has 42 tickets in his name. All 42 tickets have the identifier UG-152792 meaning they all belong to Robic.
That's it for this use case, you've learned how to use indexed collections to import and create data. Doing it with indexed collections is not only faster than the traditional method but it also requires fewer queries. The indexed collection does its thing and when done it sends out one big query creating all the records.


