Application gallery
Formulate your application ideas and concepts by adding them to the Betty Blocks application gallery.
After reading this article you’ll know:
-
What the application gallery is and how to create one
-
How to add new application ideas to the gallery
-
How to manage gallery items
Organizations seek new ways to innovate and scale their operations in today's rapidly developing software landscape. Low-code platforms like Betty Blocks make it relatively easy to convert ideas into solid applications, but what about sparking creativity among a company's software builders? How do you inspire your coworkers to build more solutions? Well, we have an idea - by sharing ideas through the application gallery that can serve as both the starting point and the endpoint of the innovation lifecycle.

What is an application gallery?
The application gallery is a centralized hub where developers, UX/UI designers and other software specialists can explore, showcase, and collaborate on various application ideas and building solutions. These can be applications that have already been developed by your coworkers or ideas that were drafted at some point.
A wide inventory of potential applications prevents starting the same solution twice and can trigger cooperation between colleagues with similar visions or struggles.
Create application gallery
Getting started with the application gallery is quick and easy. All you have to do is reach My Betty Blocks, and your Company tab will be open by default. From this page, navigate to the Gallery tab as shown in the image below.
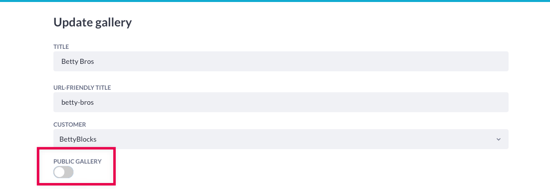
From this overview, you can create a new application gallery. Click Create gallery to proceed to the next menu where you can fill in information about your first gallery:

- Title of your gallery
- URL-friendly name: Path to reach the gallery: https://my.bettyblocks.com/gallery/URL
- If Public gallery toggle is on, visitors don’t need to log in to My Betty Blocks
- Set the logo and an image to be visible in the gallery overview. You can remove an image and reselect it using the
Remove imagebutton - Press
Saveto finish creating your gallery

Add gallery items
After creating your gallery you can start adding items to it via the gallery tab in the company overview. Gallery items can be added from your company overview after a gallery is created. These items include application ideas, drafts, wireframes, schemes, etc.
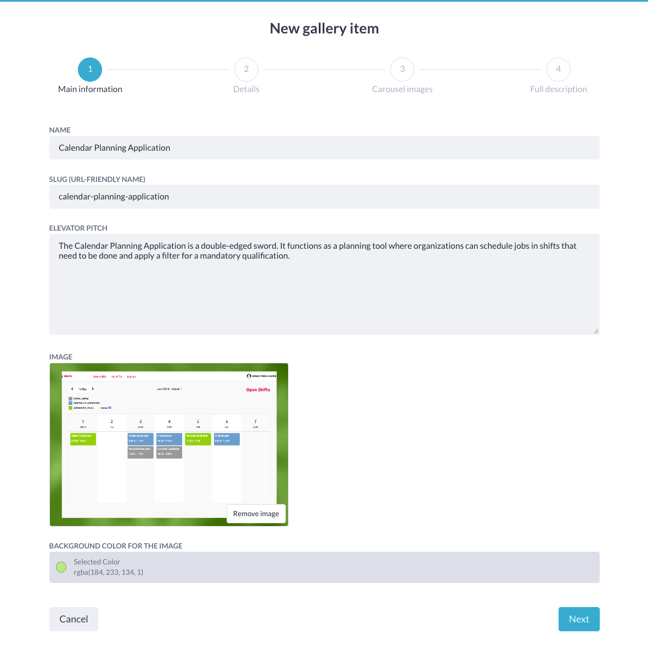
Press New gallery item to start filling in the 4-step form:
1. Main information:
- Name for your new gallery item - your future application.
- Url-friendly name for your item
- Elevator pitch - a short description of an idea
- Image that will be visible in the Gallery overview.
- Background color for your item's image.
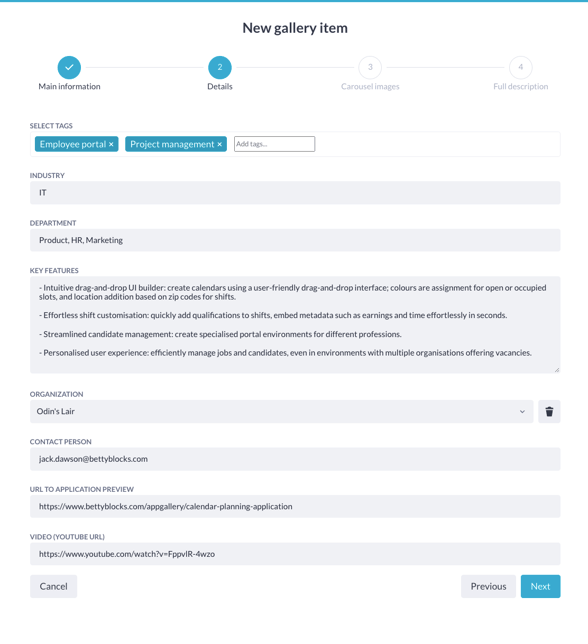
- Select tags from the available list by clicking on the Add tags… field. They will be visible in the gallery overview (list) and you can use them for filtering the gallery items
- Type in the industry your project is associated with & the department that will benefit from this item
- Describe the key features of the gallery item. For example, ‘Quick document scanning’ or ‘Dynamic survey’.
- Pick up the organization (from the list) that will have access to this gallery item
- Type in the email address of the contact person in charge of this item
- Paste the URL to the application preview (if this is created as a Betty Blocks application)
- Past the URL to the video presentation of this gallery item. For example, YouTube links.
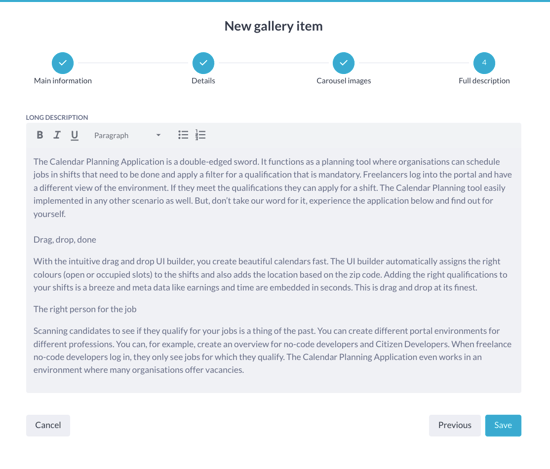
3. Carousel images: upload images from your device to be displayed in the gallery overview. The maximum upload size of the image is 5 Mb.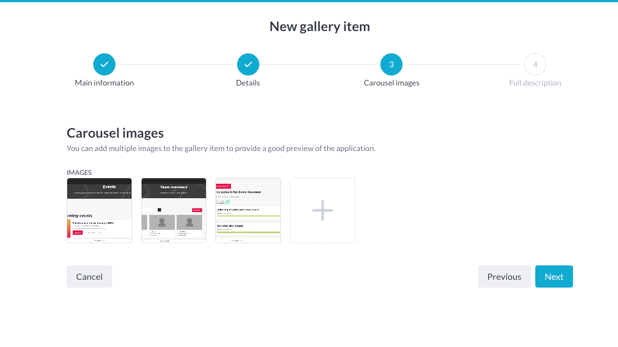 4. Full description: provide a long description of your gallery item. It can contain information about who might use this application, and how they can benefit from it. Along with this, you can add a longer overview of the key features of your (future or existing) application.
Click the Previous button to come back to the previous step. After you’re done filling out this form, press Save to add your new gallery item.
 After you’ve created a new gallery item, you can see it in the gallery overview. You can always update your items separately by picking them up from the gallery list. The update form will open on a separate page. Also, you can find the
 Delete button next to each gallery item.
Similarly, you can edit the gallery from this overview by pressing the Gallery settings button. It will open a form similar to the one we used to create a gallery.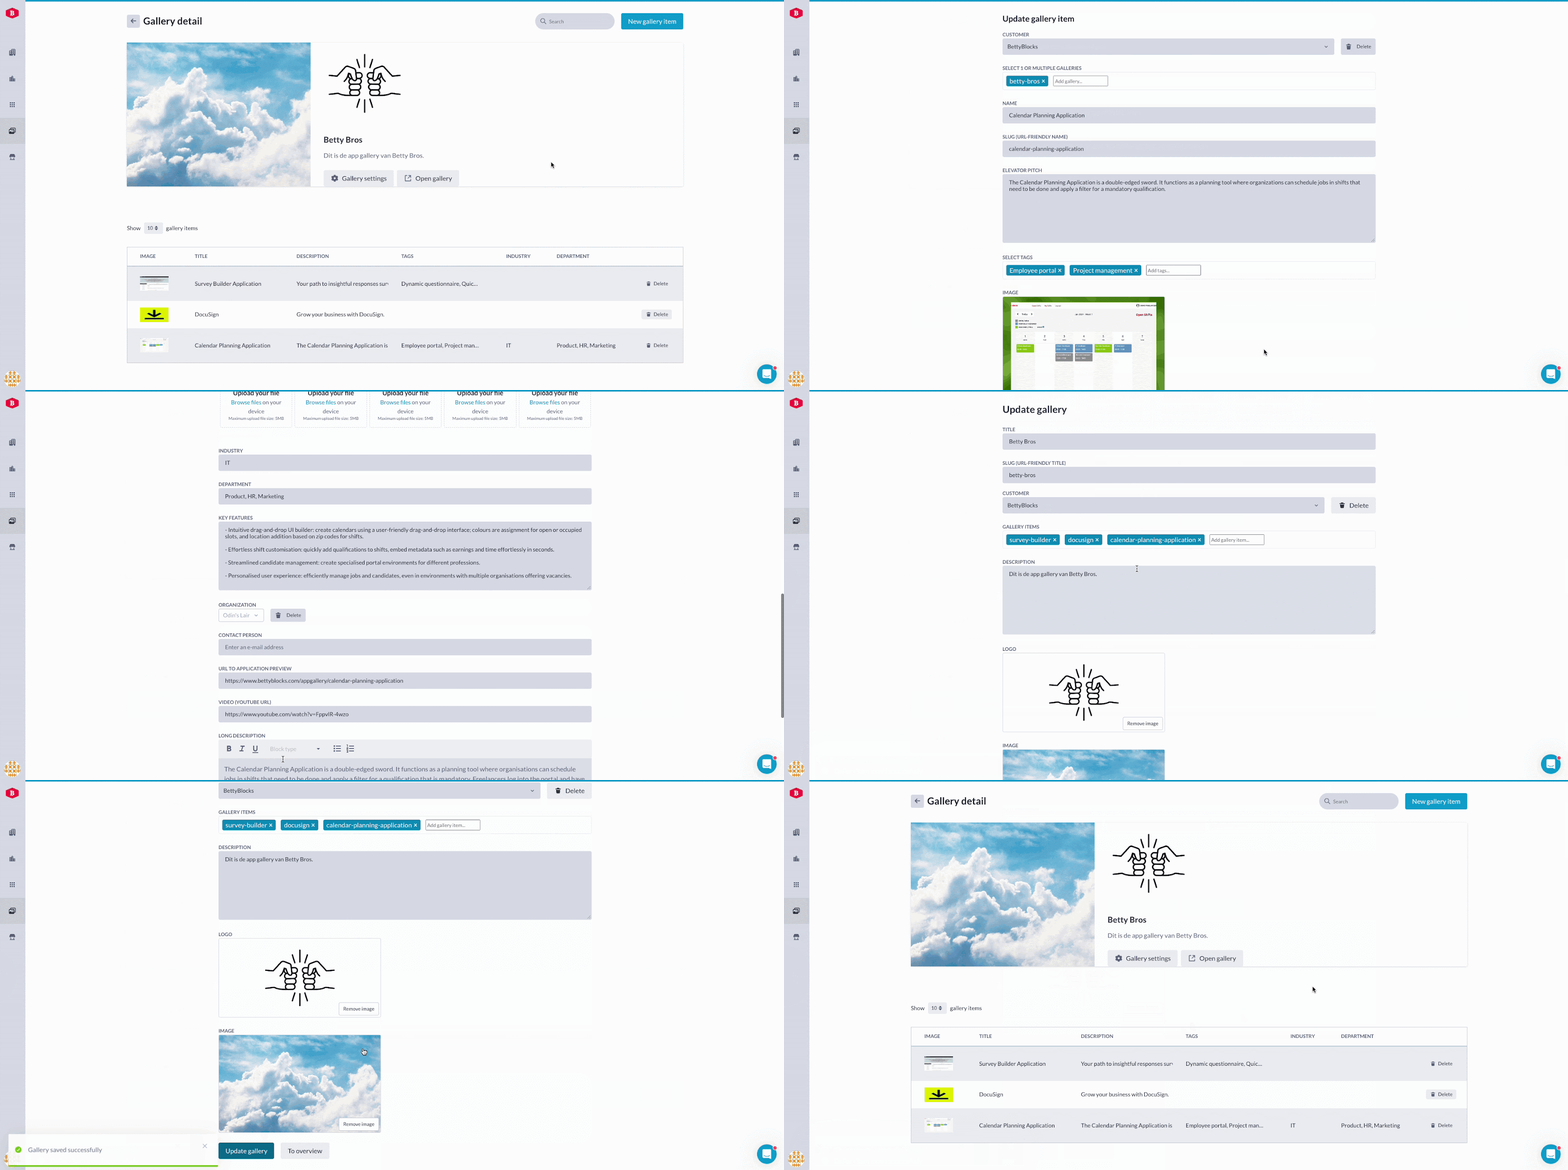
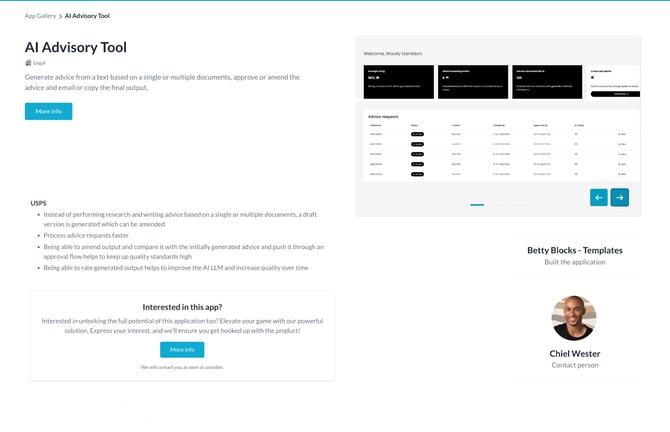
From the gallery overview page, you can also open the gallery in public view to look through the results that visitors will be able to see. Depending on the Public gallery toggle, it will be behind a login or publicly accessible.
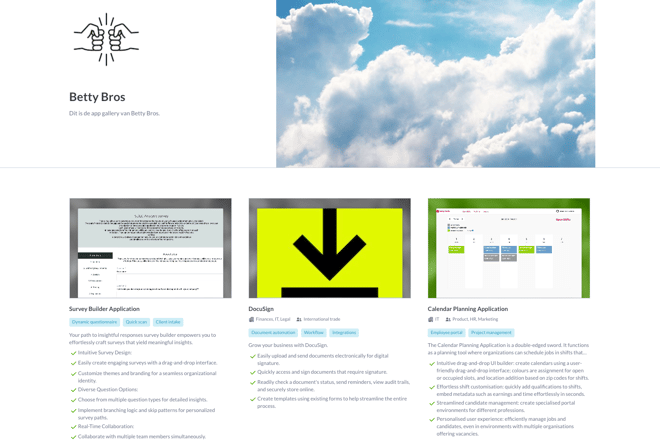
When the Public gallery toggle is off all members of the company will be able to see the gallery after they have logged in to My Betty Blocks via the company SSO when this is configured.
