Creating an iManage integration
This article will cover the steps to create a connection to your iManage models and use these in a Betty Blocks application.
After reading this article, you'll know:
-
How to install the steps required to create a connection;
-
How to retrieve a valid token to create a connection;
-
How to configure your action steps to retrieve data;
-
How to display the result.
Prerequisites
To create a remote connection to iManage you'll need a Betty Blocks application. This is where we will create the connection to your third-party information. You'll need an iManage account if you wish to make a connection. We'll need the credentials to ask for information from the API.
Two pages are pre-created, a login/register page based on the similarly named template and a home page with the header and footer template. A webuser model with an authorization profile.
First things first
Make sure you have an application ready. Assuming that all the prerequisites are present we can start with the first step, setting up our remote data model.
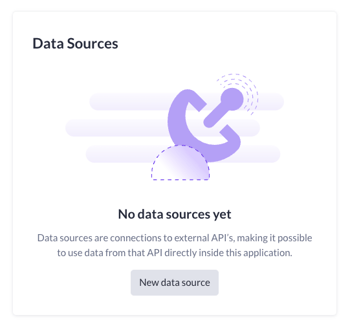
To create a remote model go to the data model tab and select the New data source button.
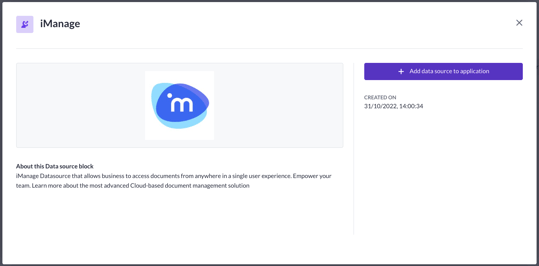
A new overview will open up, there are a lot of data sources readily available, for this use case find the iManage data source and add it to your application.
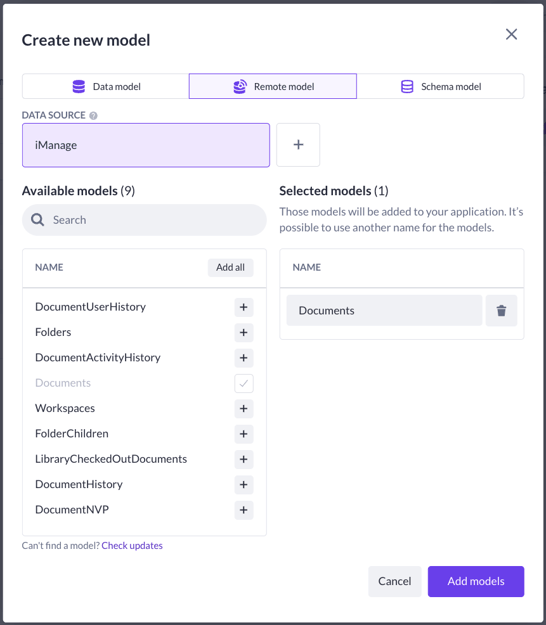
With the data source installed, we can choose what data we'd like to work with. Let's keep it a little bit plain for this use case, let's work with the 'documents' model only for starters. To create this model based on the iManage data source, press the New model button - the iManage data source is there now. When we click on it the models within the data source show up, select the documents model.
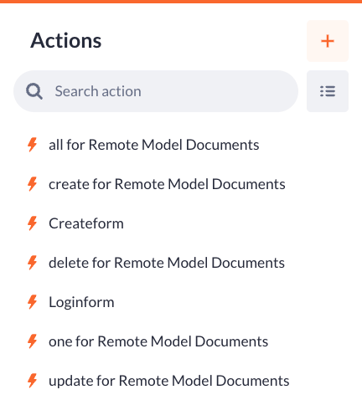
Click on Add models to add the model to our application. To double-check if it worked, we should, first of all, see the new model in our list of models, on top of that when we check our action overview five new actions. These actions were generated in order to create, read, update, and delete information that's in our iManage organization.
We can find a shortcut to these actions as well when we check out the action tab of our 'documents' model.
Connecting to the remote information
Installing the iManage functions block
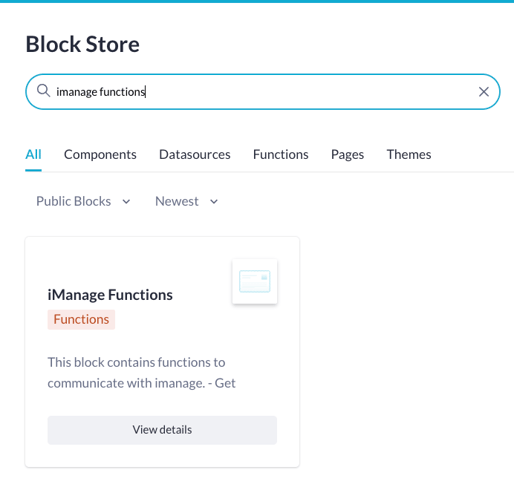
In order to connect to the data in your own iManage environment we need to create the connection ourselves. Luckily there's a block readily available that we can configure with our own data. Navigate to the block store and search for 'iManage functions', the block we need will pop up as the first hit:
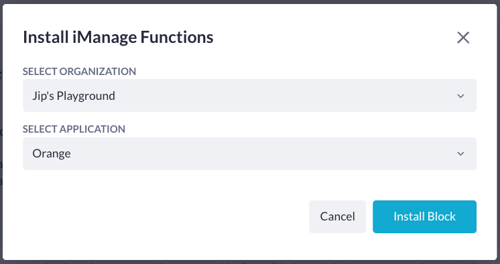
Click on view details to check out what the block is about. In our case, the block will contain functions to communicate with iManage. This tab also lets you install the block into one of your applications. Simply hit the Install block button and select your organization followed by your application.
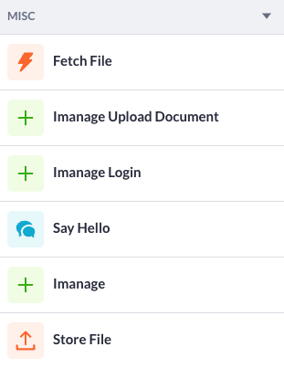
After installing the 'iManage functions' block, it can be found in your action builder of the application that was selected. You'll find it in the newly created action steps in the manage section of the action builder.
Configurations
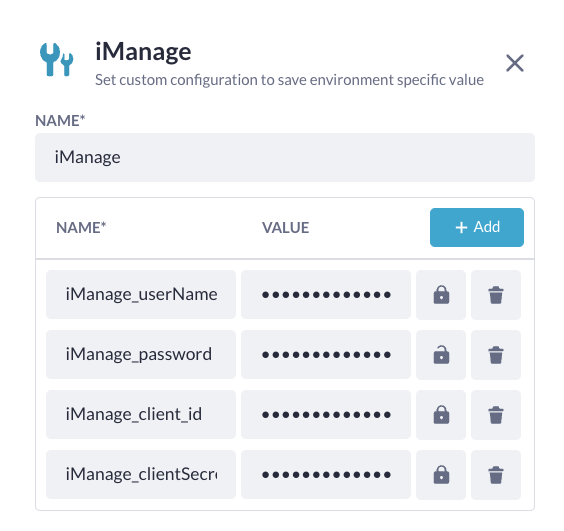
To prevent us from having to define our data multiple times inside of an action. And even worse, having to change that data in multiple places when for example we get a different password, let's create some configurations for this. The configurations that'll create will be the following:
You can find your own client ID and client secret within iManage. If you're not sure what configurations are and want to learn more check out this article.
Creating an application configurations model
Next up, we'll need some configurations in order to save data like our access token. Create a new data model called 'AppConfiguration' with the following properties:

We're now able to create a single record in which we can save the accessToken. In order to realize this we'll have to adjust an already existing action (the login action from the pre-requisites).
Creating the action
To create the action head to the login action already present. After the 'authenticate user' step we'll use the 'iManage login' step. We'll use the configurations in this step as follows:
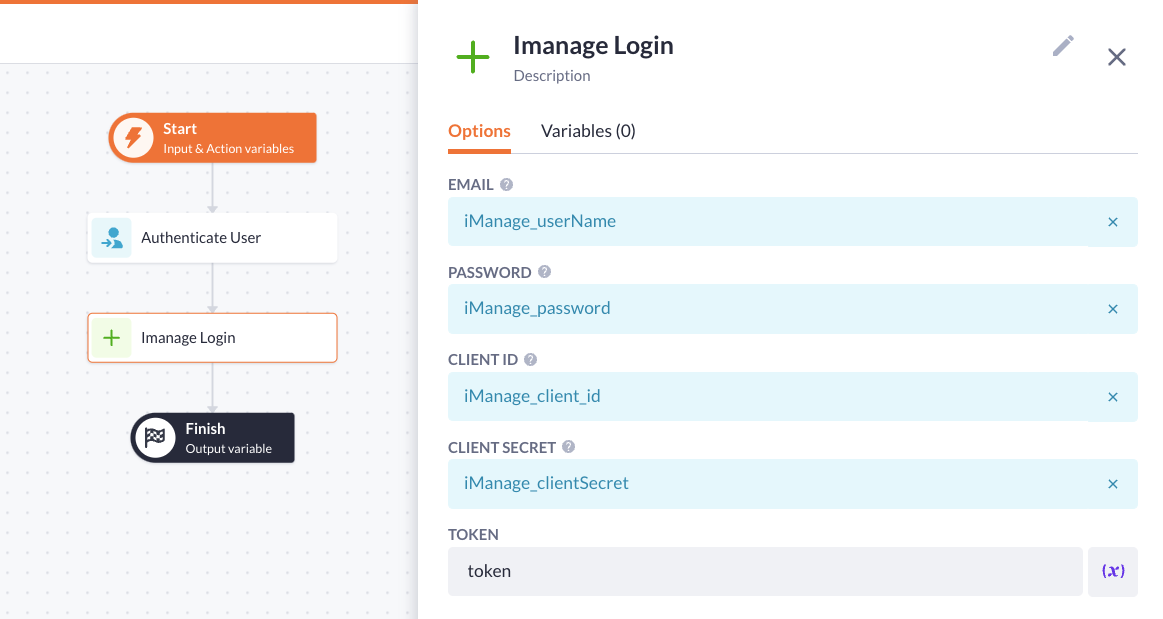
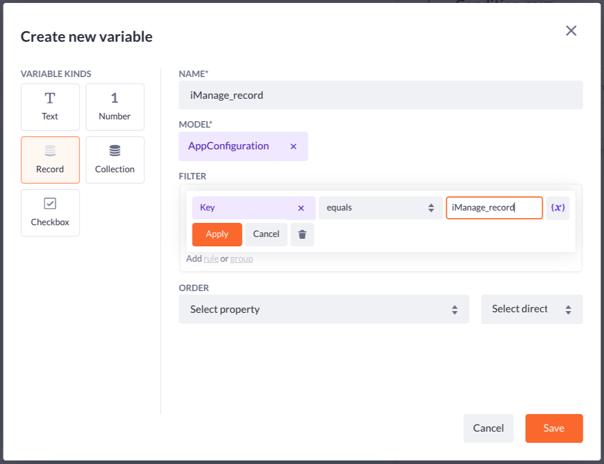
This 'iManage login' step will give us an access token, we'll save this token in the 'AppConfiguration' model that we just created. We'll dynamically check whether the record exists or not by using the 'conditional' step. Drag this step onto the canvas and create a variable on it like so:
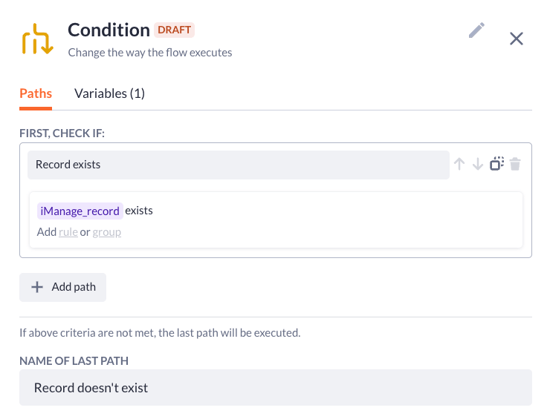
Configure the rest of the step like this:
The filter in the record exists is very important, make sure to check if the variable we just created exists.
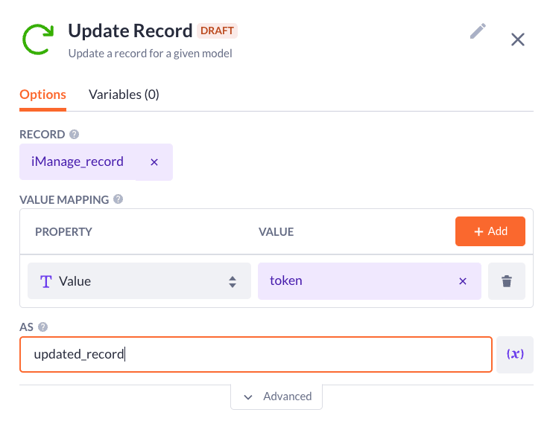
We can drag a Create step in the doesn't exist flow and an Update step in the does exist flow. The update will look like this:
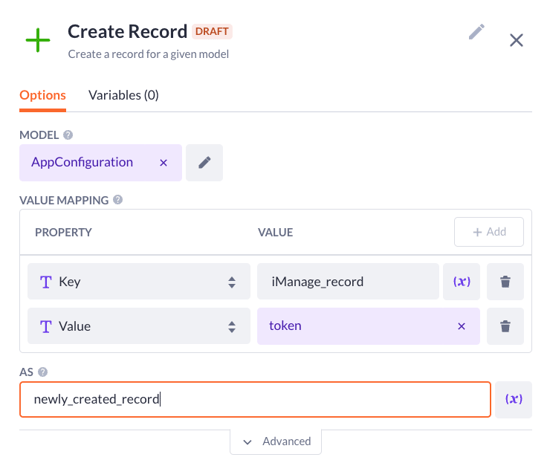
The Create record is as follows:
This will now if the token already exists and perhaps is expired update the token with a new token, or when it doesn't exists create a new token in the 'AppConfiguration' model.
Displaying data in a data table
In order to display the data from your iManage environment in a data table in your Betty Blocks application we'll need to set up some of the action steps that we've installed.
The first step that'll use is the 'iManage' step this step is an HTTP request to give us all the folders inside of the customerId that we pass. If you're not sure where you can find this, check out iManage their documentation on this. Drag the 'iManage' step in the canvas.
Here we can precisely say what folder we want, or from what workspace we want our information from. For the purpose of this use case, we are going to hardcode our user information, but a safe option would be to create a variable inside the action to track which logged-in user it is and if this user has an active accessToken.
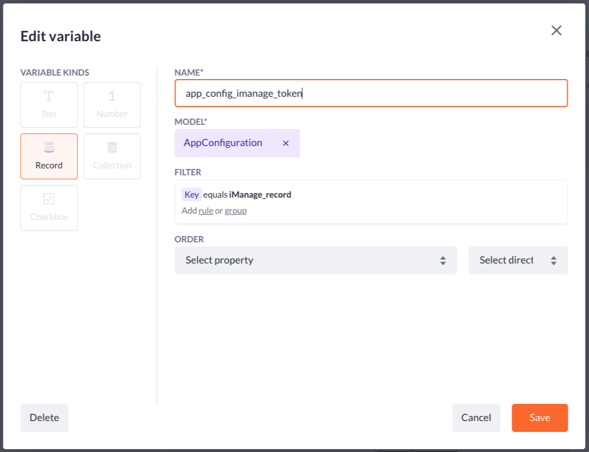
For now, we will make a new variable called 'app_config_imanage_token'.
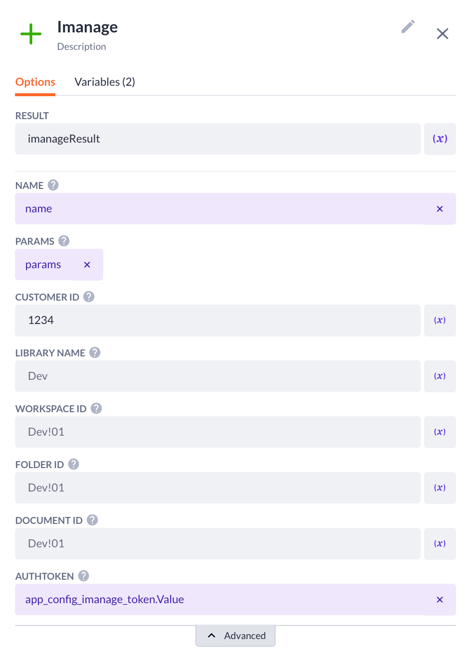
We can now use these variables in our action step. Since we're using the 'all for Remote Model Documents' action; Betty Blocks will provide us with two variables, 'name' and 'params', use these two predefined variables along with the one we just created like this:
We also want to fill in what our customer id is and we want to pass the authentication token we have defined in our 'iManage_record' variable.
The other options in the step can be used to precisely define what folder we'd like to retrieve information from and exactly which document we want to get returned.
Converting the output to an object
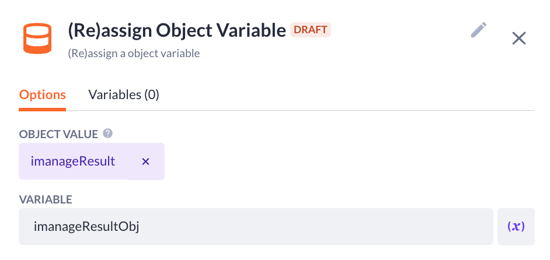
The data that we receive from iManage is of the type string, we can't really work with that. So in order to get this working we'll use a second action step to convert it to an object. In the block we installed is a step called '(re)assign object variable', drag this step underneath the 'imanage' step, and configure the step like this:
Retrieving the specific data we want
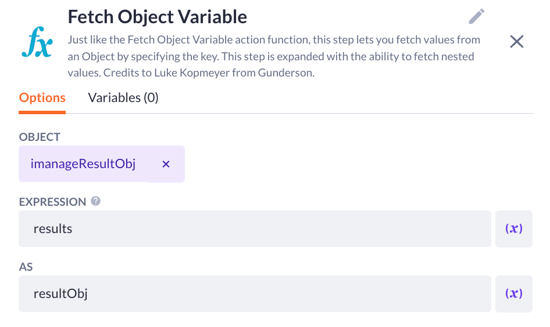
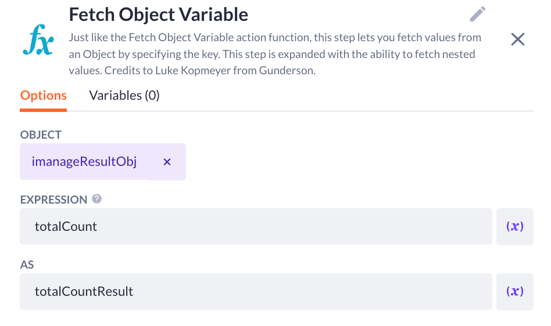
With our object in place we can iterate and find the specific key/value pair of what we're asking. We want to retrieve the result and the totalCount in order to get both we'll use the 'fetch object variable' step twice in a row, starting off with the result:
Then underneath use this step again but configure it for the totalCount:
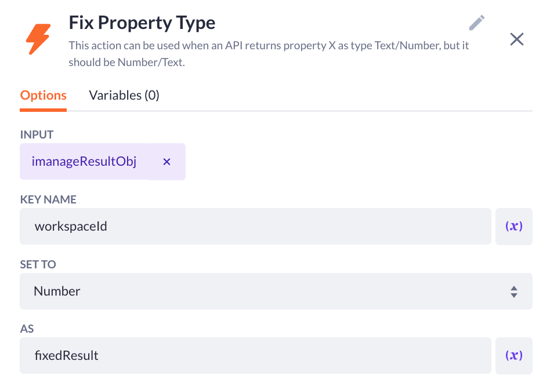
After we have our results key/value pair, the workspaceId type will be of type number. Which is incorrect. We will use the “fix property type” step to convert this type into a string. Drag the step underneath the 'fetch object variable' step, and configure it like this:
The final step
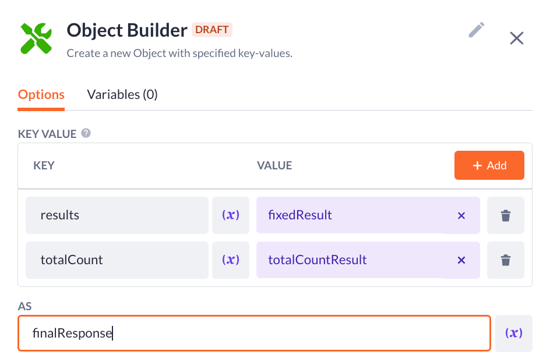
The last step we have to do is to convert the object that we currently have into a readable JSON form for the Betty Blocks models to read. For this, we'll use the 'object builder' step. This function allows us to build our own JSON objects.
An important thing to know is that Betty Blocks models require two specific objects.
the JSON needs to contain results and it needs a totalCount object. If we do not have these two properties, we can’t read the data that we retrieve from any API.
Therefore it is important to know that we need these two properties for future API calls such as HighQ or any other third-party information.
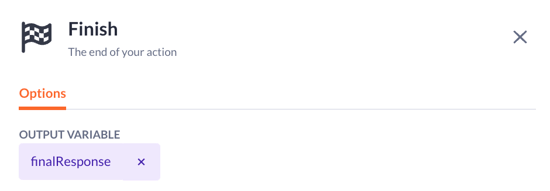
In the end, we return this 'finalResponse' object back to the output variable, which can be found in the 'finish' step.
Displaying the data
Now that we have everything set up we can go to the page builder and display the result of the action that we just created. Create a new page that requires the user to log in (this way we're certain that we retrieve a fresh authentication token).
Let’s drag a data table onto our canvas and configure it. In our case, we want to know who the Author is of the document and we want to know the Name of the document.
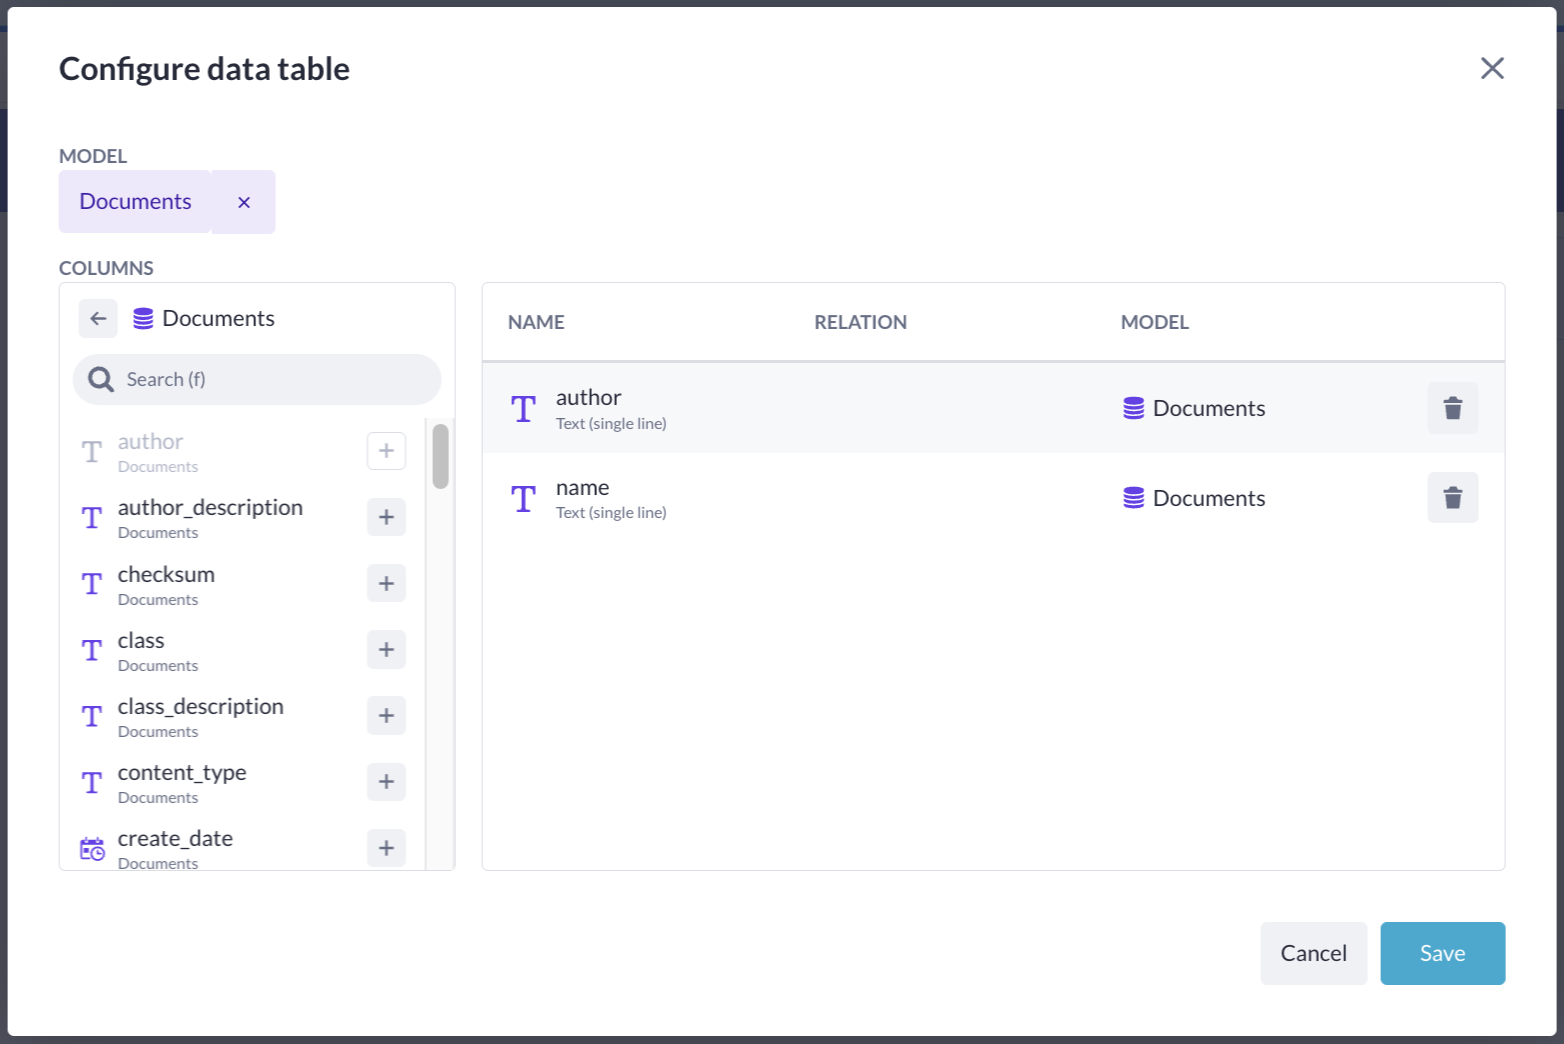
After we’ve configured our data table we have to create a filter, to pass a parameter to the remote data source, create the filter like this; 217 is the workspace id used in this use case, but yours might be different:

Select the 'documents' model, and you can choose any property, in this use case the property 'author' has been chosen but any other property will do the trick.
Compile the page by pressing the 'play' button in the top-left corner of your application.
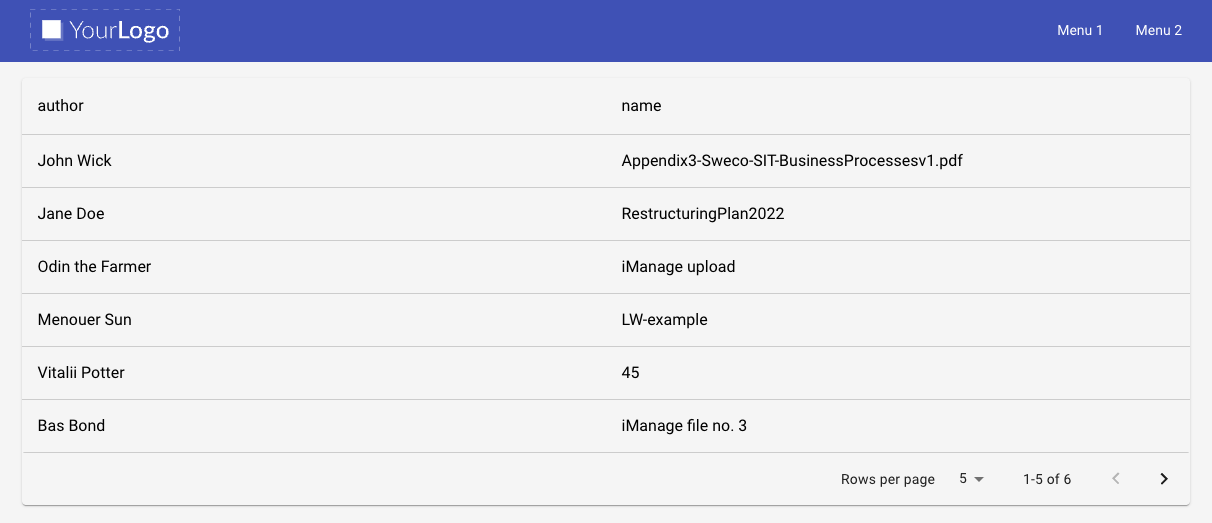
You can now show information from iManage in your Betty Application.
