Configurations
Need a place to store a 'global' variable, or data that you reuse a lot throughout your application? Configurations got you sorted.
Configurations can be used for a variety of things within the platform. They can be seen as a 'global' variable of some sort. Configurations allow you to reuse a value in multiple places, like in multiple action steps. But suppose that value changes instead of having to re-adjust that value manually in those action steps, then you can simply change the value of the configuration and it'll be changed in all the steps where you've used the configuration. Configurations can also be used to store stuff like login details or API keys.
Application configurations are environment-specific. In a sandbox environment, configurations are tied to that particular sandbox. Therefore, when merging a sandbox into a higher-level environment, the configuration itself will be merged, but the value associated with it will not.
For example, imagine you have a configuration named 'API Key' with the value 'my_password' in your sandbox. Upon merging, a configuration entry named 'API Key' will be created in the target application, but its value will be blank. You'll need to manually configure the appropriate value in the destination environment."
Configurations are always of the kind string, in other words, text. This means that if you want to add a number as a configuration it might not be available when you try to use it, in for example, an action.
Let's start by creating a basic configuration.
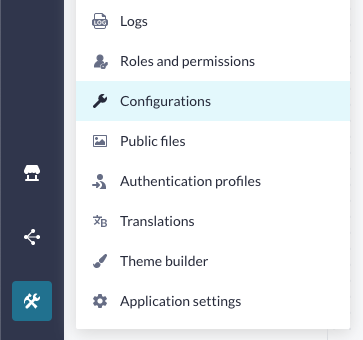
1. Open the tools menu (1) from the builder bar and pick up the configuration (2).
2. You can create a new configuration by pressing the New button (3).
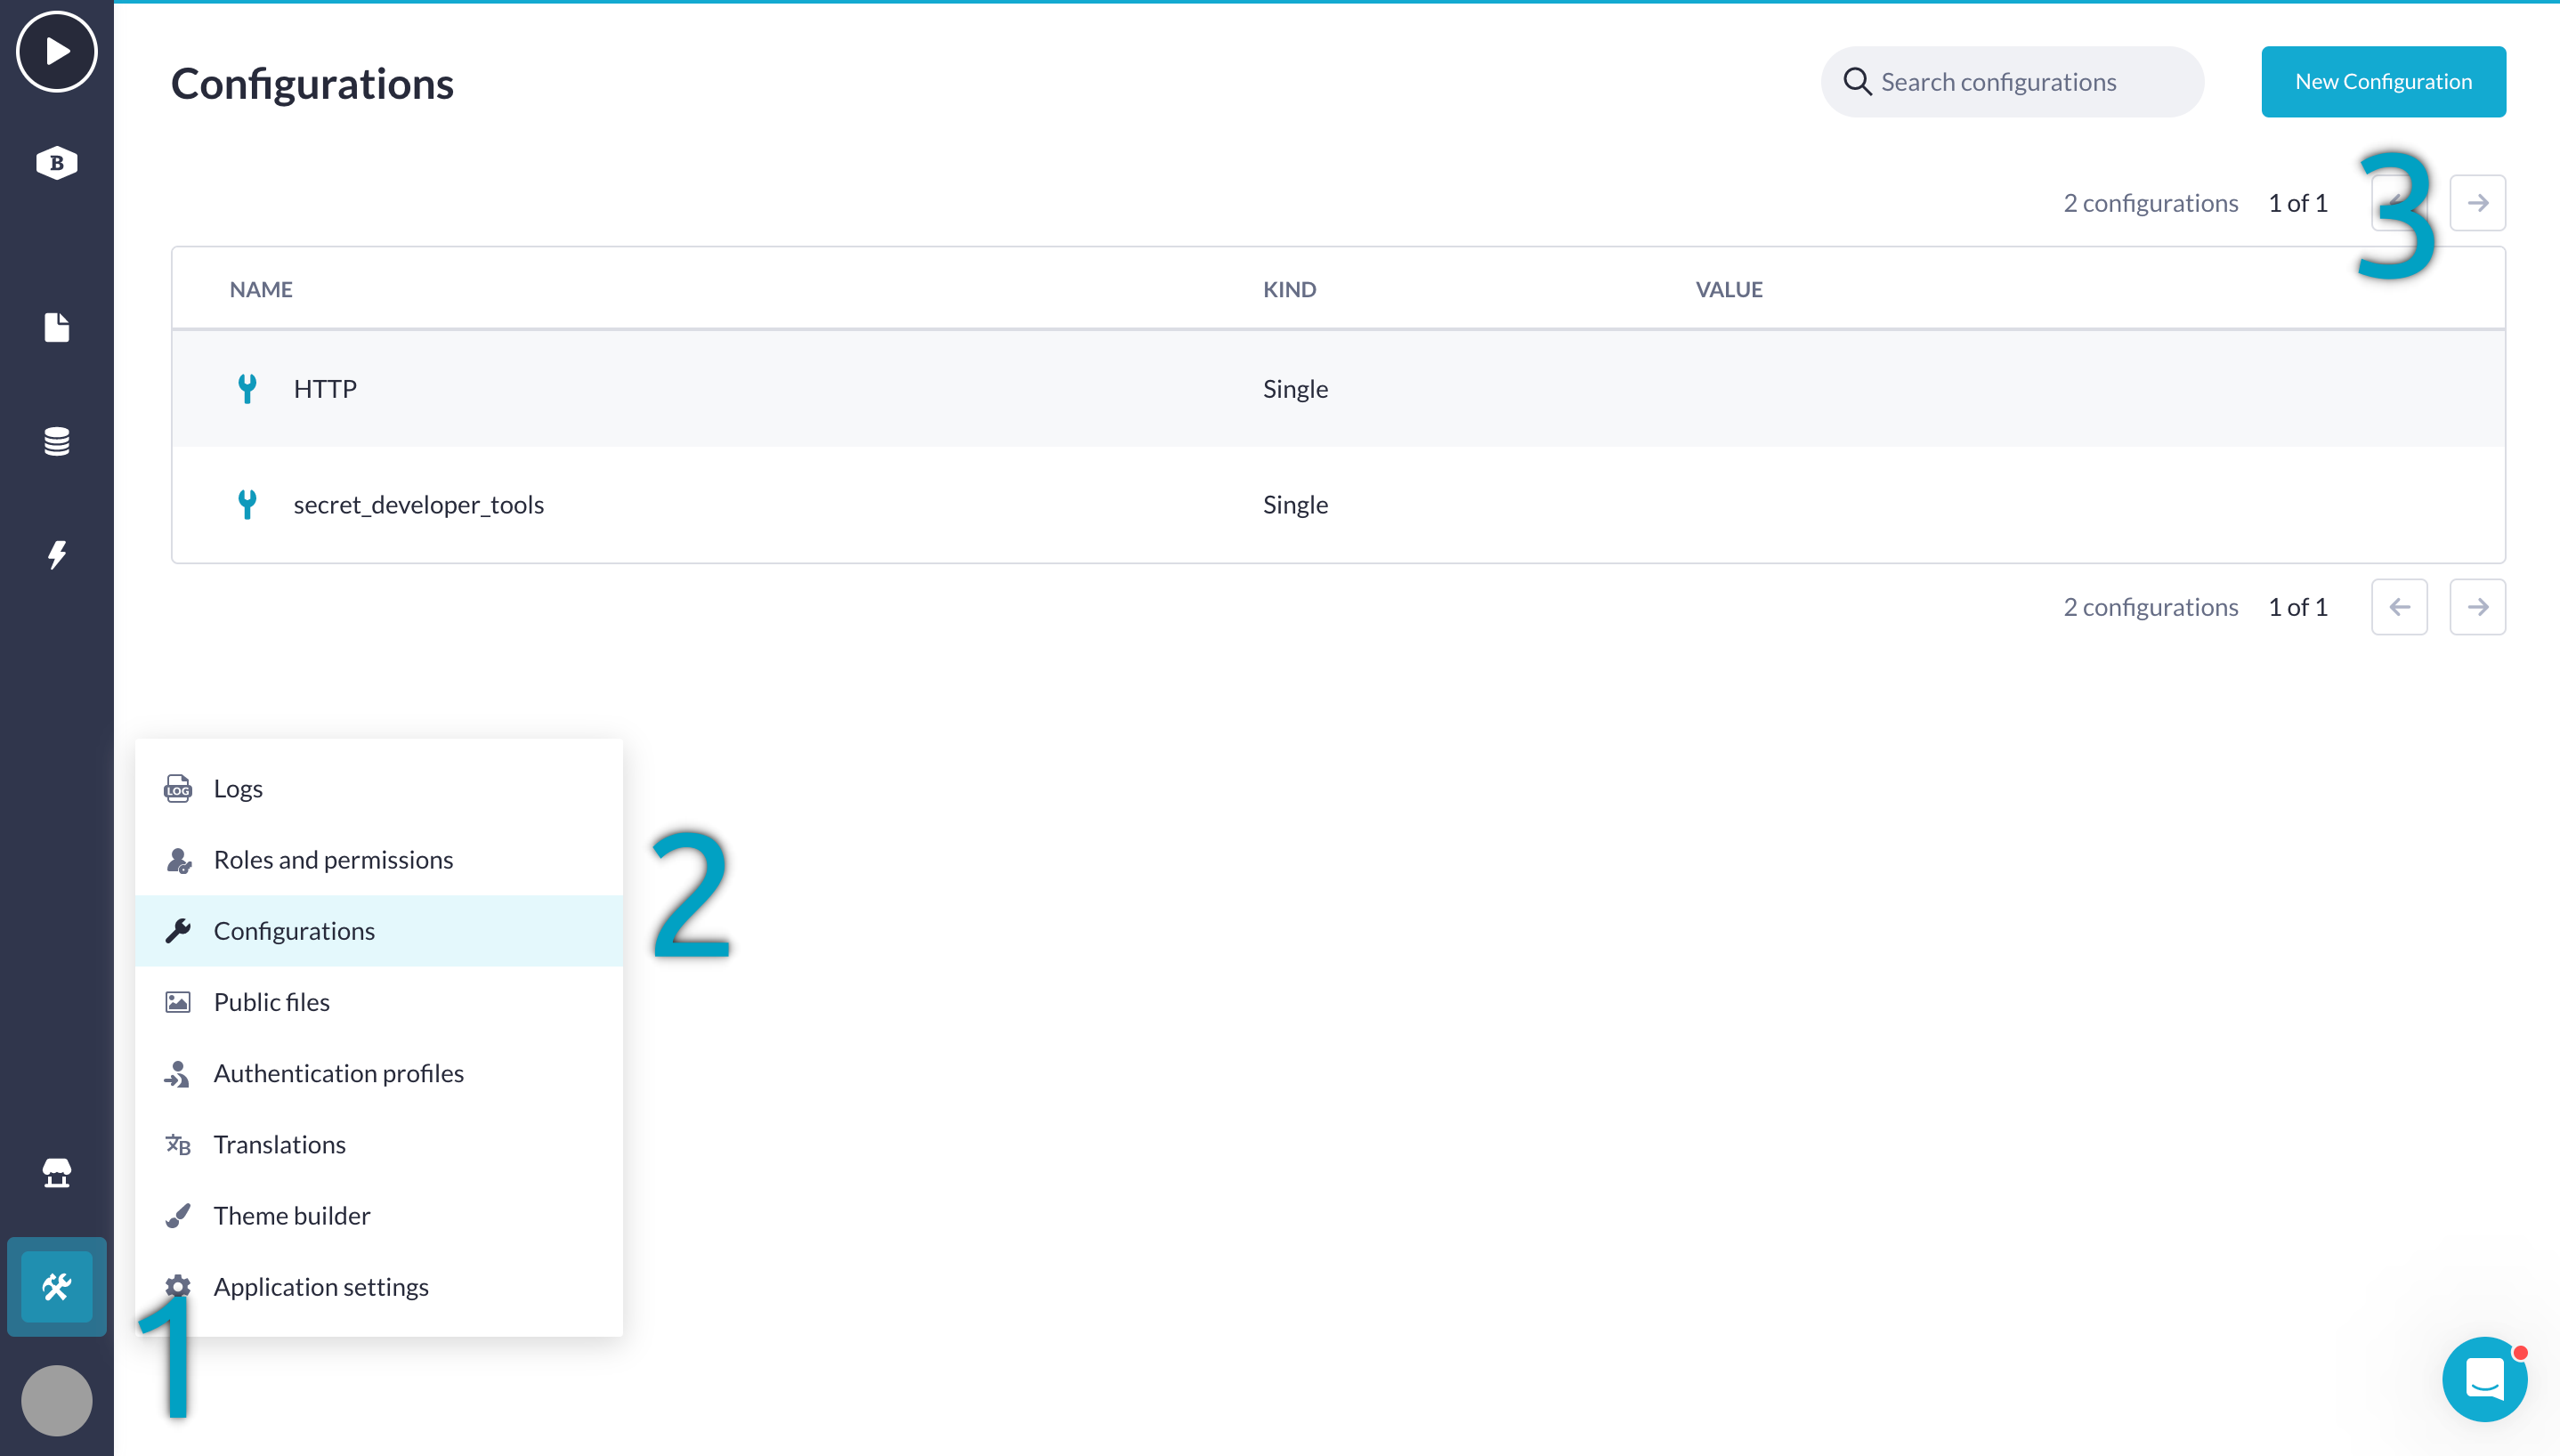
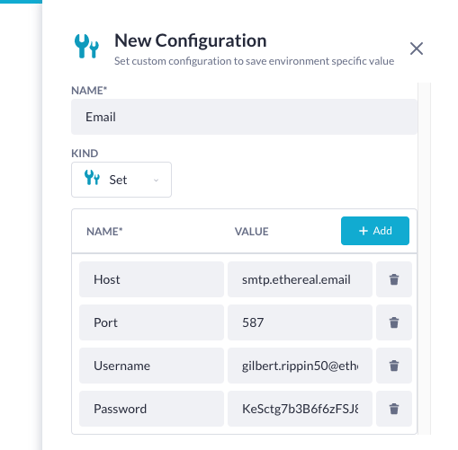
3. A slide-out window is opened where you can specify the details for the configuration: name and value. You also have the option here to choose what kind of configuration you'd like to create. A single configuration contains just one value but if you want to create a configuration for, for example, your email then a set might fit better. You can add multiple values to one set and use that within your actions etc.
Setting up an email configuration
The send email step used below can be installed from the Block Store.
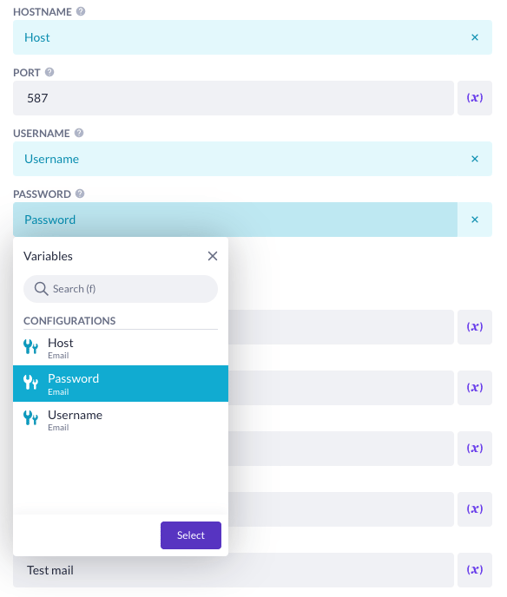
You can make use of configurations when working with emails. You probably don't want to manually fill in the host, port, username, and password values in, for example, 6 email steps when one of those values changes. Creating a configuration for this instead, and updating that when a configuration changes so that it'll automatically be applied to those 6 steps is a better approach.
Go to the Configurations section located within Tools section.
You can create single configurations, but in this use case, creating a set is cleaner; this allows us to keep our configuration overview a bit tidier. Configure the Email configuration like below.
Note that the port number isn't here, that's because configurations are strings or in other words text, so if we were to add a port number, it would be greyed out when we try to select it.
Encryption
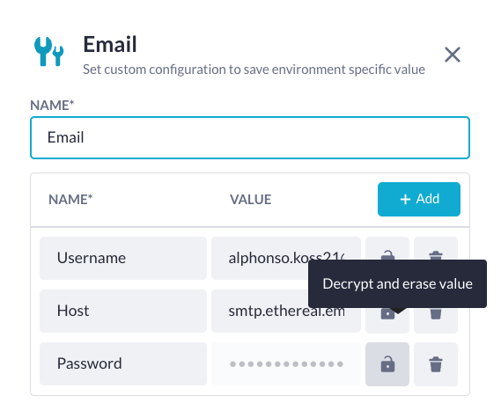
Another nice feature is that we're able to encrypt values. In this case, encrypting the password is a nice thing to do - we don't want everyone with access to the configurations to see this. Encrypting values is also super nice whilst working with APIs, ensuring that the data and keys etc. that are sent back and forth are not publicly visible. As shown in the images above, when you decrypt a value, it'll instantly be erased in order to make sure our sensitive data is kept safe.
With the step properly configured, it should work like normal. When we run the action in the playground, an email should be sent.
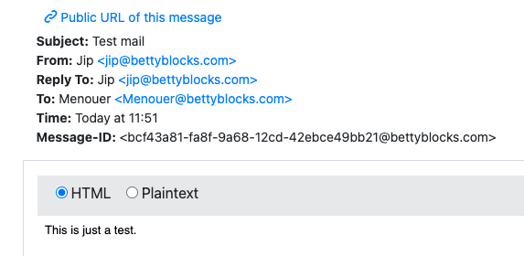
And voila, our test mail to see if the action step works while using configurations seems to work just fine!
Configurations & sandboxes
Configurations are meant to store environment-specific values, so you can set different settings across the sandboxes. For example, while your sandbox might use one set of API credentials for a development instance of HighQ, the production environment requires different endpoint credentials and API keys for its HighQ API.
When you merge your sandbox, the configuration setting (like 'API user name') is transferred. However, the value you had in your sandbox is not. You will need to manually configure the correct value in the target environment (e.g., the production API user name or a 'True/False' flag).
Therefore, after merging a sandbox, remember to update the values of these environment-dependent configurations. Otherwise, your application may not function correctly in the new environment.
Custom configurations
The Betty Blocks product team might sometimes create custom configurations, allowing you to set certain options in your application that are rarely used, but we still want to make available to you.
Beneath this header, we will collect custom configurations when added to the platform and made available to the public.
Custom Favicon
To learn more about setting your own Favicon, see our page settings article.
Custom manifest configuration
When creating an application that should also be reachable via your mobile device, you want to make sure all items, such as your loading screen, application icon or start url are determined. This can be done by following these steps:
- Create your own PWA manifest.json or manifest.webmanifest file, and upload them to your applications public files.
- Create a configuration in your application, called: CUSTOM_MANIFEST
- Make sure you manifest file has the correct options, see https://developer.mozilla.org/en-US/docs/Web/Manifest for an example
Once set, your mobile application should be accessible from your applications root page and use the values you have set prior.
