Login flow template
Find out about the application template with registration, login and reset password functionality.
After reading this article you’ll know:
-
Functionality and main features of the template
-
Basic steps on how to create and configure this template
-
How to manage users and their roles in the back office
-
Some tips on visual stylizing your application’s pages
With the Login flow template, you can create a new user with an admin role to register and manage the application’s webusers through the back office. Login and logout functionalities are included, as well as the changing/resetting password feature. As with any other template of Betty Blocks, it’s expandable to one’s needs.
Main features
Register new account
Registering a new user account is required as you take the first steps. This first registered user will be automatically granted an administrator role. The details to fill in during the registration are:
-
First name
-
Last name
-
Email address
-
Password
Login/logout
Once a new user is registered, they will have to go through the login process. Email address and password are required. If someone needs to log in to the application using different credentials, they will have to log out first. Logging out is also required if a user does not want to stay in the system.
Updating profile details & password
The user’s profile details are displayed on a separate account page. One can go to this page any time to update profile information:
-
First name
-
Last name
-
Email address
-
Profile image
Another tab on the account settings page is created for updating passwords. The fields to fill in:
-
Current password
-
New password
-
Confirm password
Password reset
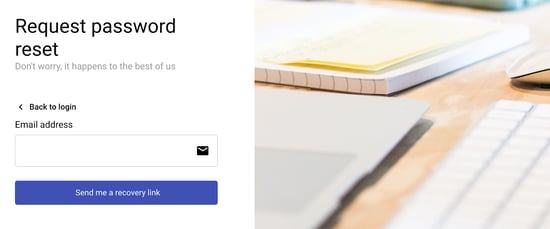
If a user forgets their password, they can request a password reset from the login page. This action requires the user’s email address to which they will receive a special email with the recovery link.
Back office
Serves as a management interface for users of your application. Here an administrator can add and edit webusers’ profiles, assign an admin role if needed, and set the email configuration.
Switch language
Switching languages is available for logged-in users only. Two languages by default are English and Dutch.
Pages overview
-
Email configuration. The part of back office functionality that is used to configure the server to send email notifications to inform the application’s webusers of changes.
-
Home. The homepage of your application.
-
My Account. The page to edit your personal information.
-
User Login - Create New Account. The page to create a new user’s profile.
-
User Login - Login. The start page of your application via which registered users can log in using their credentials.
-
User Login - Password Reset Request. Using this page you can request to reset your password; a special link will be sent to your email address
-
User Login - Reset Password. The page with reset password form; here users can create a new password.
-
Webuser management. This part of back office is used to search, add and manage webusers.
Creating application
As you open My Betty Blocks, you will see your dashboard with suggested application templates in the ‘Start building’ section.
Click View all templates, then find the Login flow template and choose Use template (or Preview if you want to see the demo overview).
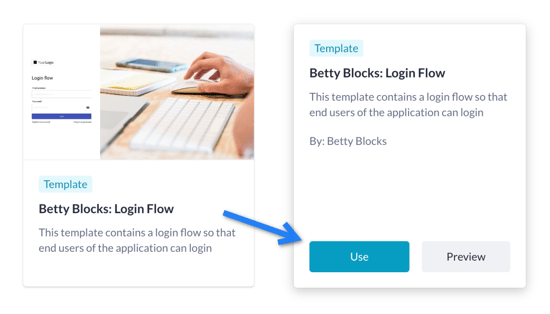
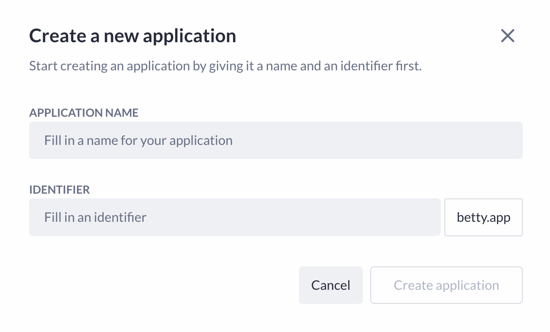
In the pop-up window, fill in the name for your application. The identifier will duplicate the app name by default, but you can change it yourself. This name will be displayed in the application’s URL.
After your application is created, you can proceed to the next step.
Setting up the template
Your Login flow application is now ready to be used, but first, we need to do some preparations. Let’s go through the main functionality and find out how to work with it.
New user registration and login
The most important step you have to take to set up your application is to create the first user that will have the administrator’s rights. After doing this, you will be able to invite webusers and choose their roles in your application.
Note: You have to be extremely careful while creating your first application user account, make sure you have access to the email address you are using.
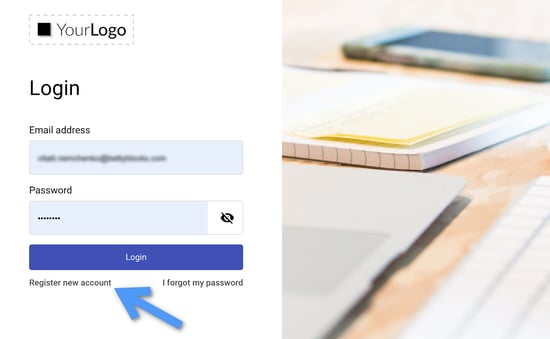
Open your application’s dashboard, and click on the Play icon to compile it. You will be redirected to the login page where you have to choose the option Register new account.
In the new window fill in the fields with your user details. An email and password should be unique for the user to be registered. Click on Create account.
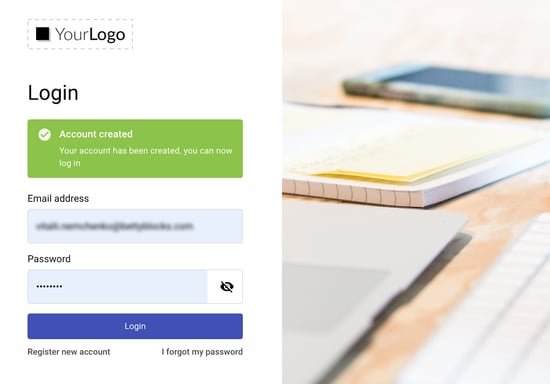
You will get a message that your account has been created. Now you can log in using your credentials.
Email configuration
Another important step here is setting up the email configuration. By doing this, you will enable the server to send email notifications to inform the application’s webusers of changes. For filling out this configuration, have your company’s email setting at hand. If you don’t have one, use a fake SMTP service to retrieve this info (e.g. Ethereal Email).
Open the back office from the top menu, then go to the ‘Email configuration’ tab. There you’ll see the basic configuration containing:
-
Hostname
-
Port
-
Username
-
Password
-
Sender email
-
Sender name
-
Application identifier
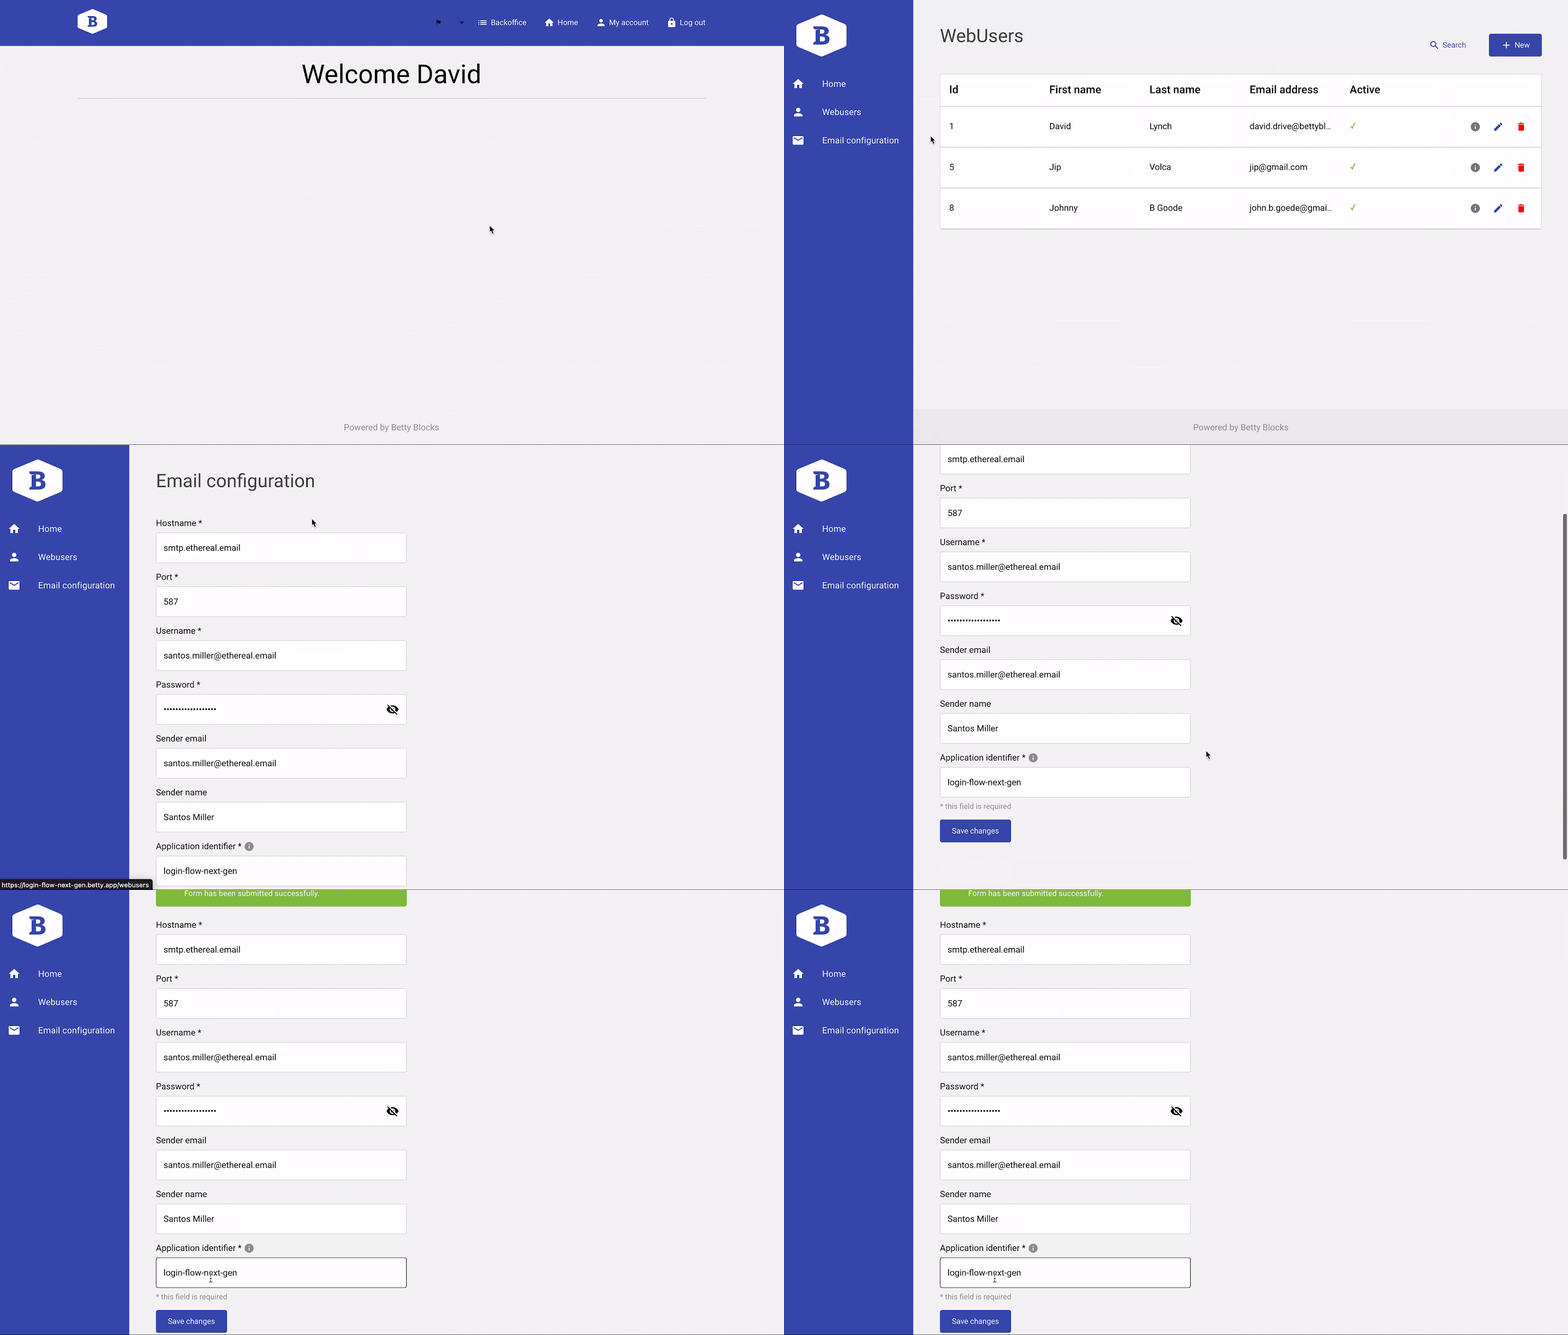
Copy-paste the hostname and port, and fill in the username and password. ‘Sender email’ and ‘Sender name’ are used to set the primary address that will be used to send emails, and ‘Application identifier’ is part of your application’s URL (everything between // and .betty.app):

Make sure you haven’t made any typos and press Save changes. This setting will enable you to invite webusers and send notifications to them via email. An SMTP step in the action flow gets created so that you don’t have to set this configuration again.
Using template
After the email configuration has been set, you can start using the template’s capabilities to invite or delete webusers, view and edit their personal details, or assign an admin role to them.
Inviting new webusers & roles
Click on back office and the webusers overview page will open as default. To add a new webuser, press the New webuser button in the top right corner. Fill in the user’s details and chose a role:
-
Admin has basically the same permissions as your current profile, that is: adding new webusers, viewing, creating, and updating profiles, and setting email configuration
-
Webuser’s role is limited to login flow functionality: logging in and adjusting their profile
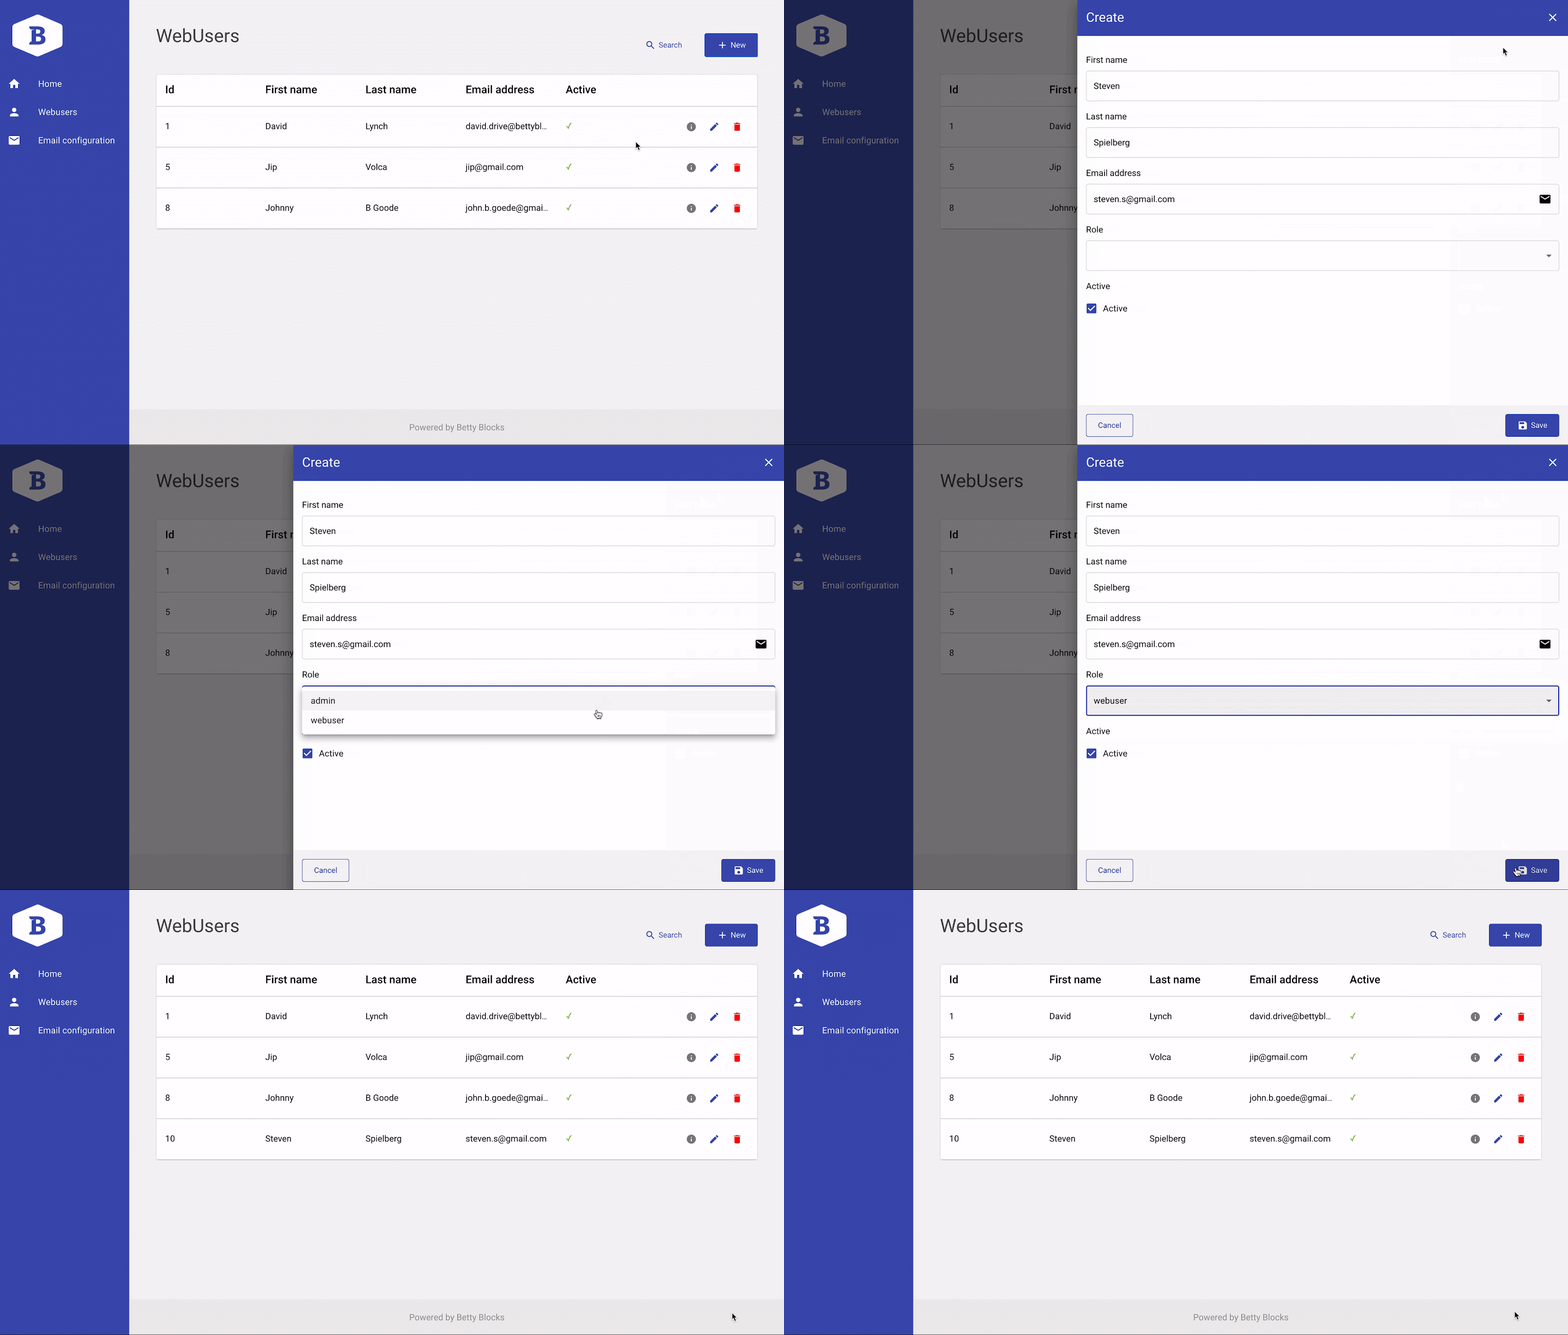
Lastly, toggle the Active to activate the user’s account. Press Save after you’re done. This will trigger the action to send the notification email will be sent to your application user automatically and they will be able to log in to their account.
Managing webusers
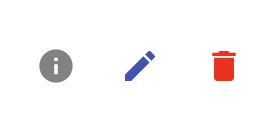
After new webusers are added to your application, you will see their list on the webusers overview page. Each listed account has a small set of icons on the right to manage
them.
-
Click the Info icon to see the chosen webuser’s personal account details
-
Pencil icon enables you to edit webuser’s account details
-
Delete webuser’s account with this last icon
Personal account management
Changing profile details and password
After you’ve logged in, the home page of your application will look like this.

It’s possible to change your user’s details at any time by clicking My account on the navigation bar. There are two tabs here. The profile details tab is opened by default. Here you can change your first and last name and email address. It’s also possible to set or change the profile image that will be displayed in your application.
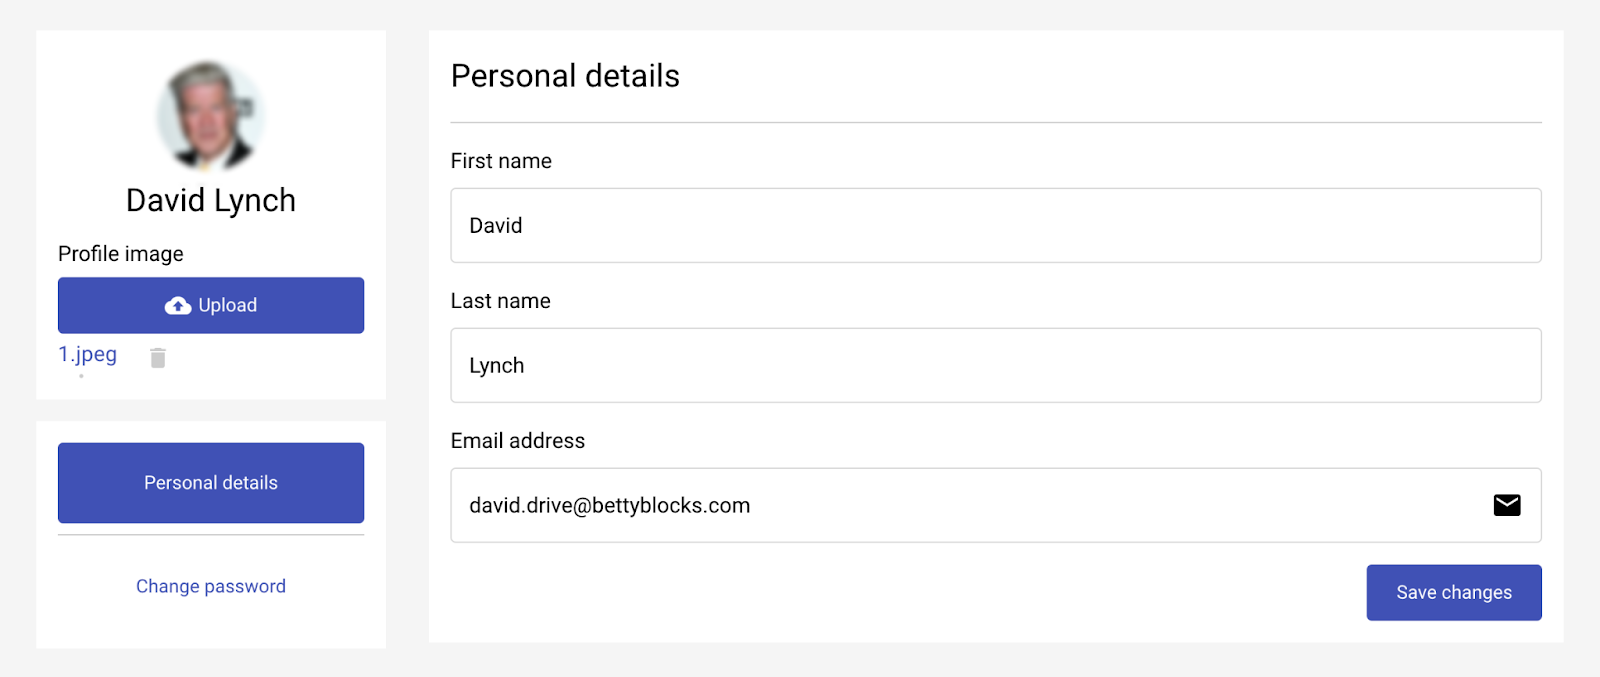
After you’ve finished editing your profile details, save the changes.
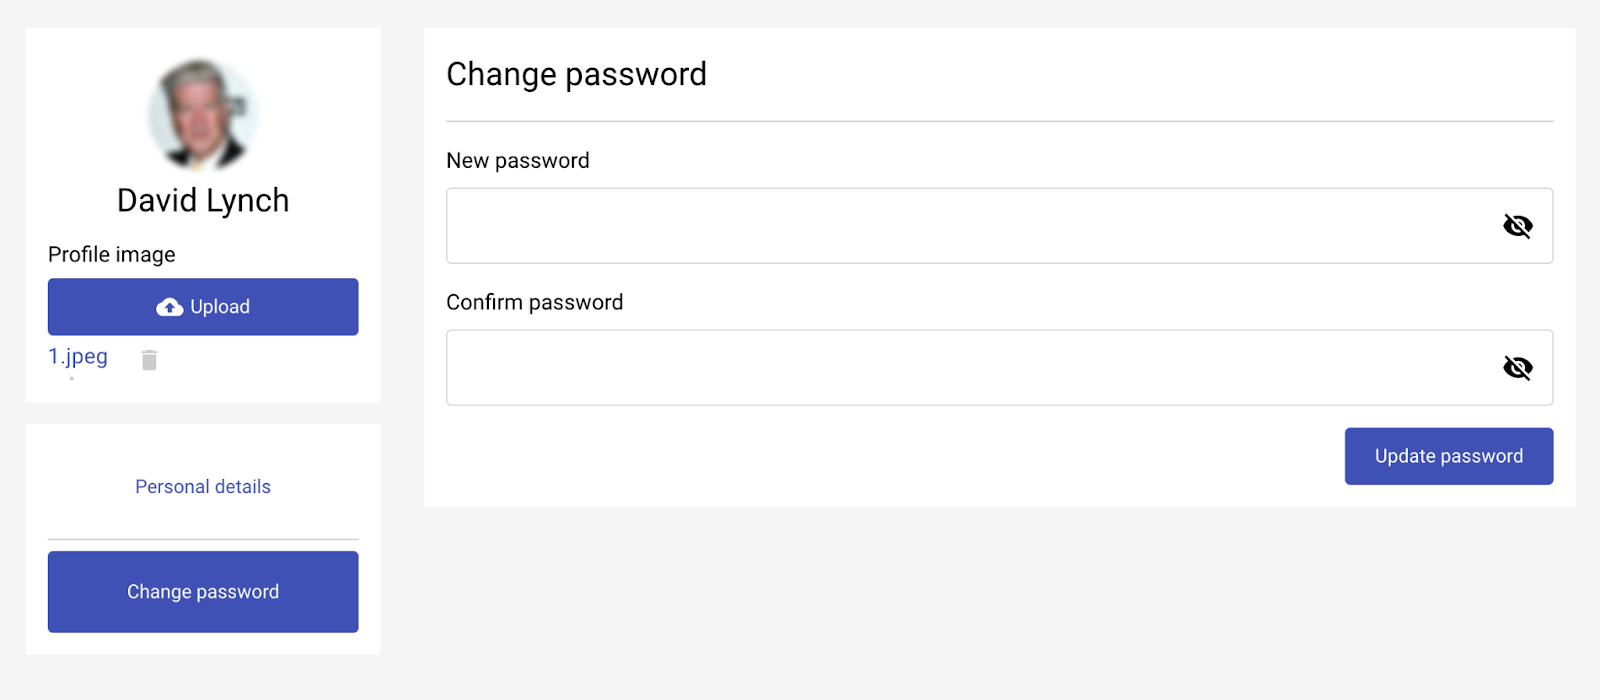
A new tab will open as you click on Update password. Here you can change your password. Type in your current password and the new one twice. Don’t forget to click Update password when you finish.
Note: Toggle visibility by clicking on the eye symbol to see the passwords you’re putting down.
Resetting password
In this section, we will describe actions you should undertake in case you forgot your password. The procedure of resetting passwords within the Login flow application is as simple as possible.
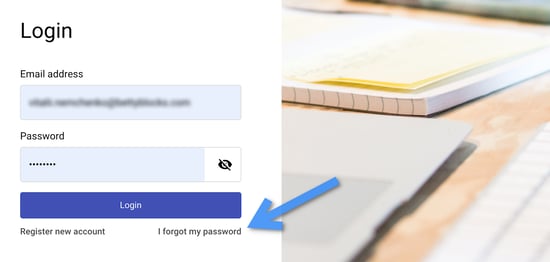
First, find the I forgot my password option on the login page and click on it.
You’ll see an empty field where you must enter the email address you used to create your account in this application. Click Send me a recovery link and it will be automatically sent to your email address. All you have to do is open the corresponding email and follow the link. The ‘Reset password’ page will open. Type in the new password, confirm it and click Set new password.
Changing interface language
Users can switch between two languages: English and Dutch. In order to do that find the flag icon on the application’s navigation bar.
Template stylization
To make sure your Login flow application looks in line with your product’s visual design, you might want to apply some changes. See this article to learn about working with an application bar and adding a logo to your pages.
Other stylization settings are implemented through our theme builder. There you can choose a color scheme, typography, and other options to make your application look sleek and attractive.
