Sub-action step
Find out how to install the sub-action step and how to use it, and why you should use it.
After reading this article, you'll know:
-
Install the Sub-action block
-
Configure the step and use it
Getting started
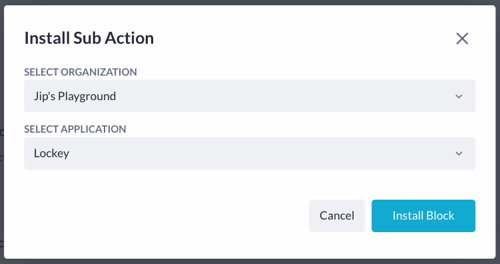
Since the sub-action function isn't in the standard list we'll have to install it via the block store. You can download the step right here. Select your organization and the application in which you'd like to use the function.
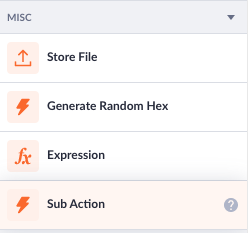
After installing you should see the Sub-action step in the miscellaneous section.
All right, let's see what we can do with this function.
Using the Sub-action
To use the Sub-action you first need an action, you can then use the Sub-action function to run that action in another one. Let's start with a simple use case. We have an application with projects. Once a project is completed (by pressing a button) we'd like to send an email letting a user know the project is successfully finished.
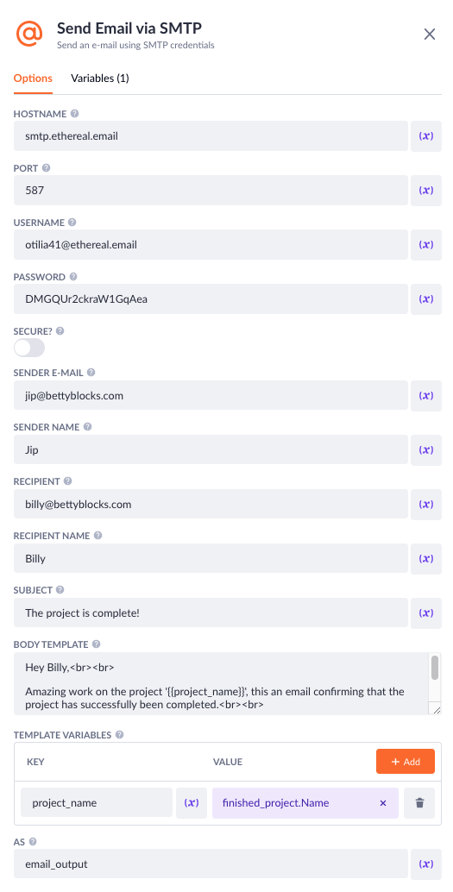
For this let's start off by creating an action that sends out an email, and create a new action called 'Send project finished email'. If you don't have the Send e-mail via SMTP function in your function list then you can click here to install it. Once installed simply drag it into the flow and configure it like so:
If you want to learn more about sending emails make sure to read this article explaining how to use and send emails.
Note that there's one variable in the step, this is to demonstrate that you can give data to the sub-action. We want to show the name of the project that we completed in this email. In the Start step is an input variable named project_record we can use this input variable in the email step like this:
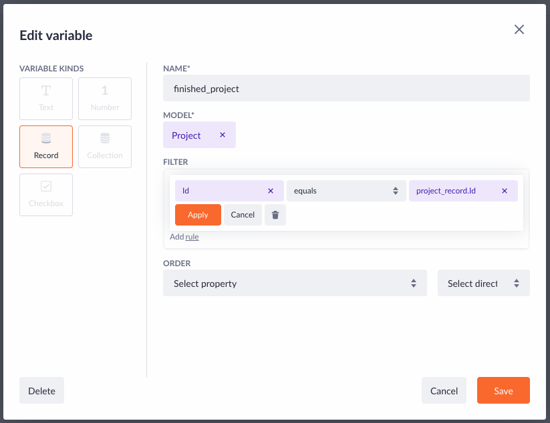
After creating this variable we can use it in the body template, as you can see in the image above of the email step configuration.
So this our mail action. Go to your pages now and create a new page. Drag an Action button on the page, and rename it to something like 'Finish project'. Edit the action of the button by pressing the pencil icon next to the action option.
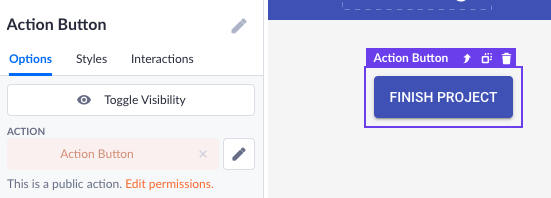
Click on the settings of the action and make sure it's public for this example. We'll keep it simple by 'hardcoding' which project we want to update but you can make this dynamic as well, regardless click on the Start step and add an action variable like this:
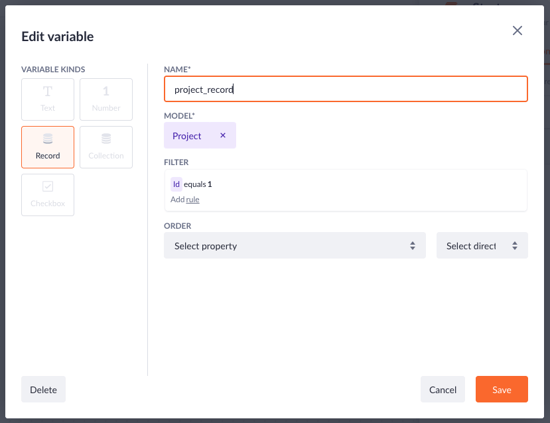
As you can see it's 'hardcoded' to filter on the project with the id 1. Next up let's update this record so the project will be completed once we press the button we just created. Drag an Update step into the flow and configure it like so:
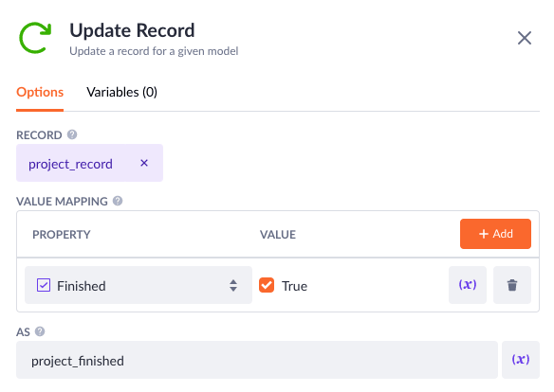
This will make sure that the project will be set to finish, we'll use the project_finished variable as the input for the Sub-action.
Now the most important part, drag the sub-action step under the Update step. Select our send project finished email as the action that this Sub-action has to run. Since this action has an input variable, ensure that we pass this onto the action by adding an input variable and selecting the recently finished project variable.
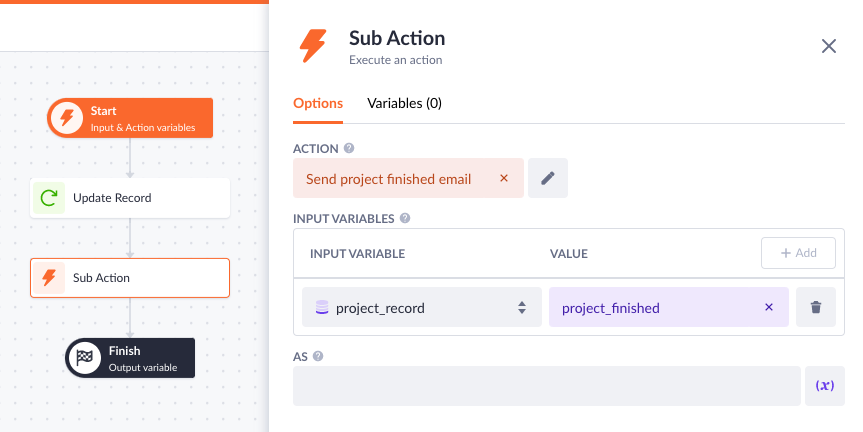
With this in place, we should be able to update our project and send an email letting the user know his project is finished.
Go back to the page and compile it by pressing the Play button in the top left corner. Click the Finish project button to test if the action and sub-action work.
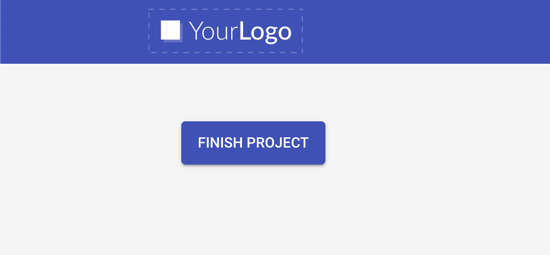
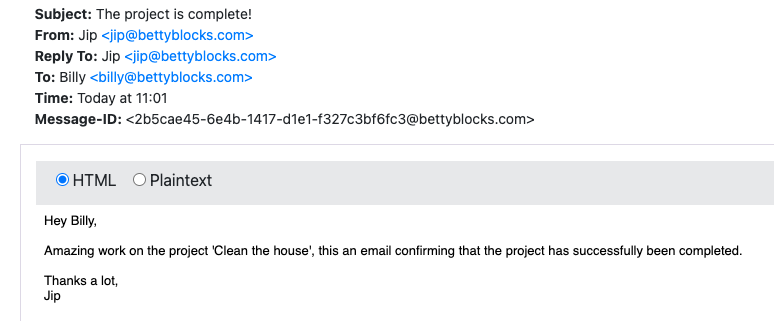
If all went well we should receive a new email telling us that our project has been completed and the status of the project should be finished as well.
Sub-actions allow you to reduce the size of big actions by cutting them into smaller ones. There are also many other ways to use the Sub-action function in your actions, of course, think about looping and running an update Sub-action in every loop. Let's also not forget the scalability and reusability that this function allows us to create.
