Send e-mail via SMTP step
Use the send e-mail via SMTP function to send e-mails in your Betty Blocks application.
After reading this article, you'll know:
-
How to install the Send E-mail via SMTP block
-
How to configure the step
-
Some best practices concerning sending an e-mail
Creating the action
To get started, create a simple page and drag an action button onto it.
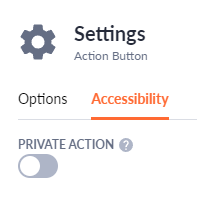
As you can see in the bottom left corner the action that gets generated is private, click on the pencil icon to edit the action. For testing purposes, make the action public, this way we can simply click the button to test out if our email function works.
With that out the way, we can start building our email function.
Getting started
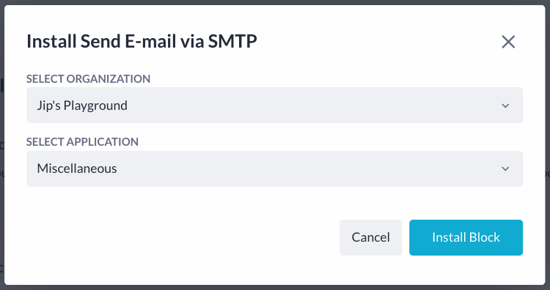
Sending e-mails with Betty Blocks is done via your actions. There's no base mail function currently so the first thing that'll need to be done is installing the Send E-mail via SMTP block. Select your organization followed by the designated application you want the function to be installed onto.
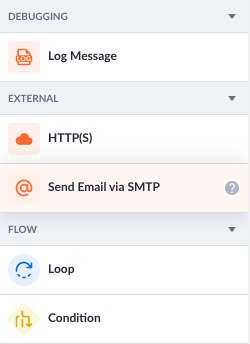
After installing you can find the new function next to your other action functions in the external section.
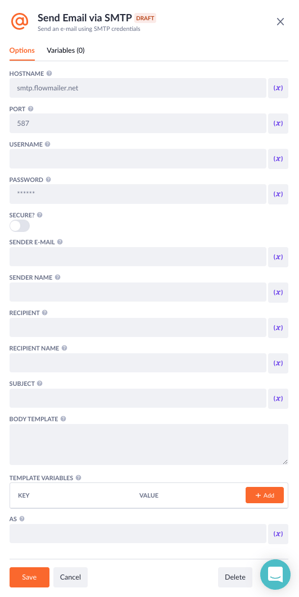
When you drag the function in the action flow you'll see it requires quite a bit of configuration.
Let's walk through the configurations together to get an idea of how this step works.
Configuring the email step
To configure the step, make sure you have the email settings of your company and/or organization with you. Contact a person who has this information to help you out, but if you don't have this information available to you then that's no problem. We can use a tool such as Ethereal Mail to create a fake SMTP service that'll do the job for us. Ethereal only works for a few hours so you have to reset the values once the inbox disappears.
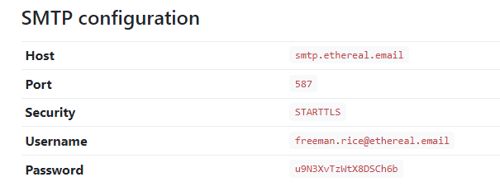
Regardless, how do we configure the step? I'll use Ethereal in this example, after pressing the '+Create Ethereal Account' button these are the SMTP settings that were generated:
We'll use the above values to create a functioning SMTP step.
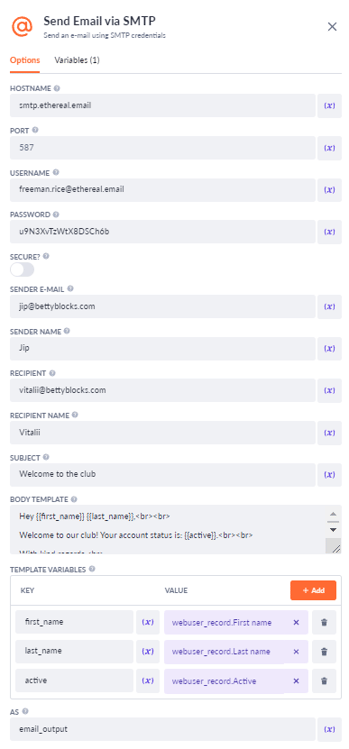
The first thing that's required is the set the hostname. This will be smtp.ethereal.email in our case. The port is 587, the username is freeman.rice@ethereal.email, and the password is u9N3XvTzWtX8DSCh6b. These values allow us to connect to the fake SMTP server from Ethereal.
The next step is to check whether the connection is secure or not. If true the connection will use TLS when connecting to the server. If false (the default) then TLS is used if the server supports the STARTTLS extension. In most cases set this value to true if you are connecting to port 465. For port 587 or 25 keep it false, in this case, I'll keep it at false.
Now we'll need to fill in the sender's e-mail address, if you want to send e-mails from your name then use your own email but this could also be a different email address. I'll use jip@bettyblocks.com for this example, and for the sender name value I'll use Jip.
Then the most important part, to whom are we sending an email? I'll use my colleague Vitalii for this example. So for the recipient, I'll use vitalii@bettyblocks.com and for the recipient name value, I'll put in Vitalii.
Choose the subject of the mail, for example Welcome to the club. Now the most important part of an email is the body template. This is your email. In the body template, you can write the email message, you can make this dynamic using the template variables. An email body is made using HTML.
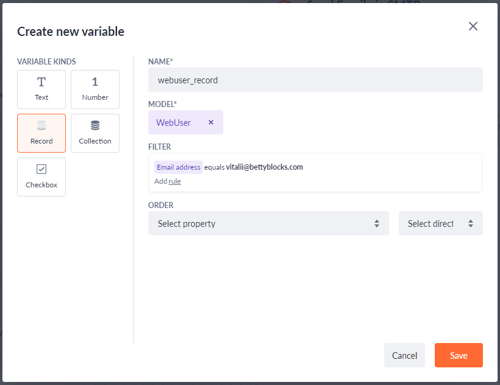
Let's create an example, for the Welcome to the club mail I'd like to say hello to the user and let him know the status of his account. To do so we'll need to first create a variable in the action step. So save the step real quick and click on the variables tab.
Create a webuser_record like the one shown above, I've set the filter to filter on Vitalii's account here (but you can make this dynamic as well using input variables from your pages, of course).
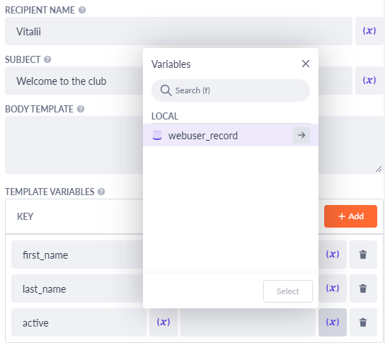
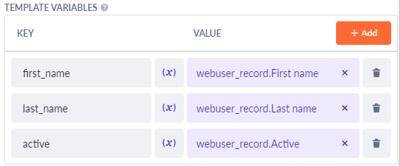
Head back to your template variables. We can now use the action variable we created to dynamically create our template variables as you can see here:
I'll use the first name, last name, and active property within the body template so create variables for those accordingly.
With these variables, we can now create our template. The template consists of some HTML code combined with the variables like so:
The syntax for using template variables is using the name of the variables surrounded by curly brackets as seen above.
Finally, name the outcome of the step something like email_output this way you could use the outcome somewhere later in the flow.
Testing the action
Let's see if it works now, go back to the page and press the Play button in the top left of your application to compile the page. Click the Send email button and go to your mailbox, in this case, I'll navigate to my Ethereal mailbox by clicking on Messages.
If all went well you should see your mail pop up like this:

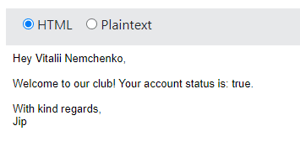
And when we open the email:
We see that it works flawlessly!
Best practices
A best practice when working with emails is making use of configurations. The reason why it's recommended to use configurations is pretty self-explanatory. Imagine what happens when we don't save the host, the port, the username, and the password values in our configurations? What happens is that if you have 10 different mail steps in your application, once one of the values changes you have to re-adjust them in all the 10 steps else your mail step will break.
By creating a configuration for these values and then using the configuration variables instead of manually filling it in per email step. Once a value changes, you simply adjust it in your configuration variable and voila, it'll automatically adjust the value for all your email steps!

