After reading this article you’ll know:
-
How to add and set new properties in the data model
-
What are quick properties and how to work with them
-
How to edit and delete properties
Each model contains a number of properties. Properties are attributes ascribed to a model and are assigned as data types: a number, text, price, image, file types, etc. When you create a new model, the default properties are assigned to it: ‘Created at’, ‘Updated at’, and ‘Id’. These initial properties provide unique identifiers. In this article, you will learn how to create additional properties for your data model and change their settings.
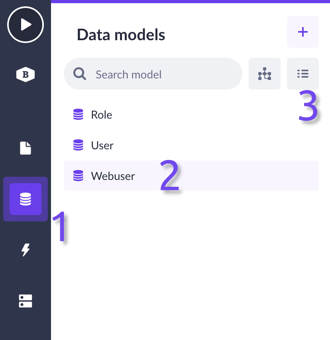
Go to the data model section (1), then either choose the model you will be working on (2) from the quick sidebar menu, or pick up one from the models list overview (3).
Next, you have to decide which properties you need to add to your model. In our case, since it’s a webuser model, it could have the following properties:
-
First name - Text (single line)
-
Last name - Text (single line)
-
Email - Email address
-
Date of birth - Date
-
Profile picture - Image
-
Phone number - Phone number
In this example, we will add a few properties and you’ll notice that some of them require validations: the first name and password property are required, and the email address has to be both unique and required, etc.

-
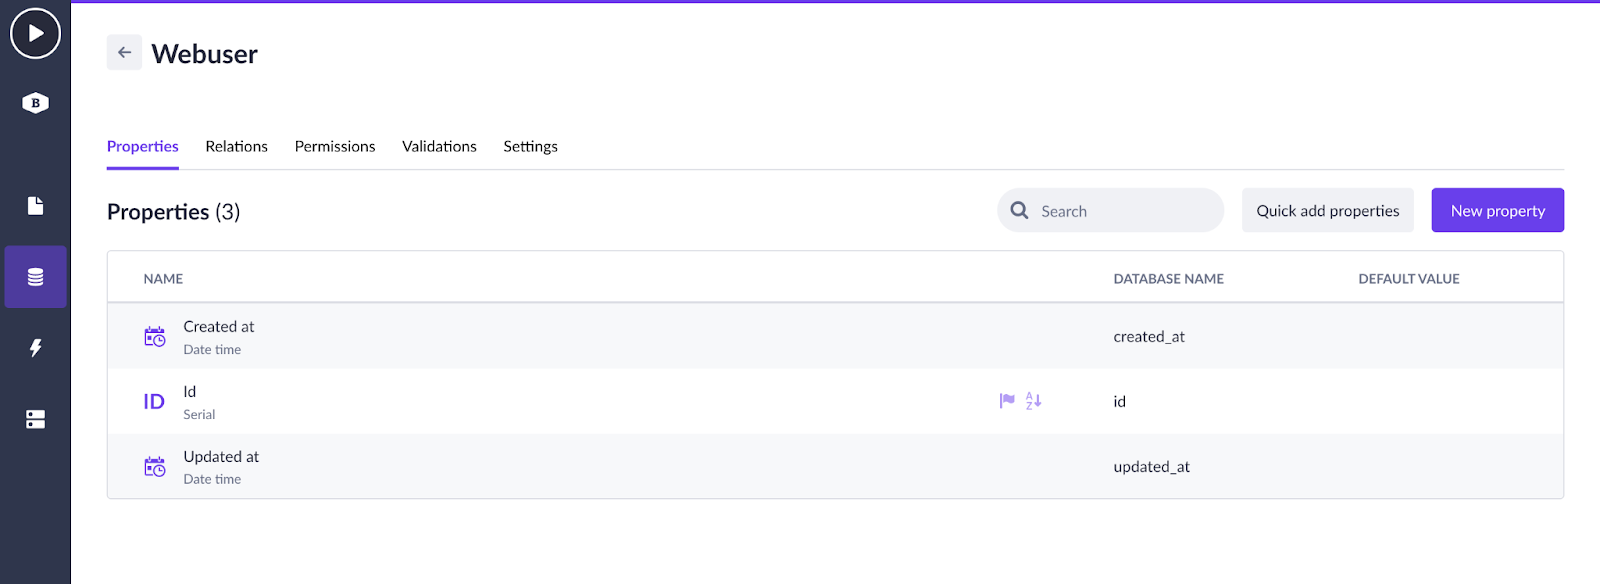
Open the model you want to add properties to.
-
Click on the
New propertybutton. -
In the sidebar on the right, choose:
- Property type (Text, Date, Email address, etc.)
- Name (should always start with a capital letter)
- Default value (None, Static or Dynamic values)
- Validation (Is required, Has to be unique)
-
Save your progress.
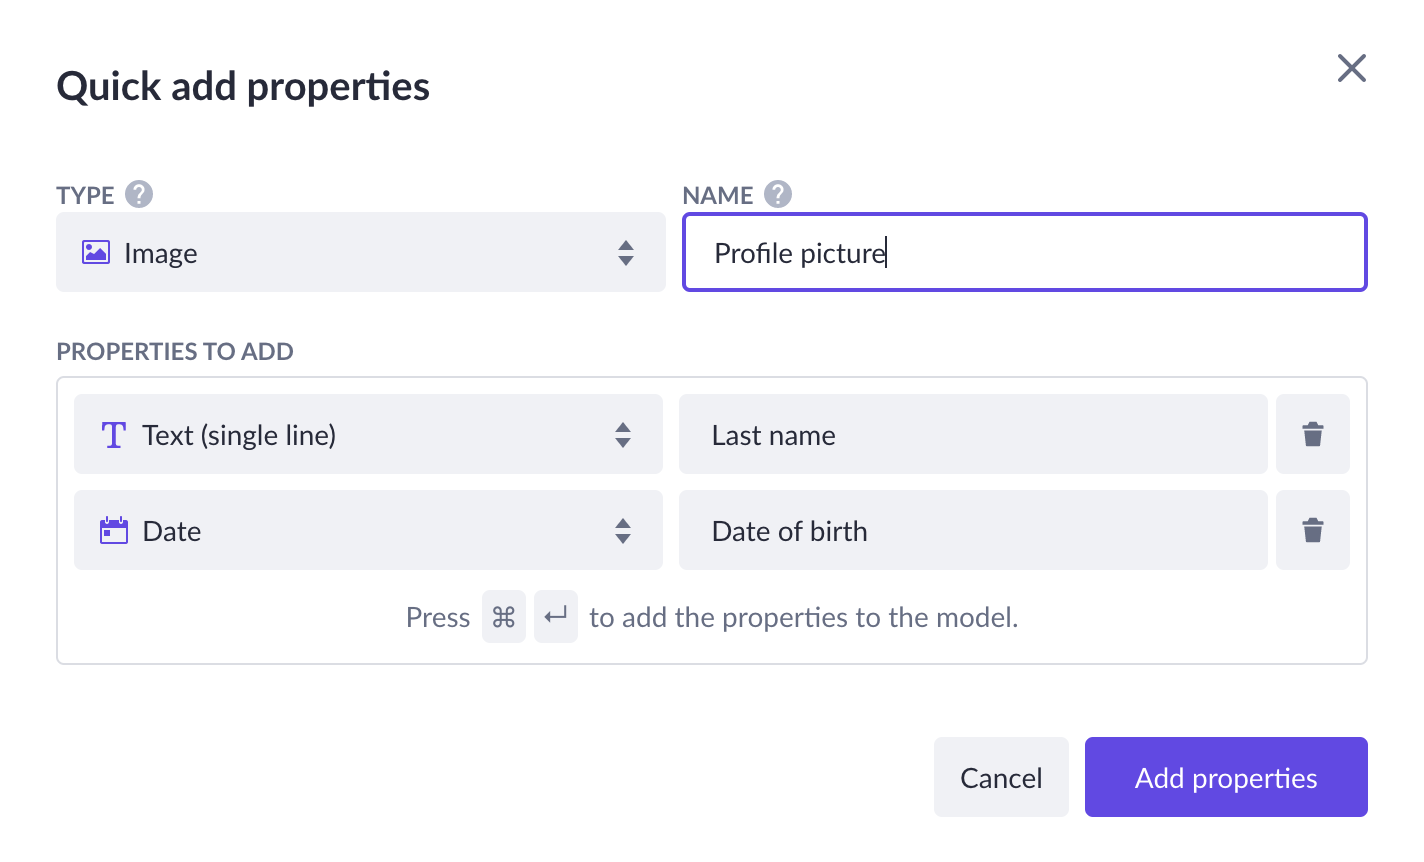
Using quick properties
Using the Quick add properties button, you can add one or more properties by filling in only their names. Additional details can be provided at a later stage.
-
Select the type classification applied to the property
-
Come up with a name for your property. It must be unique and specified and start with a capital letter
-
Press the enter key. The property is now displayed. Repeat steps 1 and 2 to create additional properties that you want to define. The quick properties list expands as you create additional models.
-
Select the ‘Add property’ or press Ctrl(Cmd)+Enter when complete. The properties are now added to the model. You can customize the settings of each property. To display the settings pane for the property, click on the property name in the model list overview. Now the property pane is displayed.
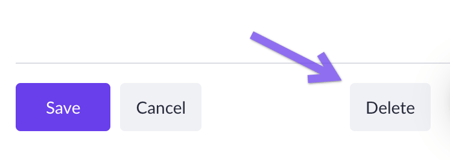
Editing and deleting properties
You can come back to any of the properties anytime to edit its settings. Let’s say, you forgot to mark some property as required or want to set its maximum length (if it’s a text property). To do this, just click on the property you want to change, and in the menu on the right, edit its settings. Click the Save button when you’re finished.
To delete a property, click on it to choose one. Then in the side menu, find the delete button and click it.