Creating a new page
First step to creating a new page via the page builder
After reading this article you’ll know how to:
-
Create a new page from scratch or with a template
-
Add some essential elements like the header, footer, and image to your page
After you’ve created your application within our platform, you can start setting up pages and filling them out. Betty Blocks provides users with a few options to choose from while creating their pages: building them from scratch or using various page templates. This article is a quick guide to making your first page and adding essential elements to it.
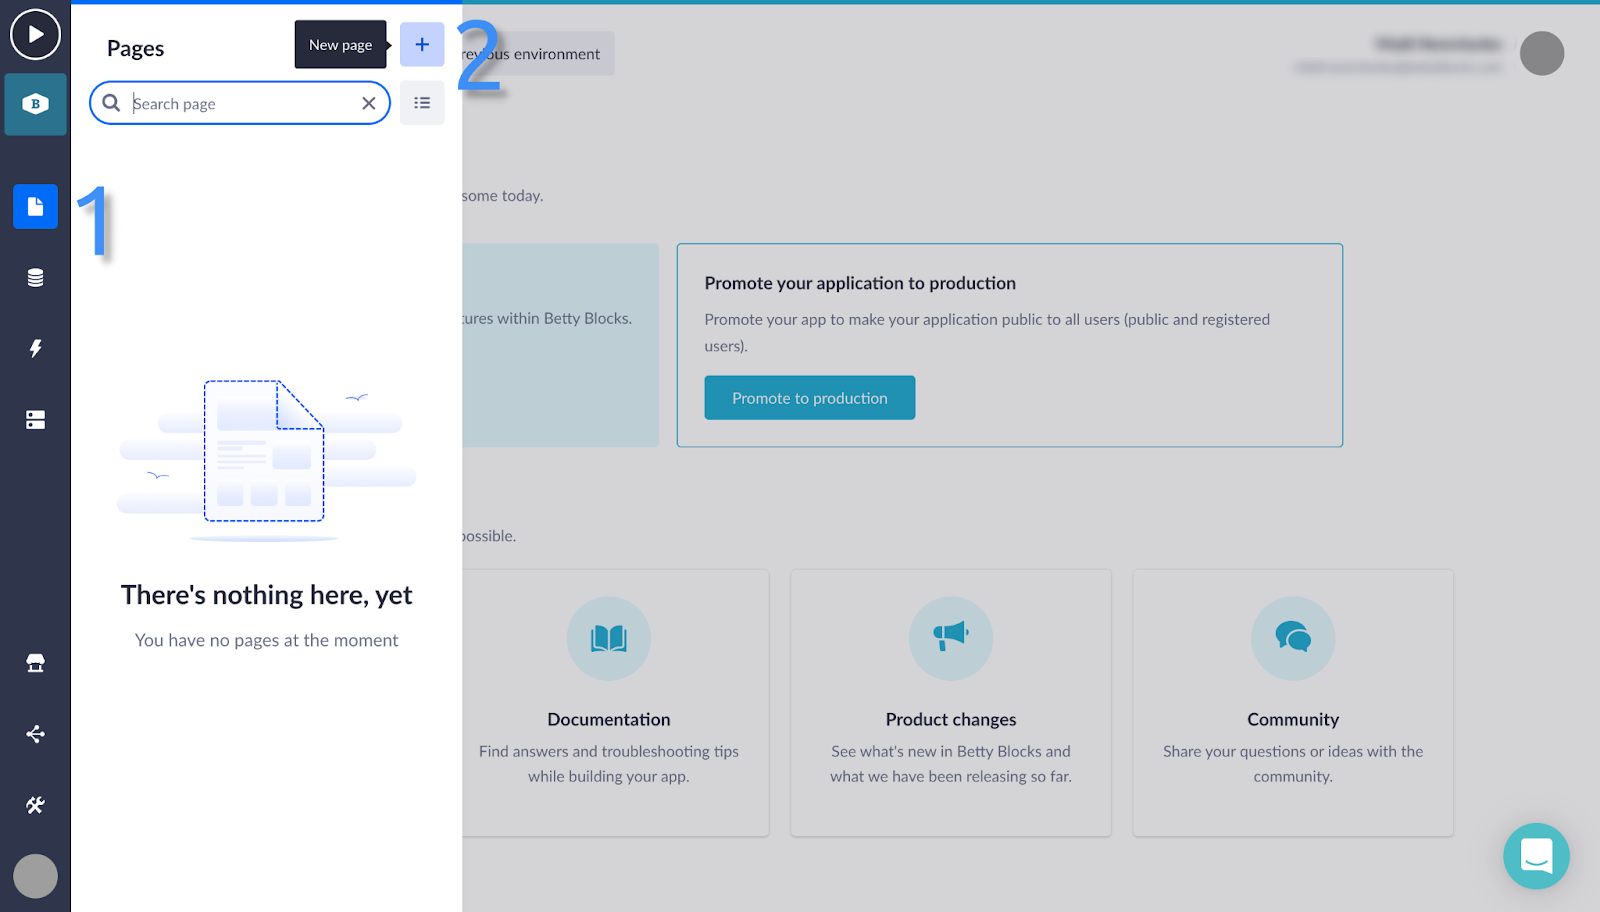
Open your application’s dashboard and go to the pages section on the sidebar (1). Then click the + button to create a new page (2).
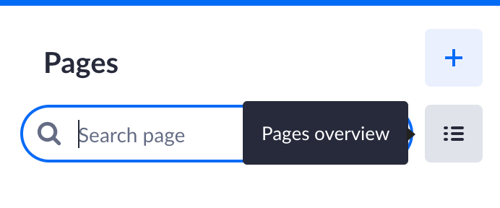
Another way of doing this is to go to the page overview by clicking on the button below the +.
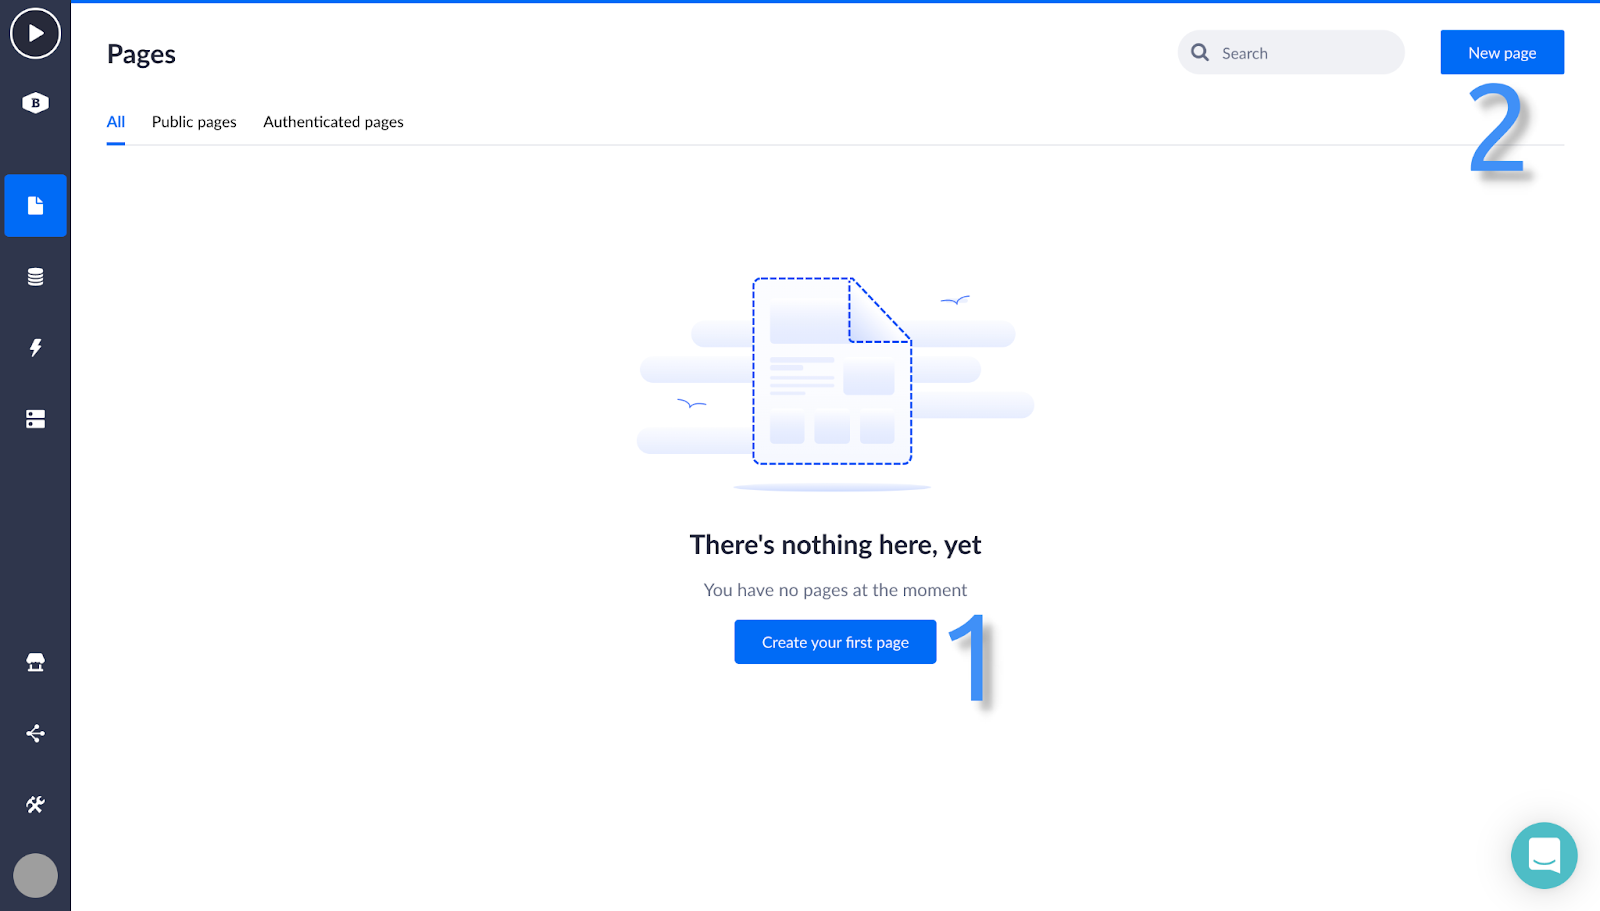
From this page, you can either choose the Create your first page button (1) in front of you or click on the New page (2) in the top right corner.
Now it’s time to choose whether you want to use a template or start building your new page from scratch. Let’s first take a look at how to use a blank page. Click on the Start from scratch button.
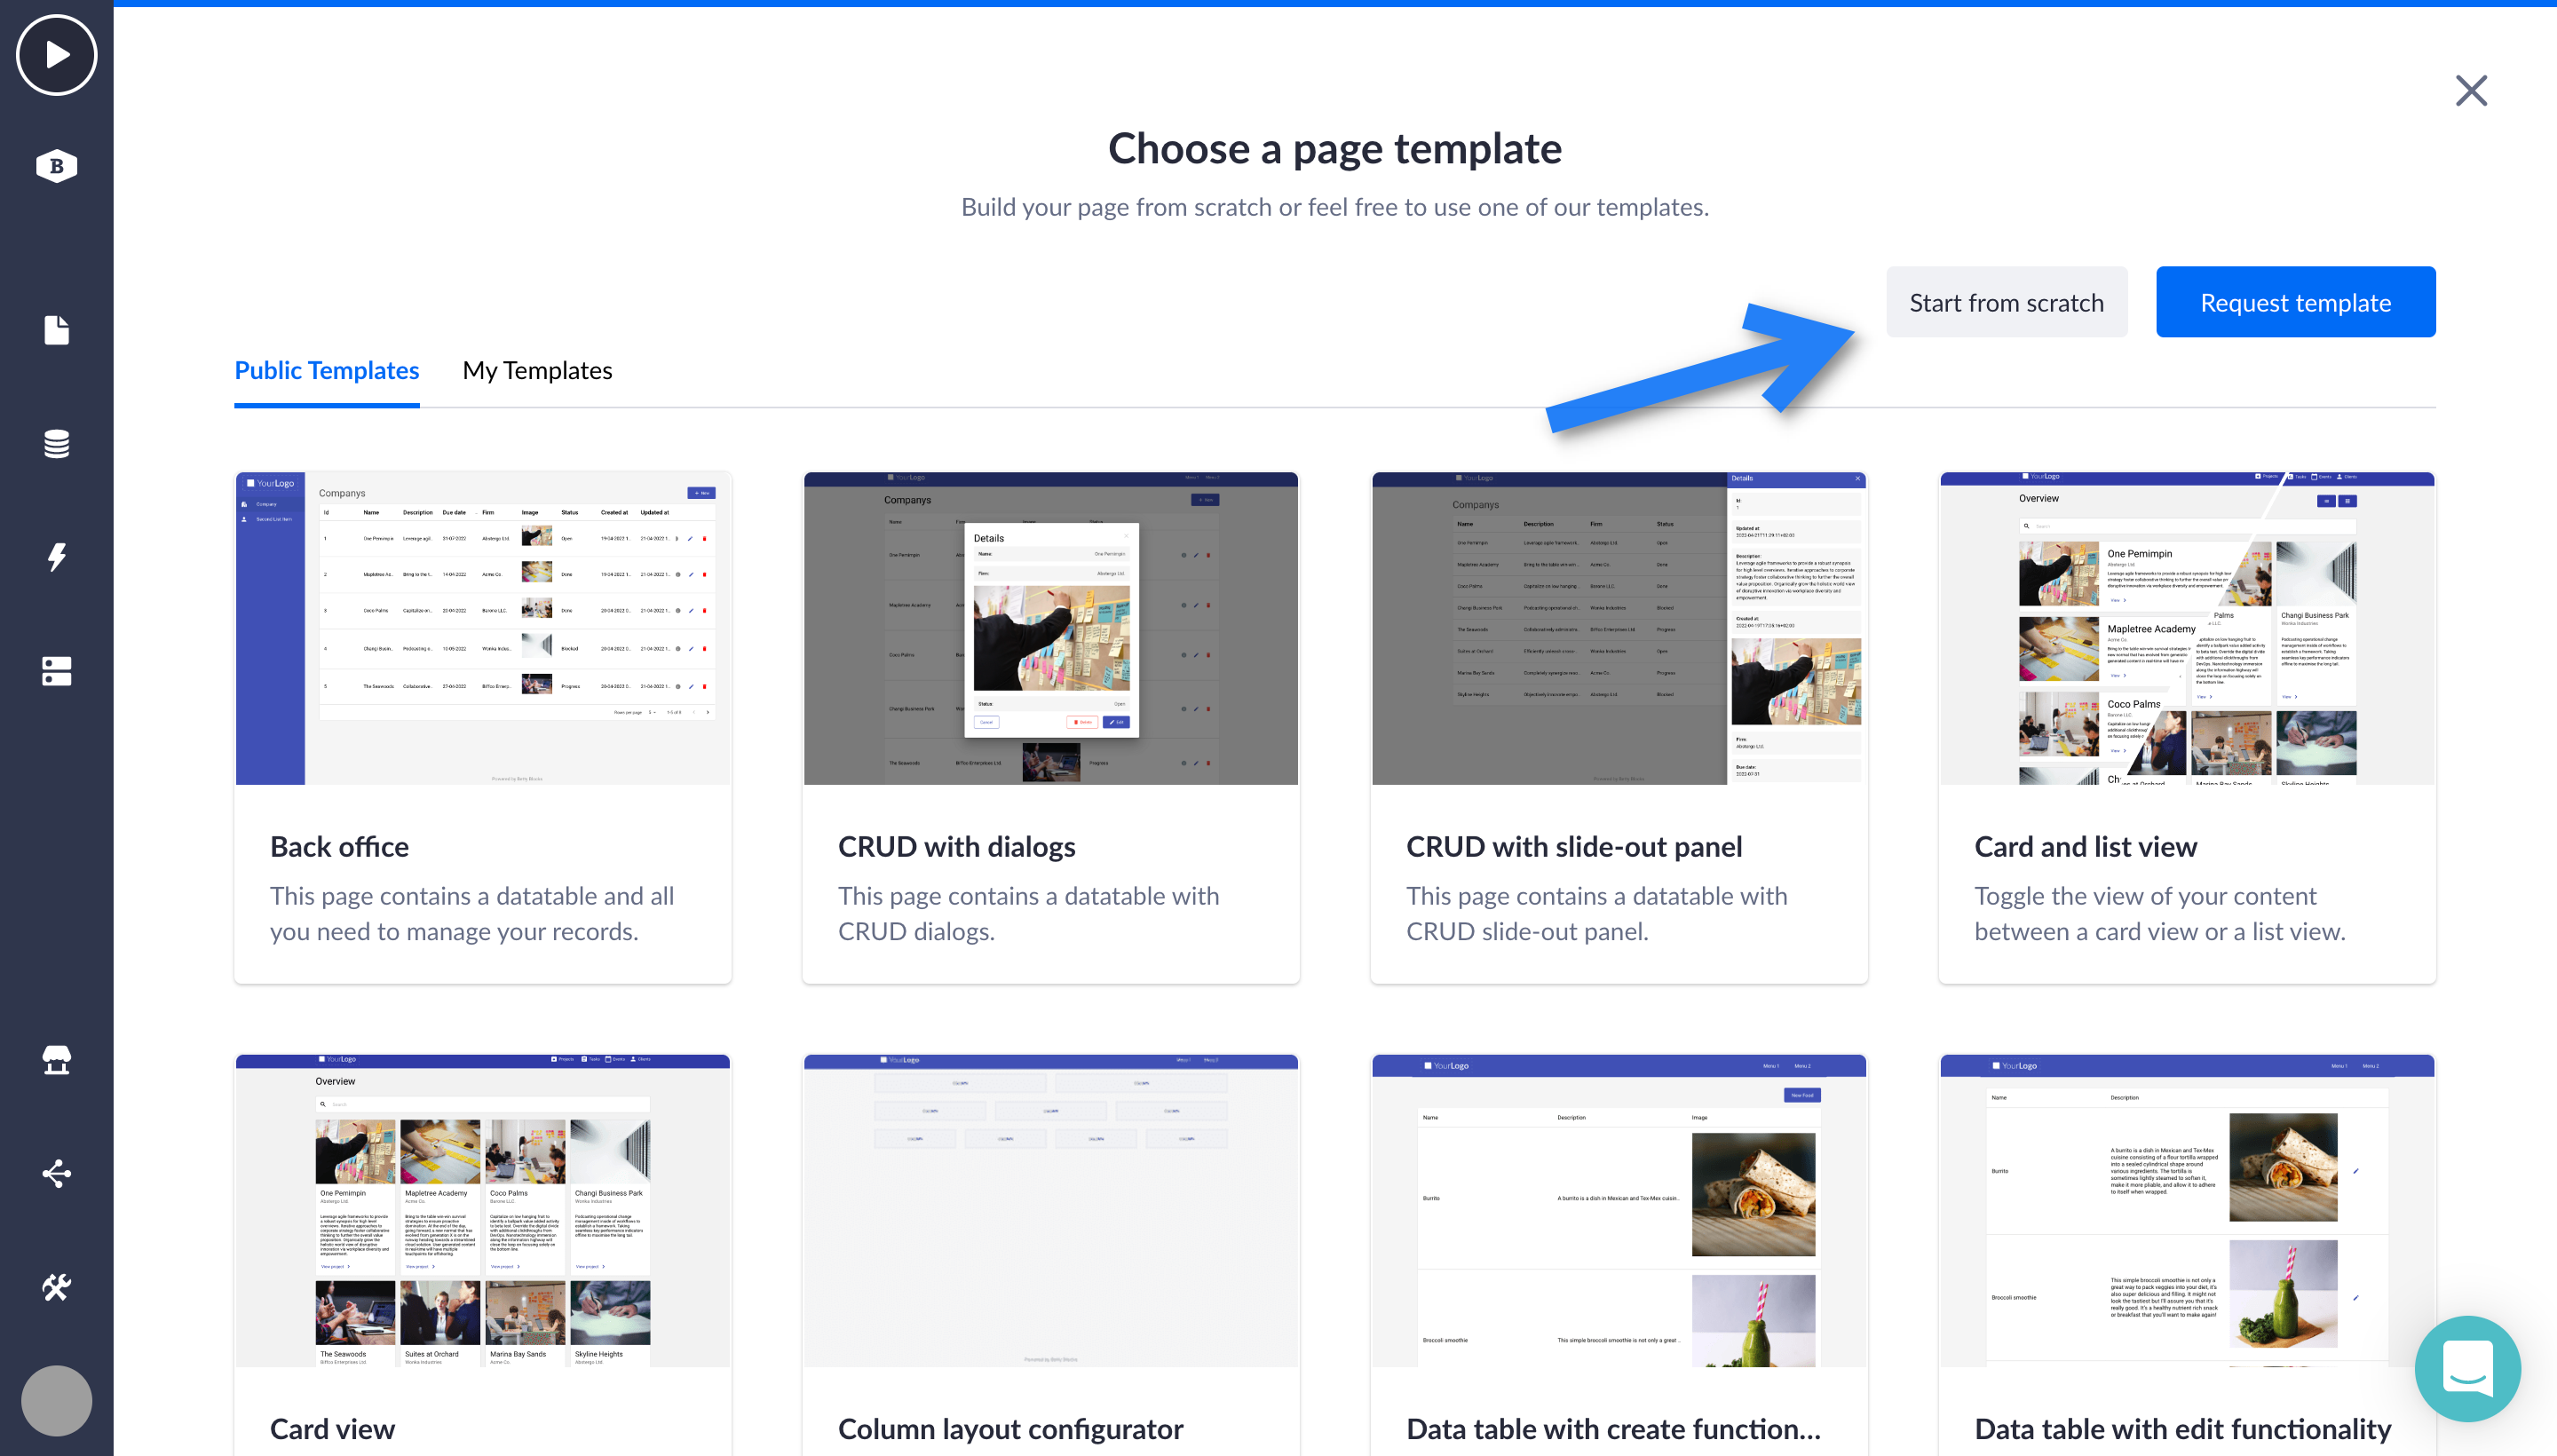
Name a page based on its goal and edit the page path to your liking (use an underscore instead of a dash, for example). Then select the type of your page. The Authenticated type will require users of your application to log in, whereas the Public option will allow the page to be accessible by everyone. If you choose the page to be authenticated, the last thing to do here is select an authentication profile.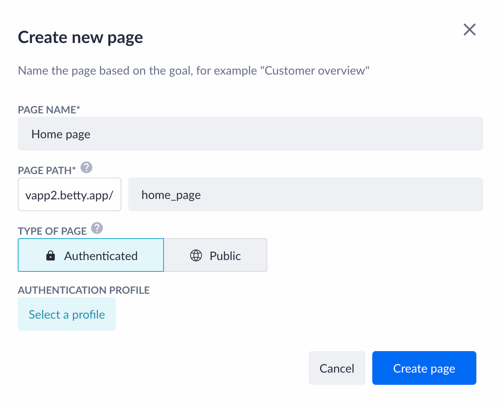
After you click on the ‘Select a profile’, you will need to choose a pre-created authentication profile or create a new one. Read this article to find out how to set your first authentication profile.
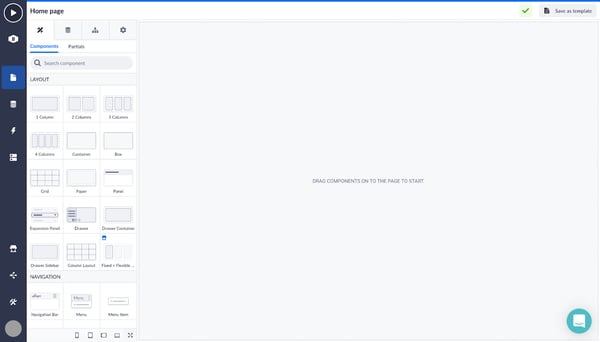
Now that you have created your profile or chosen it, click on the ‘Create page’ button and your new page will be generated. The page will consist of a large canvas onto which you will be able to drag and drop components from the pages tabs on the left.
As an example, let’s add some essential elements to our new page: header, footer, and media (image) component between them.
-
First, add three columns by dragging them onto the page canvas. They will serve as containers for the next elements that are to be added
-
Now look for the navigation bar in the ‘Navigation’ section and drag it onto the top component. That will be the header of our home page.
-
Find the media component in the ‘Content’ section and drag it onto the middle column. Click on the component once and in the options menu on the left insert a link with an image in the source field. The image will appear on the page’s canvas.
-
Lastly, add the text component from the ‘Content’ section to the column at the bottom. Click on this component once and in the options menu on the left fill the content field with the text you want to be shown on your footer. Also, you can change the text alignment to the center.
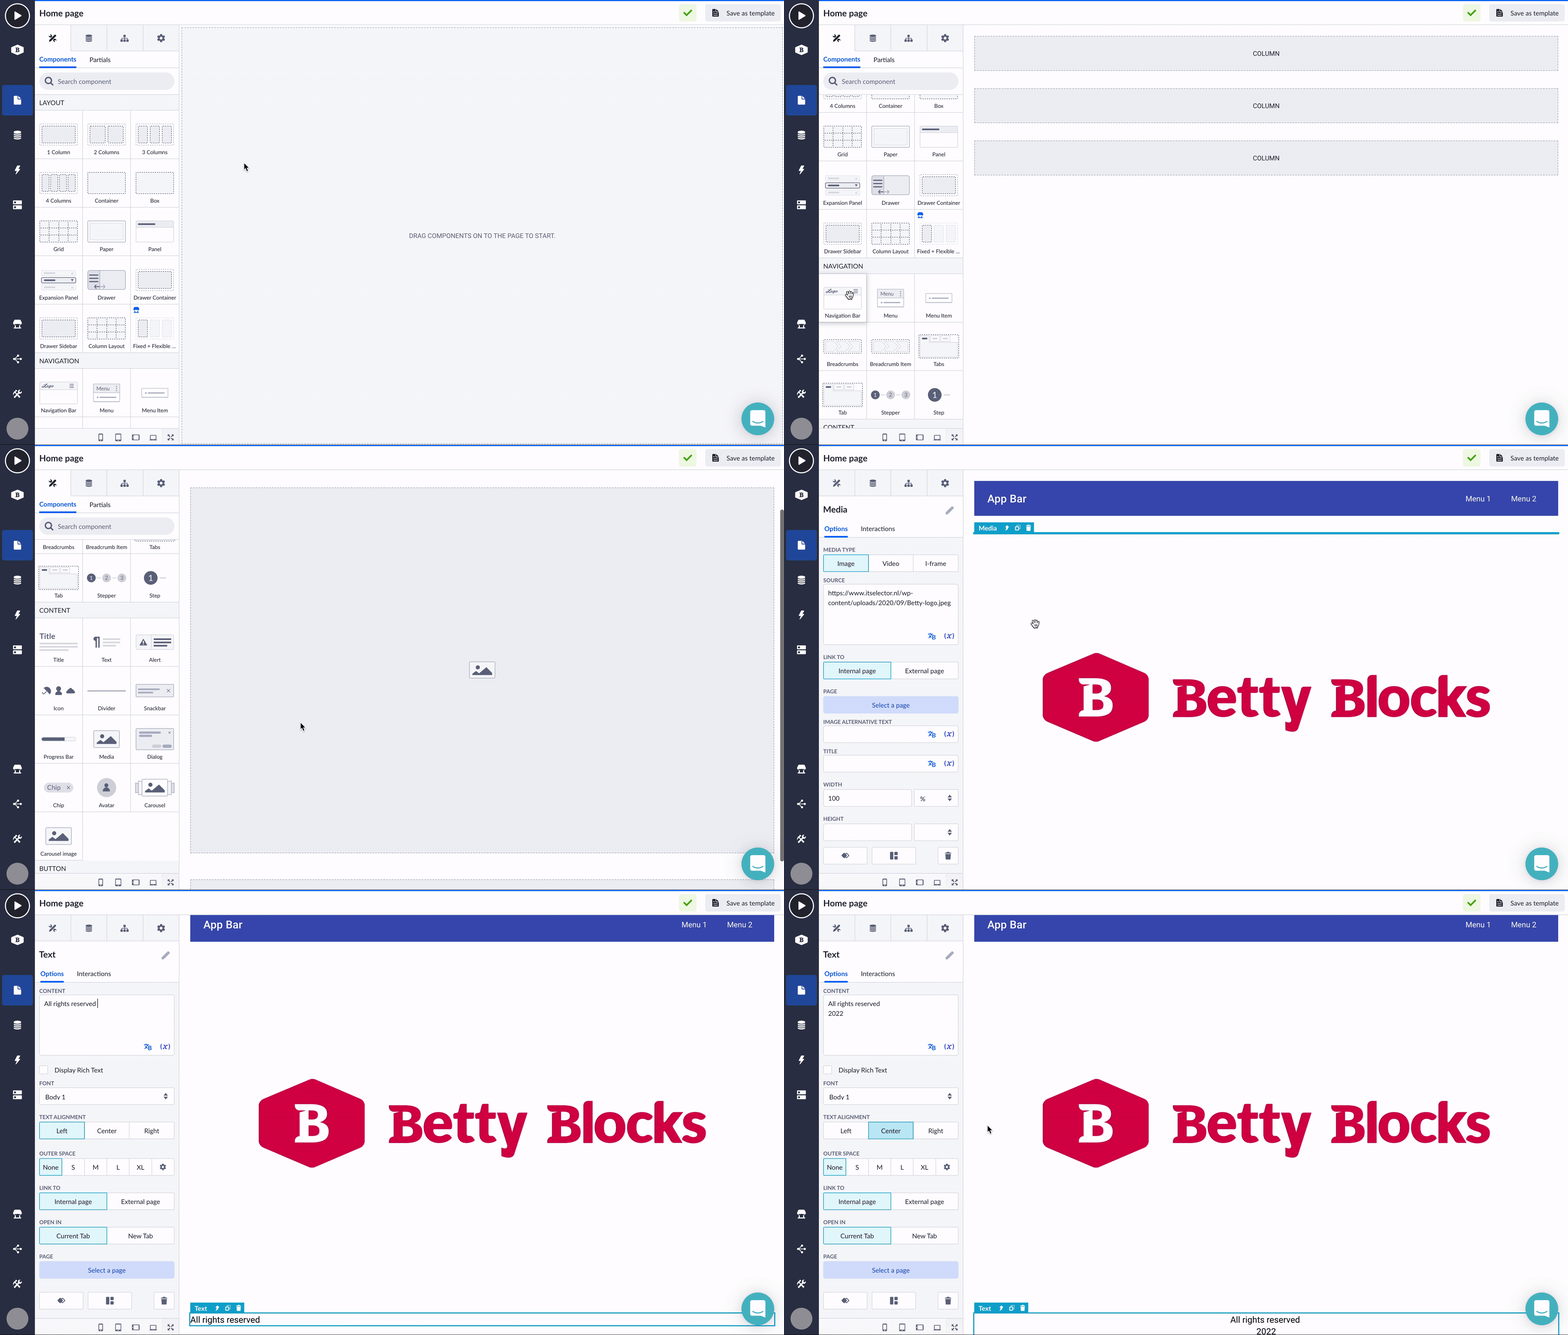
Basically, this is how you can create pages within your application by applying simple drag-and-drop functionality and filling the columns with the kind of elements and content you want to be shown on your website.
