Showing a list of tasks belonging to a user
Use case 3 of a 9-part series. In this article, you'll learn how to show a list of tasks.
Before we start, we will need some data. We’ve prepared the following tasks to show you how this works:
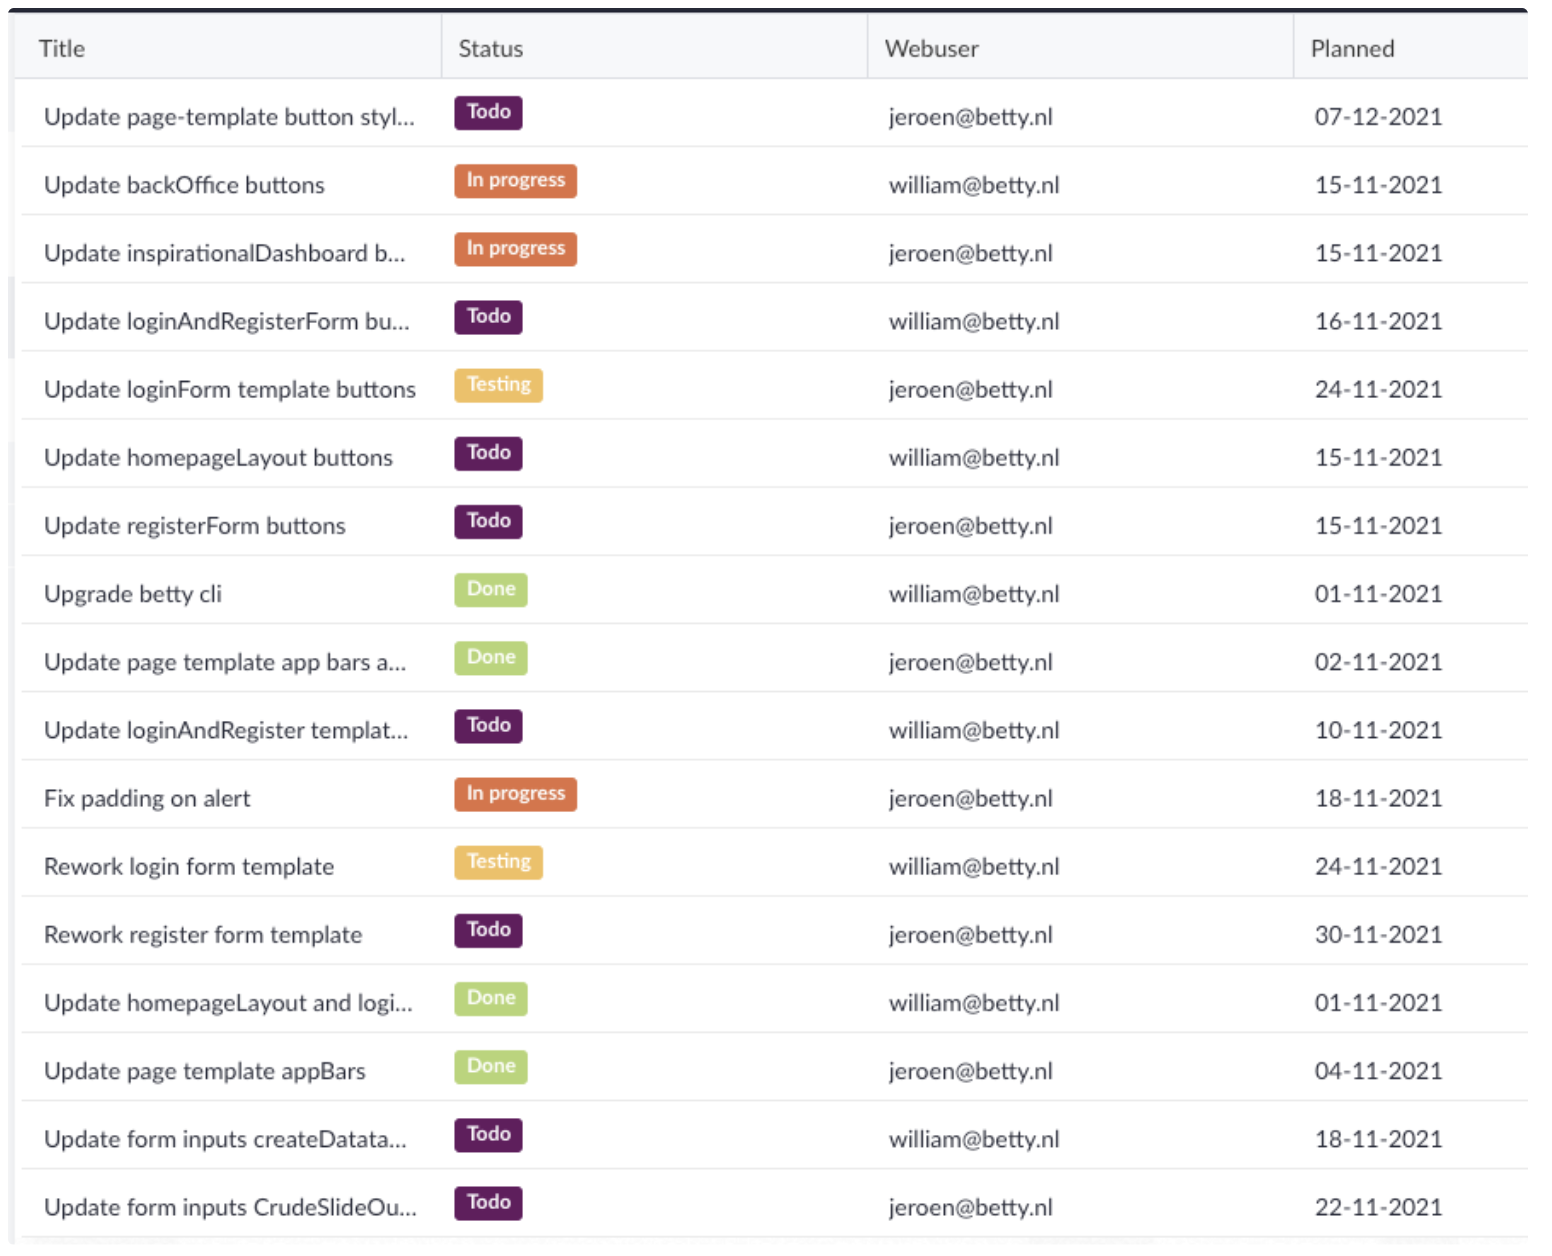
There is a belongs to the relation between the tasks data model and the web user data model.
This means a task can be assigned to only one web user. The other way around, a web user can have multiple tasks assigned to him/her.
Use the data table from case 2
We have our Data table from the previous case. It’s showing 3 columns, Title, email and Planned.
Let’s say we don’t want to show all tasks, but just the tasks which are assigned to jeroen@betty.nl
We go back to selecting our data table on the page so that we see its options.
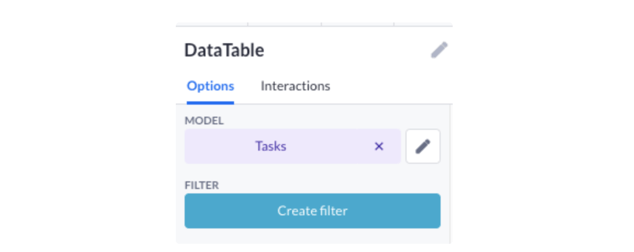
Now we will press the Create filter button and the modal for the filter appears:
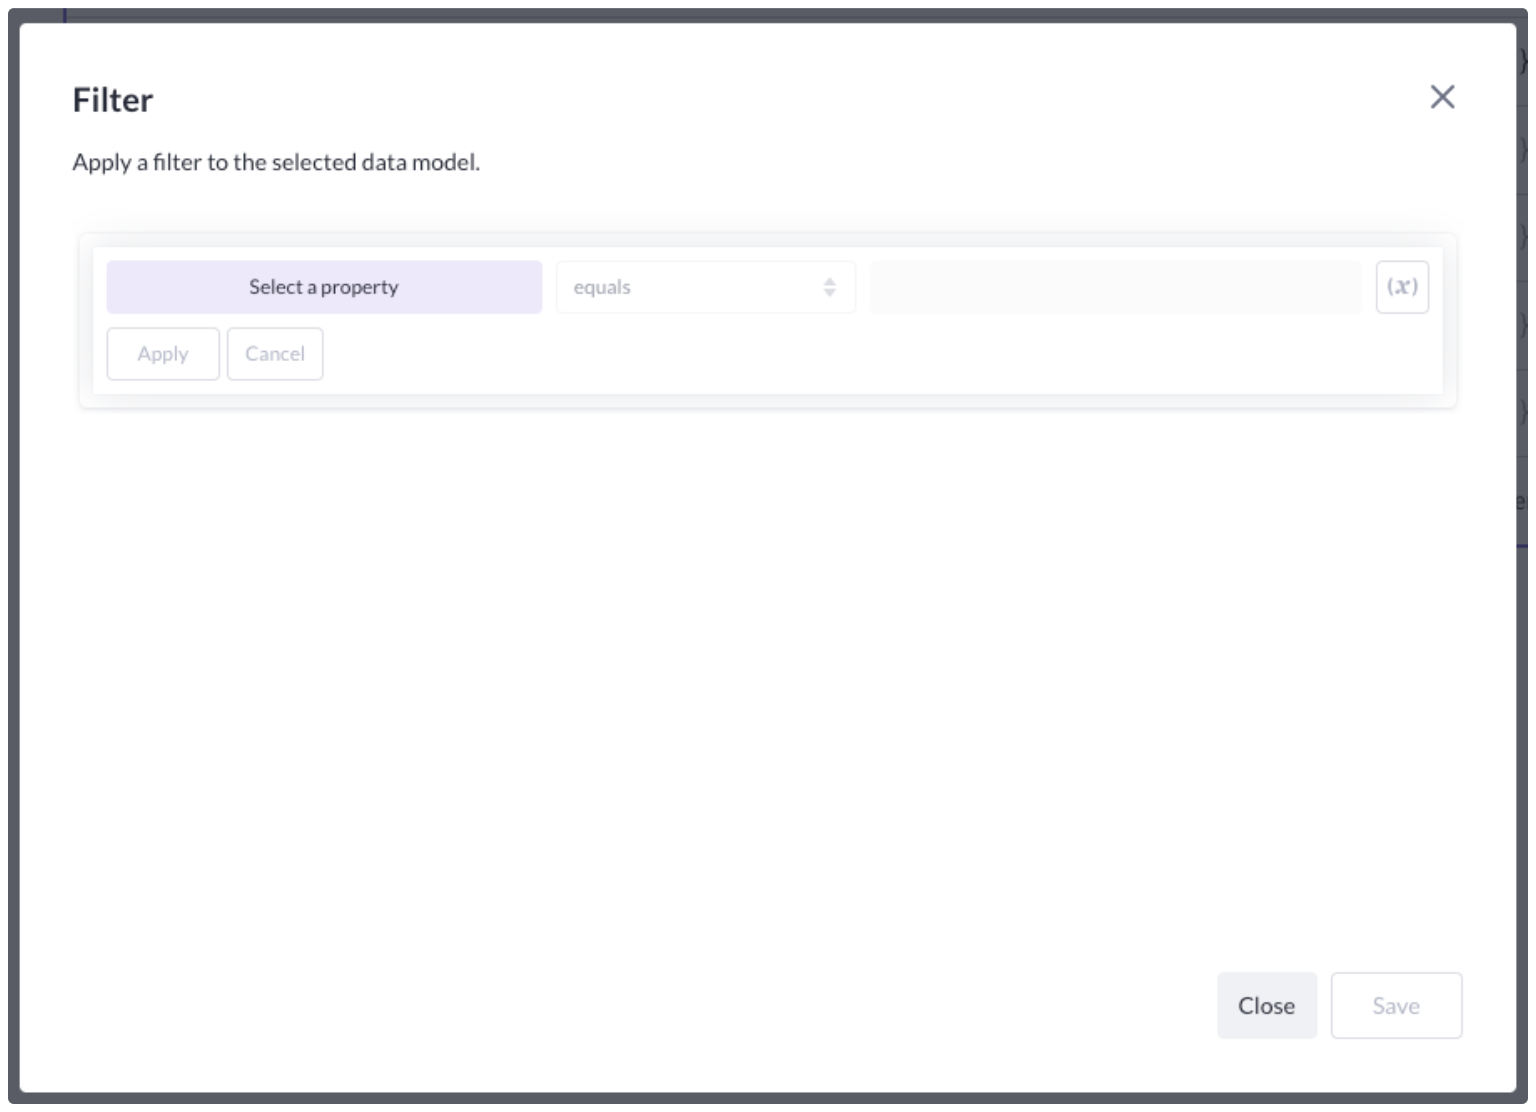
As mentioned earlier, a filter consists of 3 parts. A property that is selected on the left-hand side. Followed by a comparator in the middle. Then on the right the value/variable/property you want to compare the left-hand side with.
So on the left, we select our web user property. When we press the Select a property button, we first see the model(s) which are in the context of this data table. In our case, there will only be one model, because we don’t have other data components on our page. But when you drag a data table inside a data container, both based on a different model, there will be 2 models visible in this list.
However, we should now only see the Tasks data model.
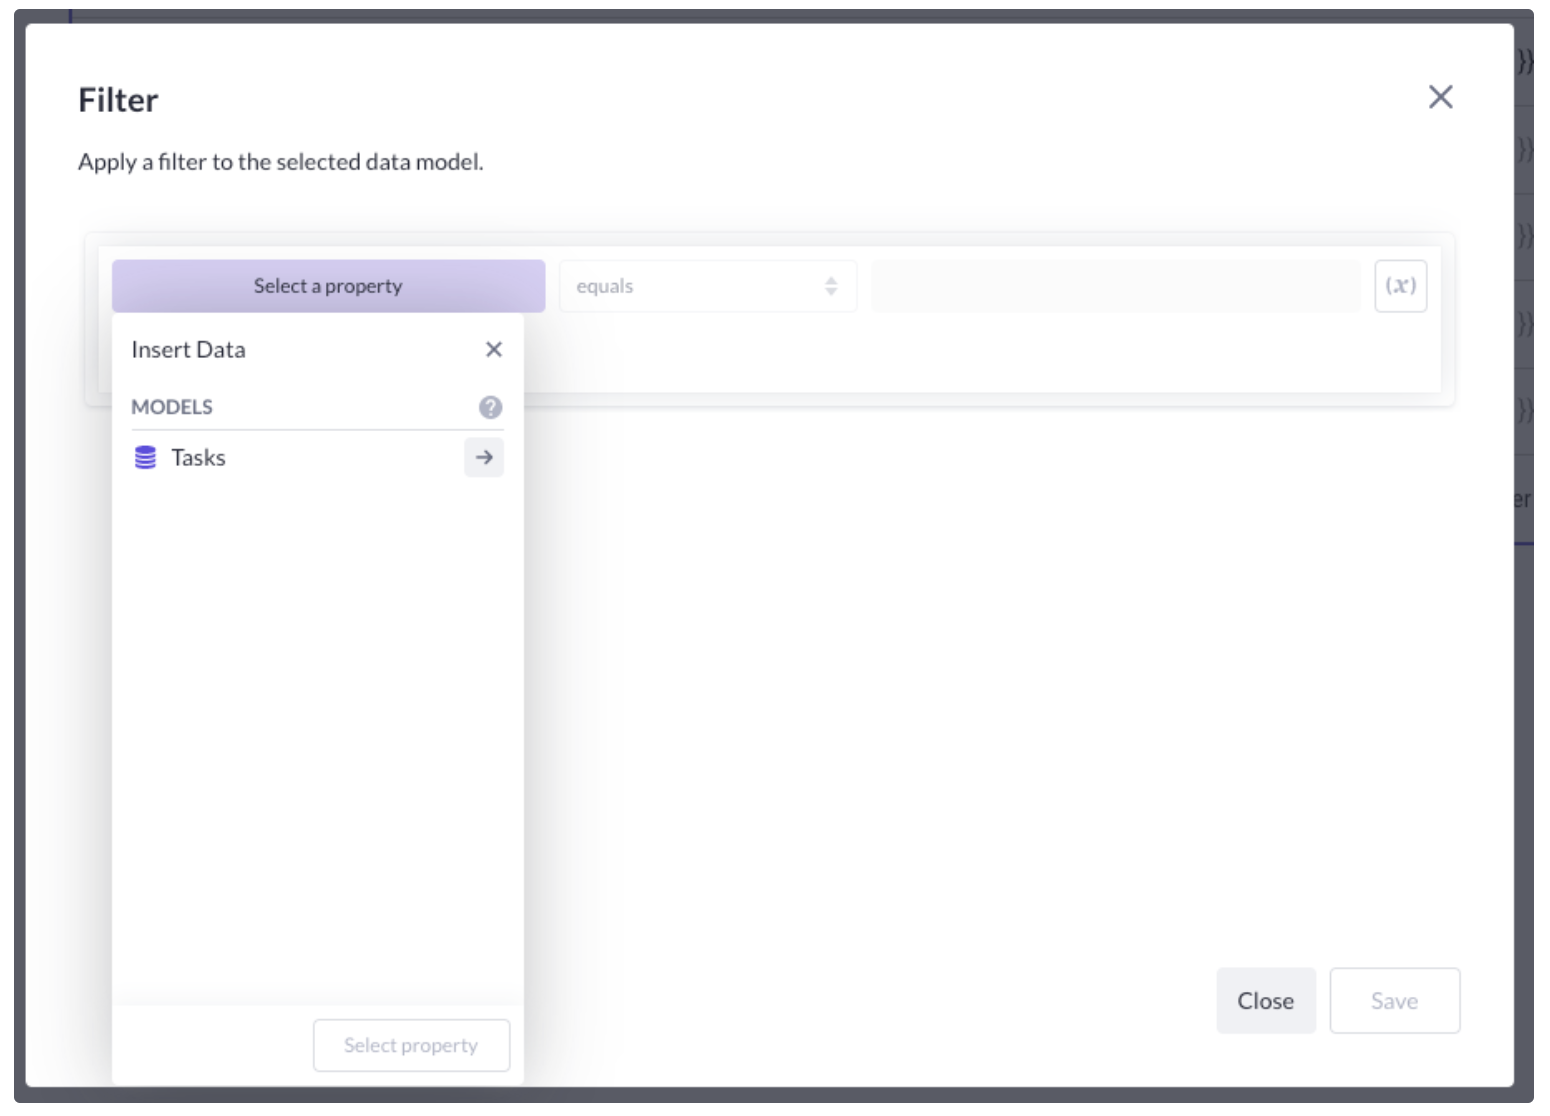
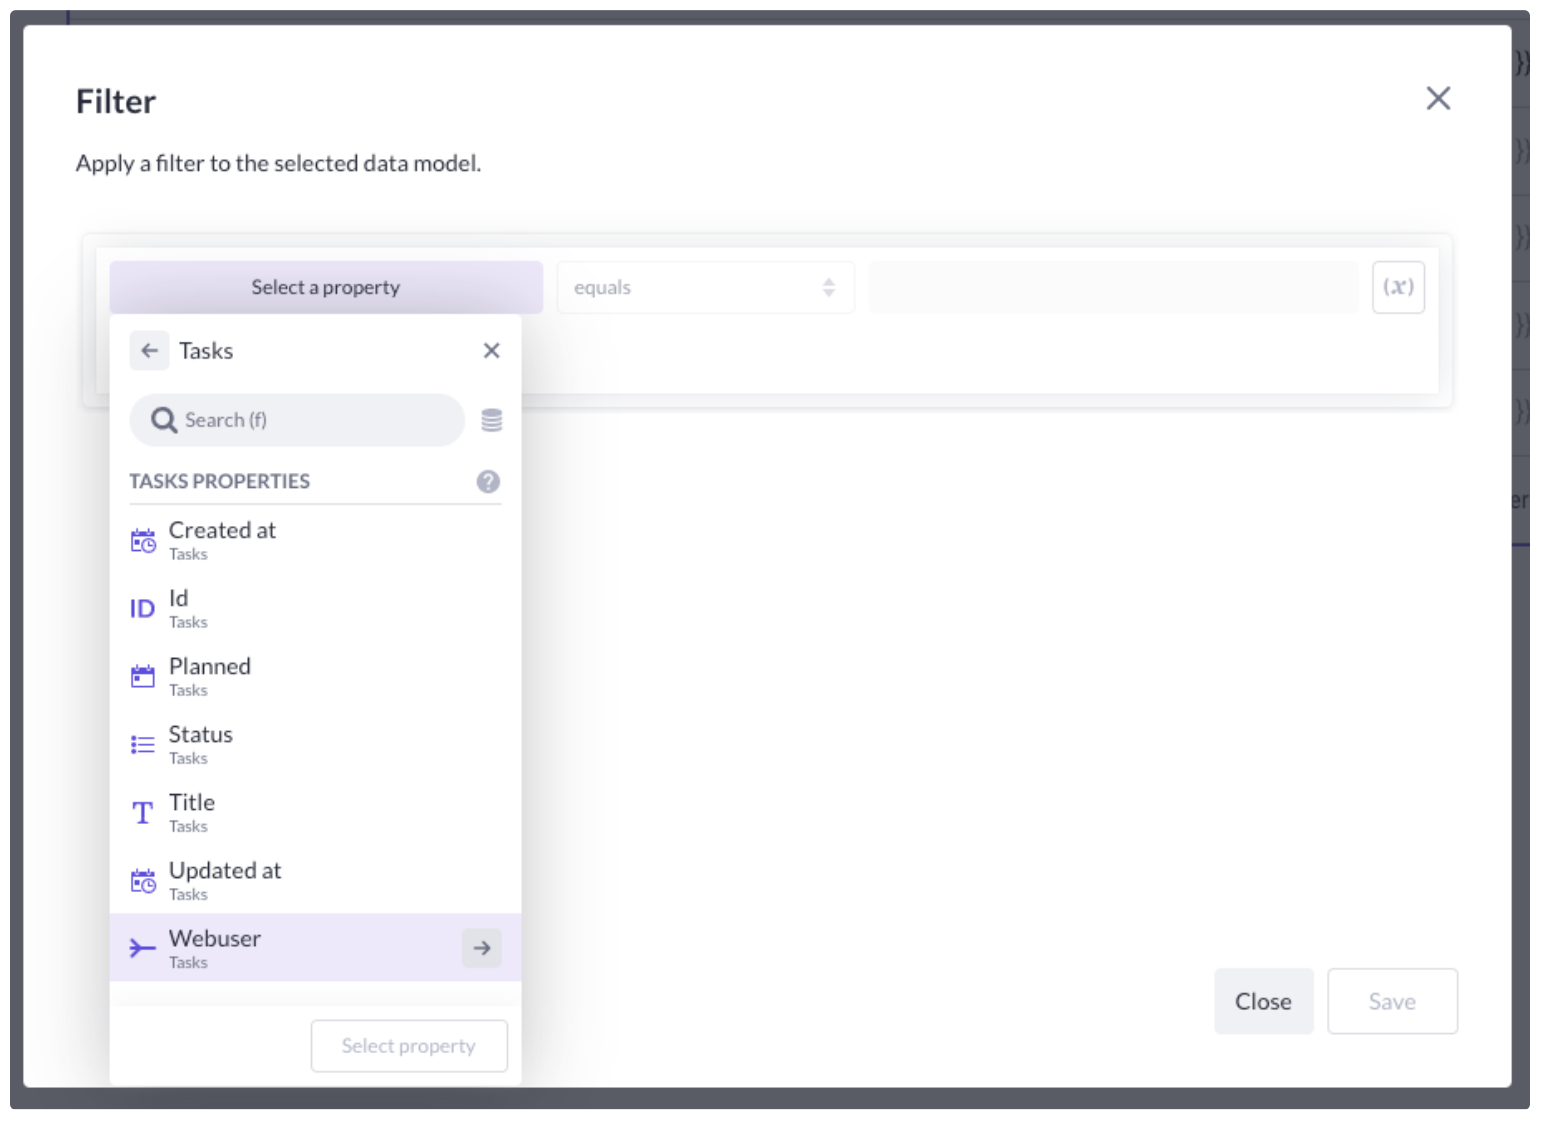
Pressing on the arrow button shows the properties of the Tasks data model. We will select Webuser first because in this case, it is a relation. Then after selecting Webuser, we should see the properties of our Webuser data model:
Select the web user relation (which refers to a data model):
And then select the property email:
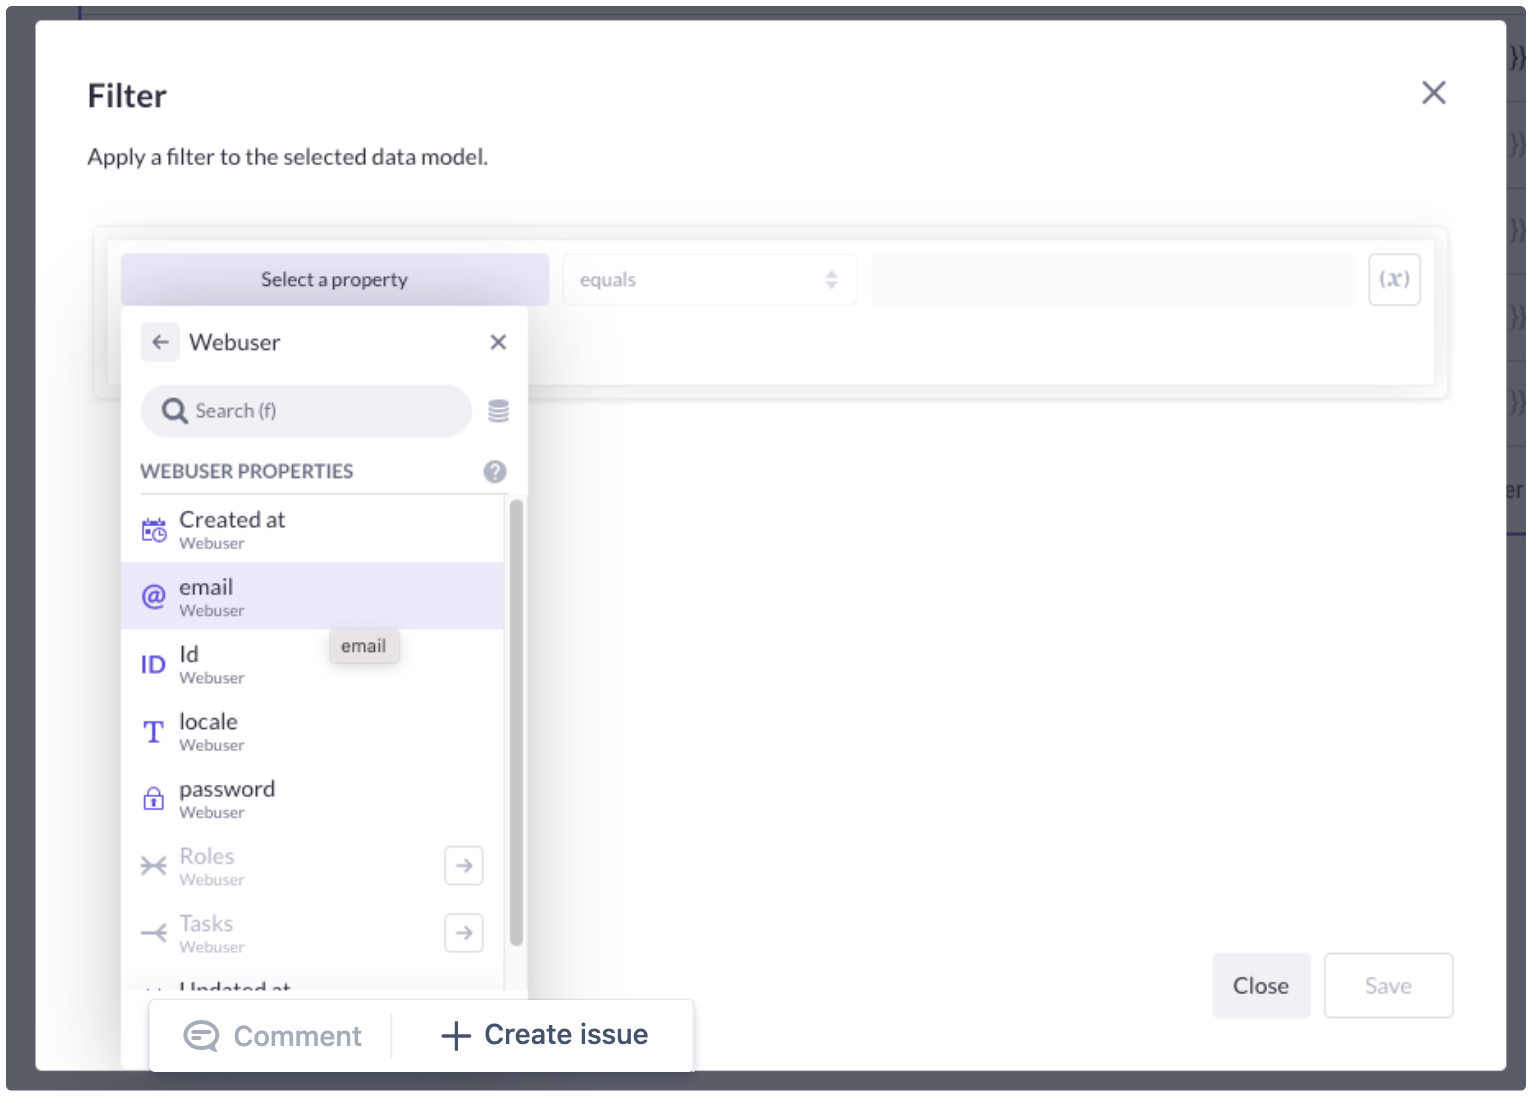
The comparator can be equals like the default value it has. You can of course see what other values we have in this dropdown. More info about those can be found here.
Now on the right, we will type the email address jeroen@betty.nl Then press the Apply button. Your filter should look like this:
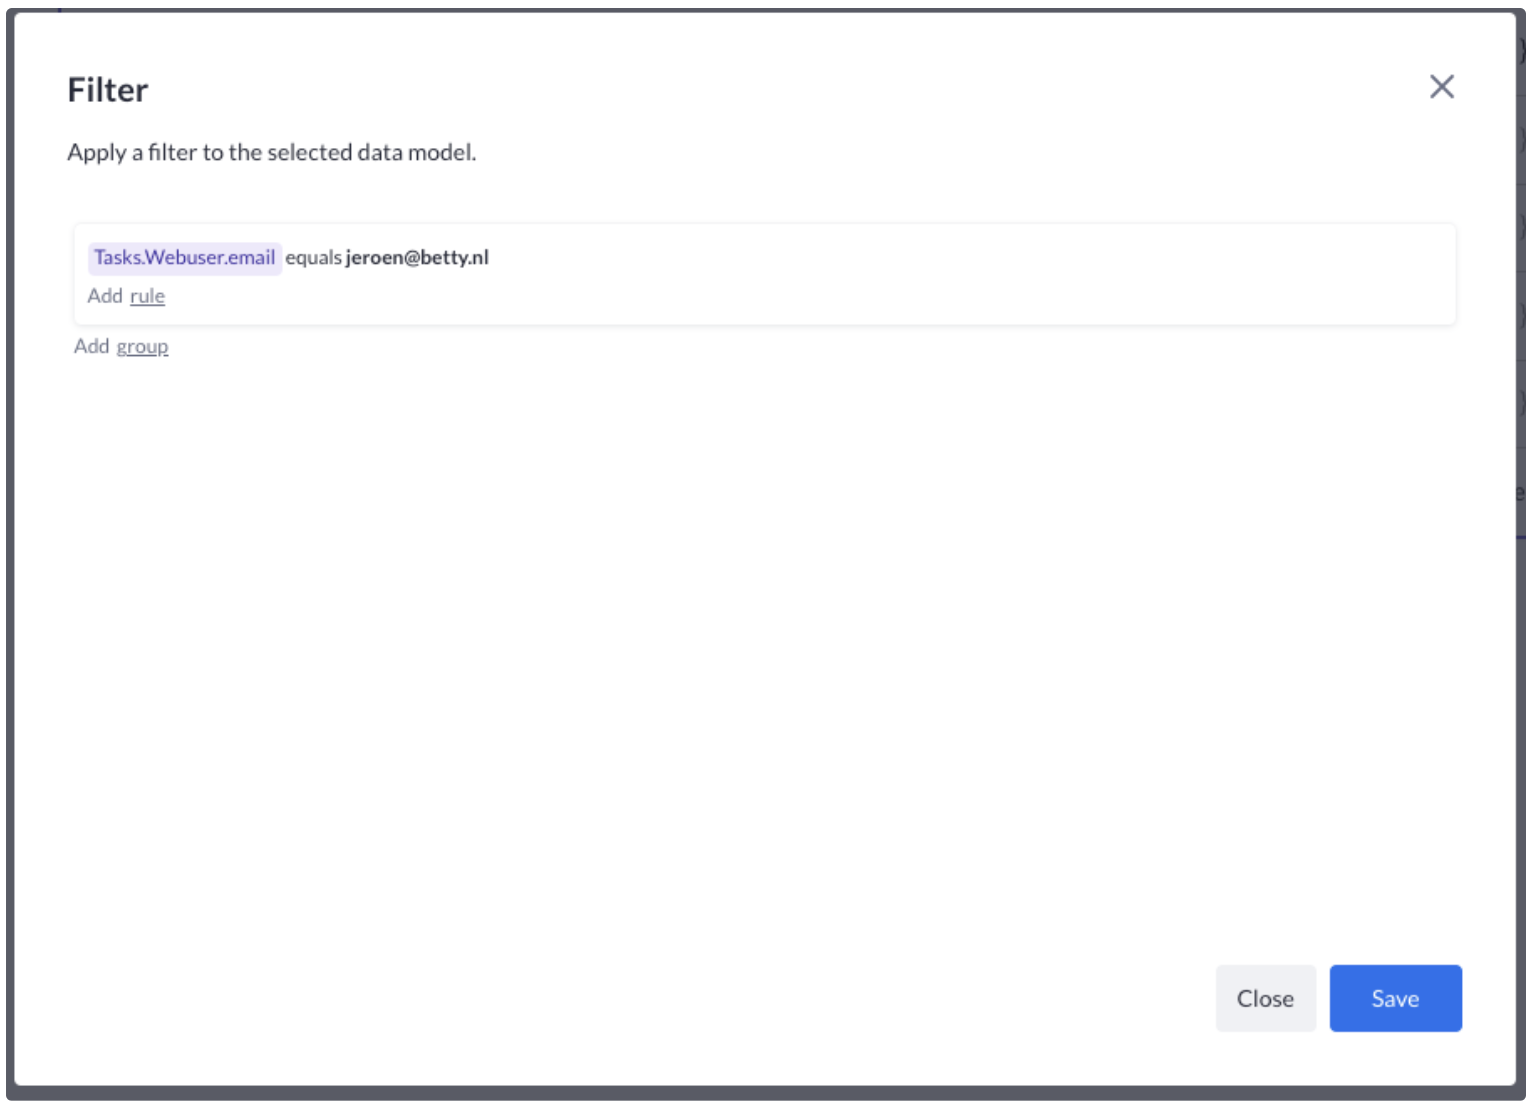
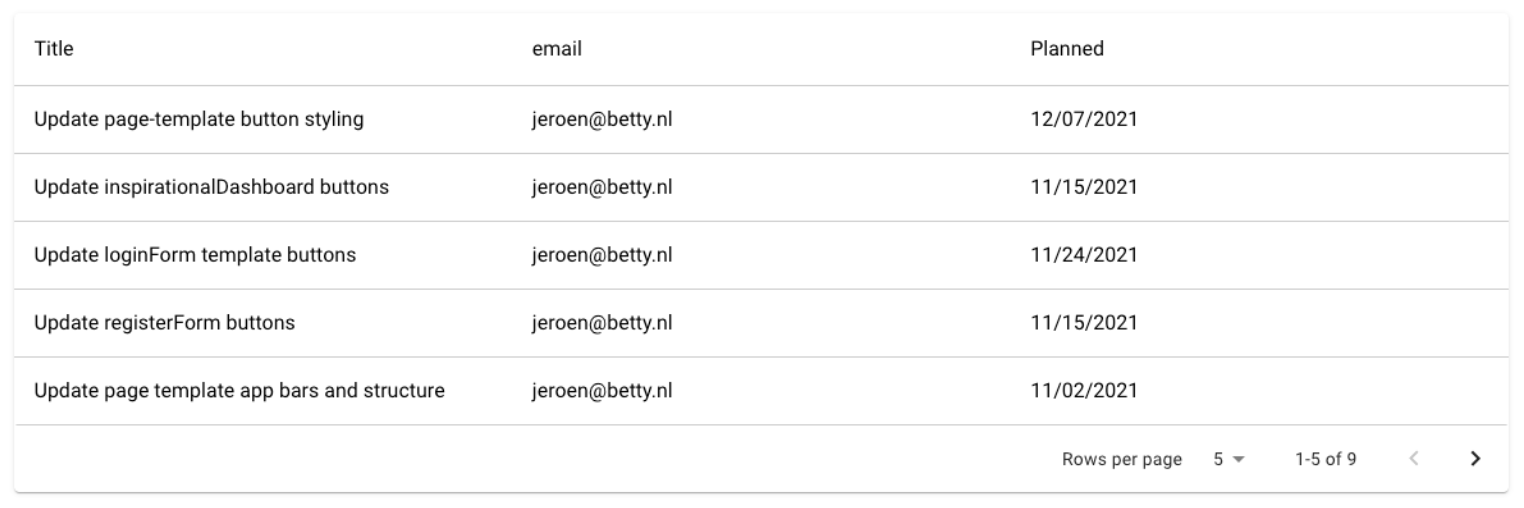
When you press save, the filter is stored. Now when pressing play, we should see an updated table. Only records with email jeroen@betty.nl should be in there:
Next up, filtering data by a specific date.