Relation types
Explore the concepts of relation types and their role in linking (data) models.
Relations represent the connection between models. The relation type determines the connection between individual models. Models can have one or more different types of connections. Let's break those down in this article.
Note: Before continuing with this article, make sure you understand What is a data model?
Creating a relation
Before defining relation types, have a look at a simple example with two data models and create a relation between them.
Imagine you have a project management application that contains two individual data models:
-
Project model with properties like Name, Status, Description, etc.
-
Task model with similar properties: Name, Status, Time spent, etc.
Naturally, you want any project to contain smaller pieces of work to complete it step-by-step. This is where relations come into play - we have to connect the Project and Task models so that 'One Project has many Tasks'. The easiest way to do so is via the canvas view in Models:
.gif?width=600&height=447&name=downloads.intercomcdn.comio1107733254379bbe120c5c8a00d489ad98Screen-Recording-2024-07-09-at-1+(3).gif)
In the case of 'One Project has many Tasks', we can call Project a source model - the one we connect from, and Task - a target model, the one we connect the source model to.
Relation types
Data models on Betty Blocks enable establishing three types of relations: Belongs to (many to one), Has many (one to many), and Has and belongs to many (one has and belongs to many).


Once you create a Belong to relation (many Books belong to one Author), an inversed Has many relation is made on the other end (one Author has many Books).
There is also one extra type of relation that involves only a single model creating a self-referencing relation. For example, an Employee model that represents the employees in an organization. Various employees can be assigned as Roles of supervisors or team leaders for multiple employees.
Displaying relations
You can open a detailed view of the relations between models from either the canvas view or the models overview list.
Canvas view: relation details are displayed as shown by the lines connecting the various models:
.gif?width=600&height=324&name=downloads.intercomcdn.comio1110260913fbc4465111f013b28004d485Screen-Recording-2024-07-11-at-1+(1).gif)
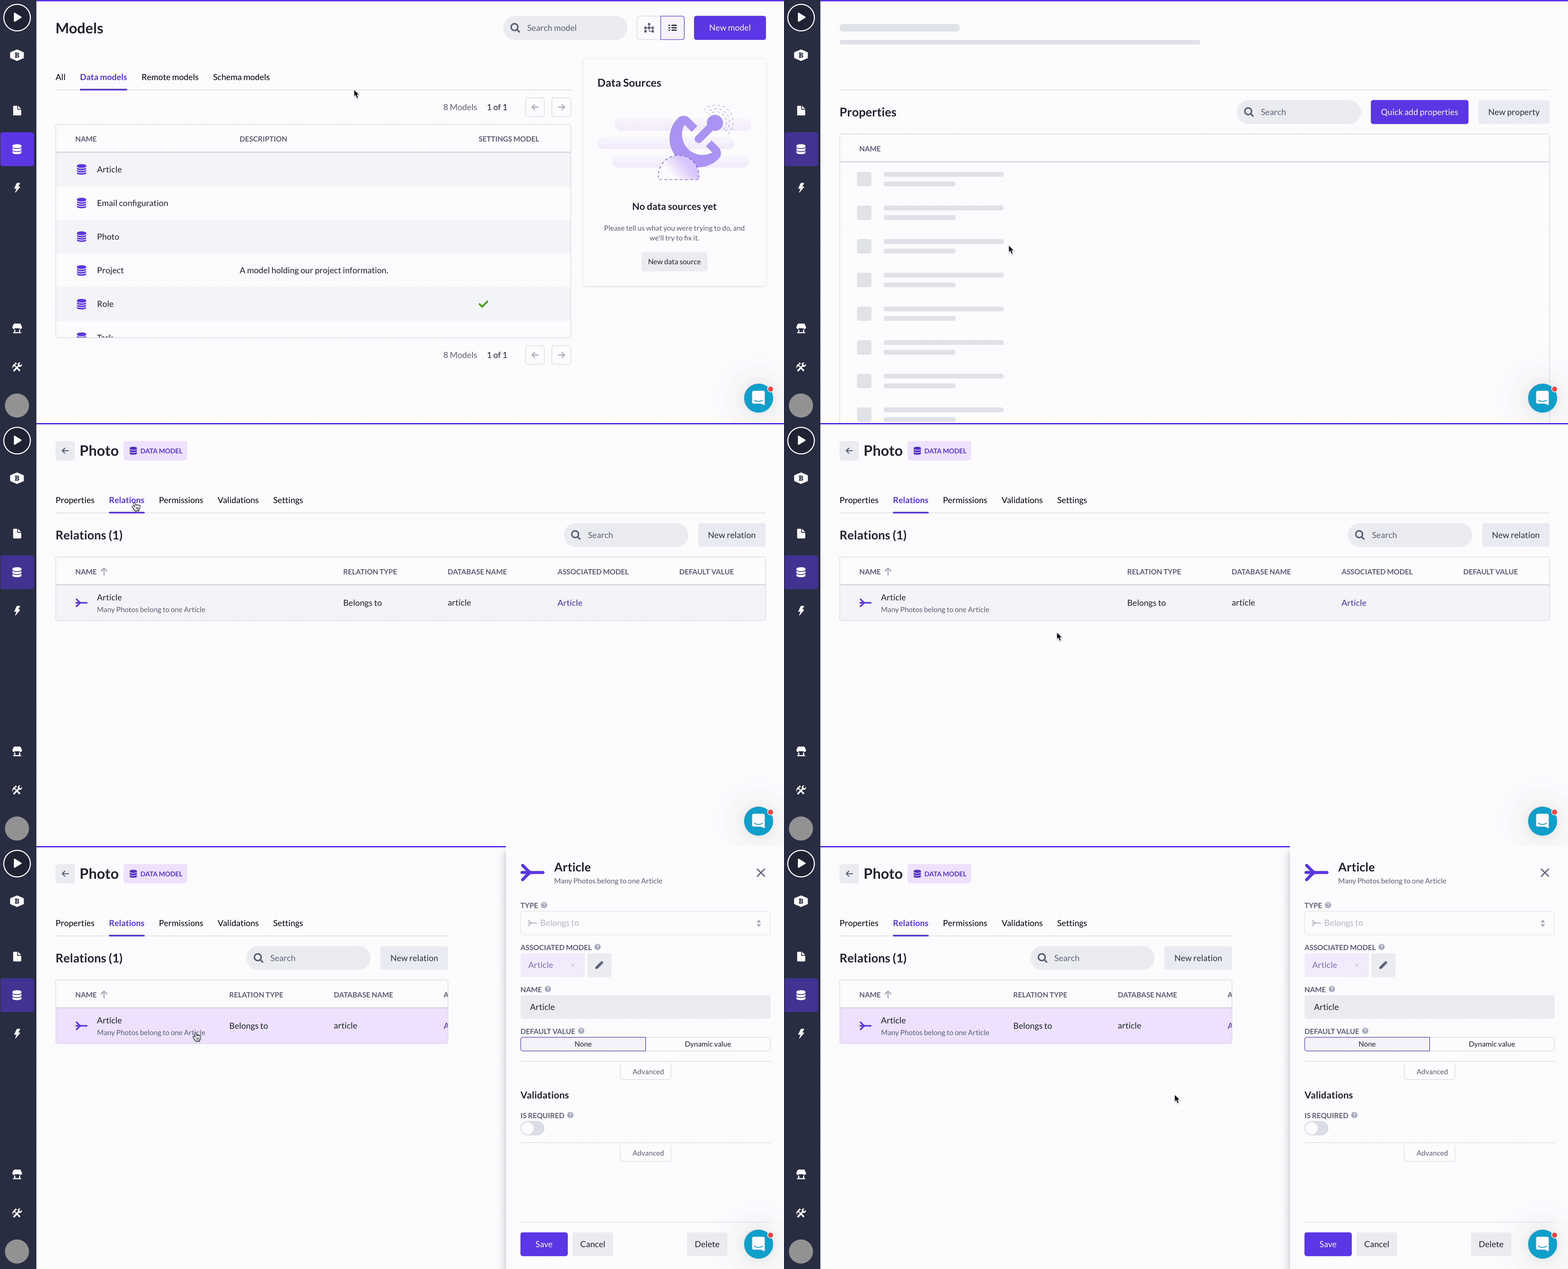
Model overview list: view the relations by heading to a single model and opening Relations tab. For example, Data models > Article > Relations:

Showing multiple relations between models
Where a model has multiple relations, a count of the number of relations is shown in the canvas view. Click on the relation line to see the overview of the relation types.
Select one of the relation types from the list displayed. The relation details are detailed in the pane that is opened.
.gif?width=600&height=324&name=downloads.intercomcdn.comio11102771762e595e03b3b5cb44309518f7Screen-Recording-2024-07-11-at-1+(2).gif)
Want to know more about some development standards and best practices for using models in your application? Check out this article!